


20
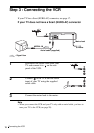
Setting up the VCR with the Auto Set Up function
Step 4 : Setting up the VCR with the Auto
Set Up function
Before using the VCR for the first time, set up the VCR using the Auto Set Up
function. With this function, you can set the TV channels, guide channels for the
VIDEO Plus+* system, and VCR clock automatically.
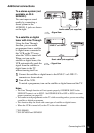
To cancel the Auto Set Up function
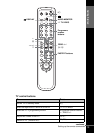
Press MENU.
To change the RF channel
If the picture does not appear clearly on the TV, change the RF channel on
the VCR and TV. Select INSTALLATION from the menu, then press M/m
to highlight VCR OUTPUT CH and press ,. Select the RF channel by
pressing the M/m buttons. Then, tune the TV to the new RF channel so that
a clear picture appears.
1
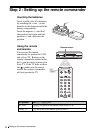
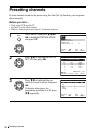
Turn on your TV and set it to the video channel.
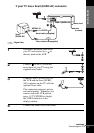
If your TV does not have a Scart (EURO-AV) connector, tune the
TV to channel 21 (the initial RF channel for this VCR). Refer to
your TV’s manual for TV tuning instructions. If the picture does not
appear clearly, see “To change the RF channel” on page 20.
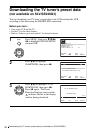
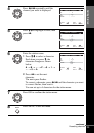
2
Connect the mains lead to the mains.
The VCR automatically turns on, and the message for the Auto Set
Up function appears.
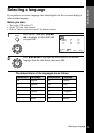
3
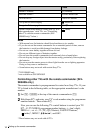
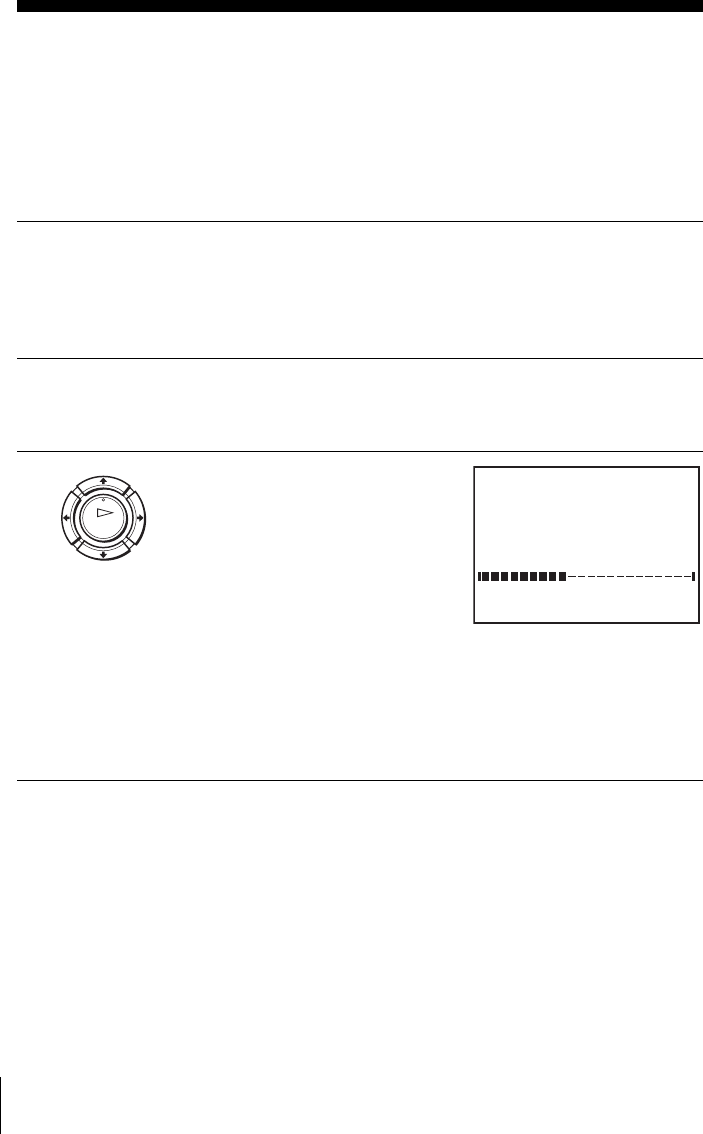
Press OK.
The VCR starts searching for all of
the receivable channels and presets
them in the appropriate order for
your local area.
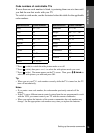
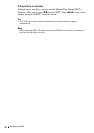
If you want to change the order of
the channels or disable unwanted
programme positions, see
“Changing/disabling programme
positions” on page 27.
After the search or download is complete, the current time appears
for any stations that transmit a time signal. If the time does not
appear, set the clock manually. See “Setting the clock” on page 32.
OK
MENU:
PLEASE WAIT
AUTO SET UP
40%
EXIT