56
Settings and Adjustments
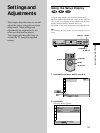
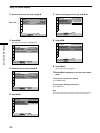
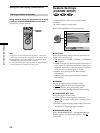
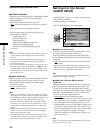
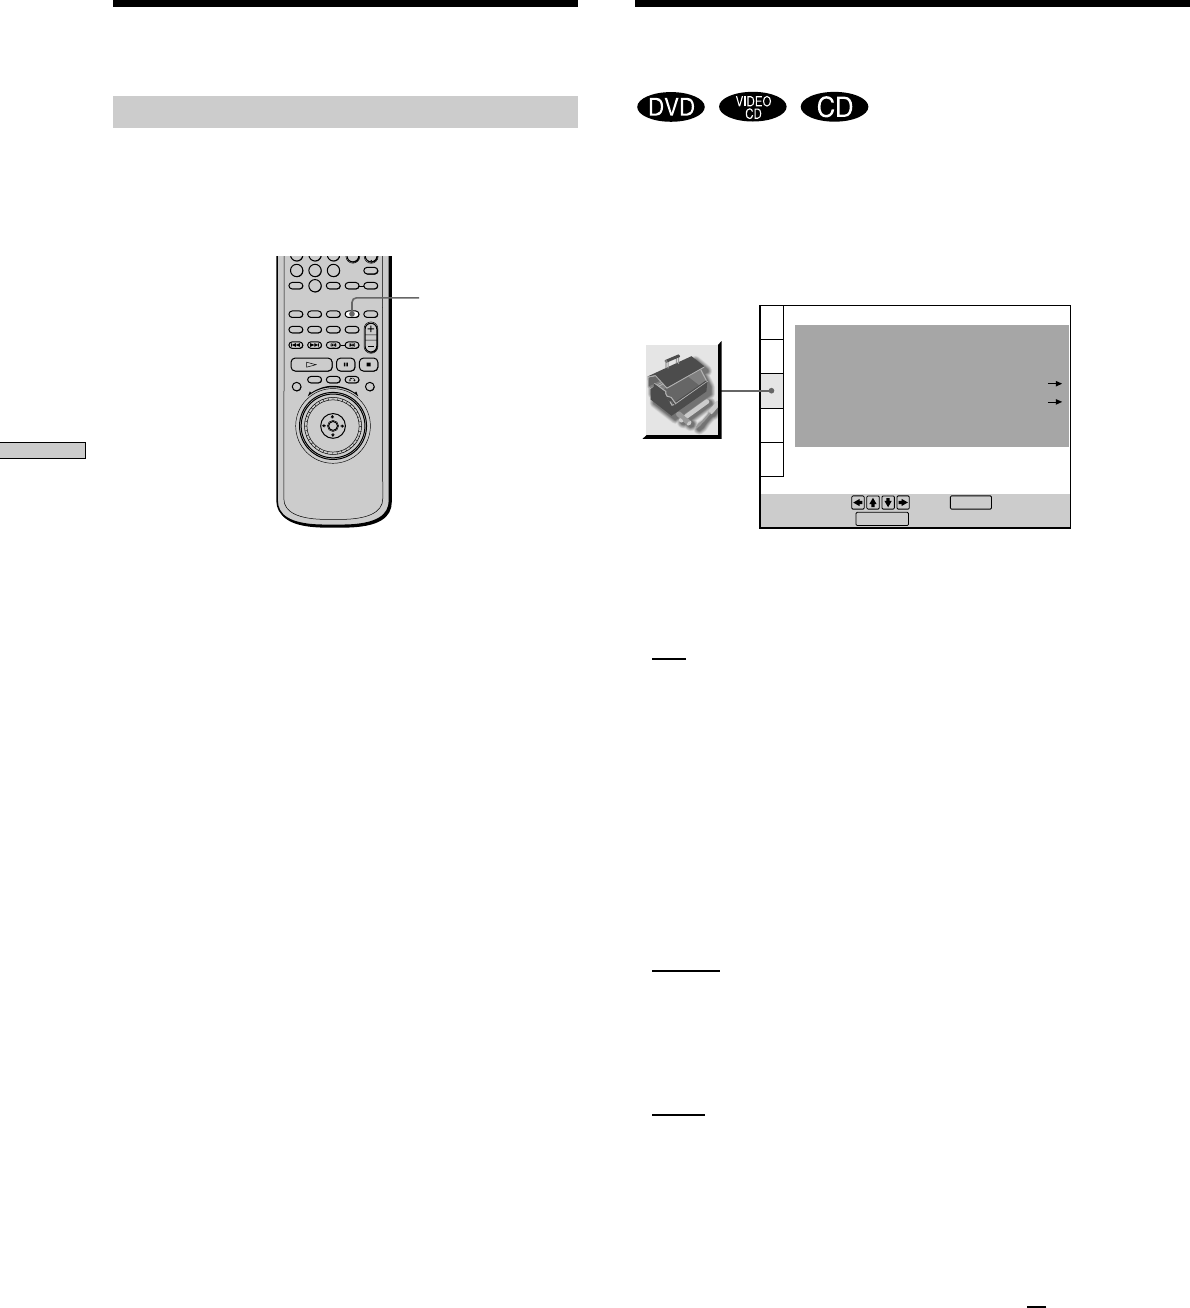
“CUSTOM SETUP” allows you to set the playback
conditions.
The default settings are underlined.
Select “CUSTOM SETUP” in the setup display.
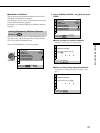
x AUTO PLAY
Selects the Auto Play setting when you connect the AC
power cord to the AC outlet.
•
OFF: does not use “TIMER,” “DEMO1” or “DEMO2” to
start playback.
• TIMER: starts playing when the player is turned on, or
at any time you want when connected to a timer (not
supplied). Set the timer when the player is in standby
mode (the power indicator lights up in red).
• DEMO1: starts playing the first demonstration
automatically.
• DEMO2: starts playing the second demonstration
automatically.
x DIMMER
Adjusts the lighting of the front panel display.
•
BRIGHT: makes the front panel display bright.
• DARK: makes the front panel display dark.
• OFF: turns off the lighting of the front panel display.
x PAUSE MODE (DVD only)
Selects the picture in pause mode.
•
AUTO: A picture, including subjects that move
dynamically, is output with no jitter. Normally select
this position.
• FRAME: A picture including subjects that do not move
dynamically is output with high resolution.
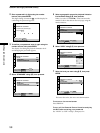
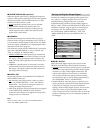
x BOOKMARK RESET,
Select “BOOKMARK RESET.” The BOOKMARK reset
display appears. And then press ENTER to reset
all
bookmarks.
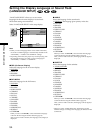
Custom Settings
(CUSTOM SETUP)
CUSTOM SETUP
AUTO PLAY:
DIMMER:
PAUSE MODE:
To set, press , then .
To quit, press .
OFF
BRIGHT
AUTO
TRACK SELECTION:
OFF
ON
ENTER
PARENTAL CONTROL
DISPLAY
PLAYBACK MEMORY:
BOOKMARK RESET
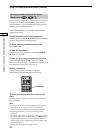
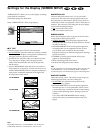
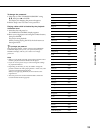
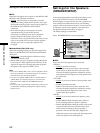
Storing a picture in memory
During playback, when you find the scene to be stored
in memory, press PICTURE MEMORY on the remote.
The picture is stored in memory.
Notes
• The player can store only one scene in memory. The stored
picture appears in both the background and the startup screen.
• When the picture is stored in memory by pressing PICTURE
MEMORY, the picture stored before is erased.
• If you operate this player while the picture is being stored in
memory, the player will fail to store the picture.
PICTURE
MEMORY
4
7
5
8
0
6
9
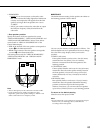
Settings for the Display (SCREEN SETUP)


