11
THE MAIN MENU
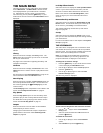
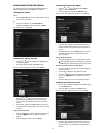
The main functions of your Audio Server are accessible
via the Main Menu. The Main Menu is the rst screen
to be displayed when your Audio Server is switched
on. Alternatively, from any screen in the television
user interface, you can press the
J
Menu key on your
Audio Server remote control and the Main Menu will be
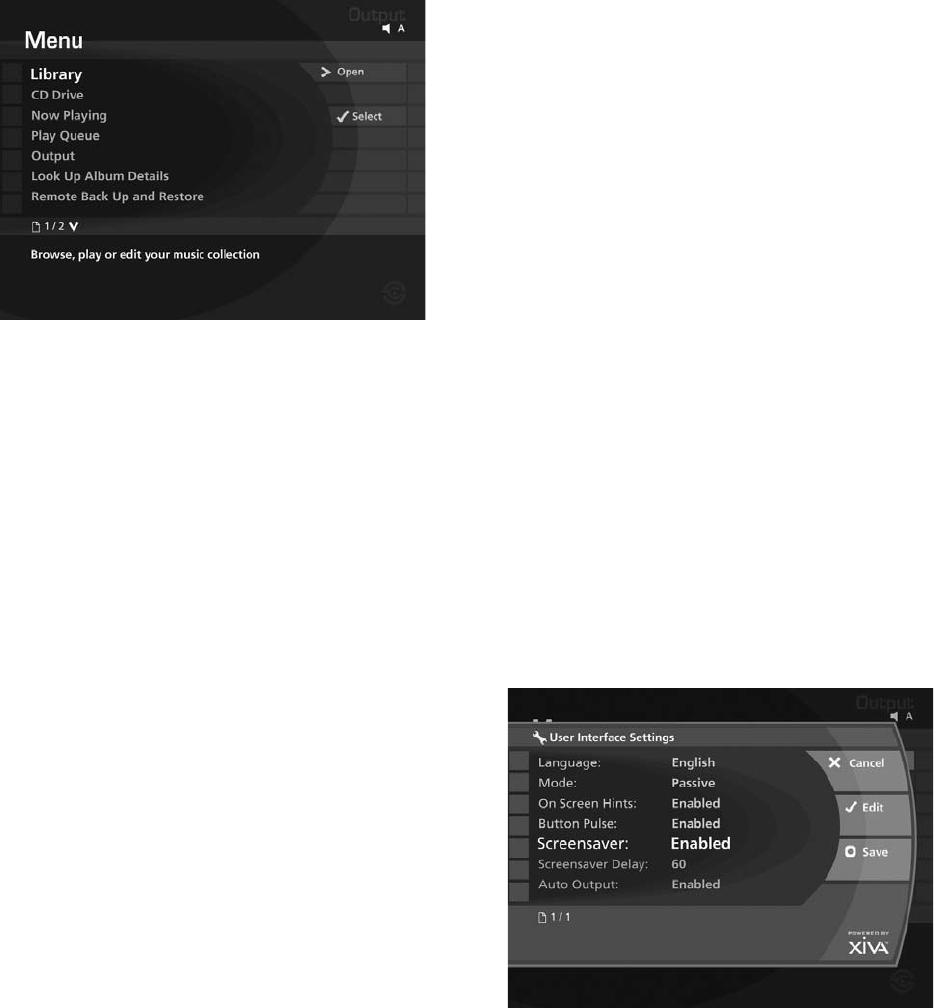
displayed:
The options available from the Main Menu are as
follows:
Library
Select this function to display the Library screen. The
Library stores all of the music you record on to the hard
disk of your Audio Server.
See page 13 for information regarding the library and
navigation techniques.
CD Drive
Select this function to display the CD Drive screen. The
CD Drive function is used to record or play CDs from the
CD tray.
See the chapter entitled Recording Music on page 12 for
more information about the CD Drive screen.
Now Playing
Select this function to display the Now Playing screen for
the currently selected audio output. You can also view
this screen by pressing the
•
Now Playing key on the
remote control.
The Now Playing screen is explained in more detail in the
section entitled Playback Information on page 19.
Play Queue
Select the Play Queue option to view the library items
queued to play on the currently selected audio output.
For details about using the play queue feature see the
section entitled The Play Queue on page 21.
Output
Select this function to choose which of the available
audio outputs you wish to control.
Changing the controlled audio output is explained in
greater detail in the section called Switching Audio
Outputs on page 20.
Look Up Album Details
Select this function to display the Look Up Album Details
screen. If you have an Internet connection, use this
function to retrieve album details from the Internet.
Refer to the section entitled Recording Music, which
starts on page 12, for more information about this
function.
Remote Back Up and Restore
Select this function to display the Remote Back Up and
Restore screen. This function allows you to back up all
of the music in your Library to a selected location.
The chapter explaining remote back up and restore
begins on page 32.
Set Up
Select this function to display the Set Up screen. From
here you can view and amend important settings used by
your Audio Server.
For more information refer to the chapter titled System
Set Up on page 24.
THE SCREENSAVER
The Audio Server is equipped with a screensaver which
will activate when the unit remains idle for a specied
period of time. You may choose to disable to the screen
saver or alter the time delay before it activates.
Note: It is strongly recommended that you leave the
screensaver enabled if you are using a plasma or rear
projection television to display the user interface.
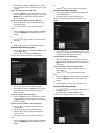
To change the screensaver settings
Press the
J
Menu key on your Audio Server remote
control to display the Main Menu screen.
Use the
U
or
V
keys to select the Set Up option.
Press the
O
Select key.
Use the
U
or
V
keys again to select the User
Interface Settings option.
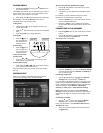
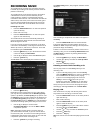
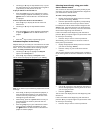
The following screen is displayed:
To alter the time delay before the screensaver activates
Use the
U
or
V
keys to select the Screensaver
Delay option.
Select an option between 5 and 60 minutes and
press the
M
Save key.
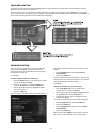
To disable the screensaver
Use the
U
or
V
keys to select the Screensaver
option.
Select Disable and press the
M
Save key.
•
•
•
•
•
•
•
•


