Page 12
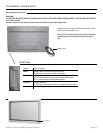
TV Installation – Rear Panel Connections
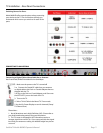
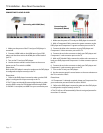
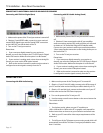
CONNECTING TO A DVD PLAYER
1. Make sure the power of the TV and your DVD player is
turned o.
2. Connect a HDMI cable to the HDMI port of your DVD
player and the other end to the HDMI port o the back of
your TV.
3. Turn on the TV and your DVD player.
4. Use the remote control’s source button or the source
button on the TV to switch to HDMI.
Please Note :
Refer to the DVD player’s manual to make sure the DVD player
is congured to output correctly to the TV.
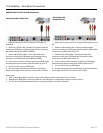
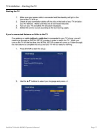
1. Make sure the power of TV and your DVD player is turned o.
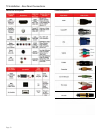
2. With a Component Cable, connect the green connector to the
DVD player and Component 1’s green connector port on the TV.
3. Connect the blue color connector to your DVD player and
Component 1’s blue connector port on the TV.
4. Connect the red color connector to both your DVD player and
Component 1’s red connector port on the TV.
5. With an RCA Audio Cable, connect the white color connector to
both your DVD player and Component 1’s white connector port on
the TV.
6. Connect the red color connector to both your DVD player and
Component 1’s red connector port on the TV.
7. Turn on the TV and your DVD player.
8. Use the remote control’s source button or the source button on
the TV to switch to YPbPr.
Please Note :
1. If Component 1 is already occupied, please use Component 2 as
your connection port and switch to source YPbPr2.
2. Refer to the DVD player’s manual to make sure the DVD player
is congured to output correctly to the TV.
4. This TV will turn o automatically if there’s no signal present for
more than 15 minutes.
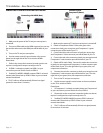
Connecting with HDMI (Best)
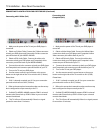
Connecting with
Component (Better)
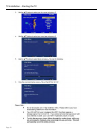
Please Note :
1. Refer to the DVD player’s manual to make sure the DVD
player is congured to output correctly to the TV.
2. This TV does not decode Bit stream digital audio, so make
sure the DVD is setup for PCM digital audio through HDMI.
3. If HDMI 1 is occupied, use HDMI 2 as your connection port.


