DVR4-5500™ Operating Instructions
12
4.2.2 Advanced Settings
To get to the ADVANCED CONFIGURATION settings for recording:
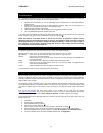
1. Open the MENU and scroll down to the ADVANCED CONFIG.
2. Select the RECORD option.
There are a number of options that you can configure or engage here, such as:
1. Engaging the manual record override. This will make the DVR record constantly, regardless of whether
TIMER RECORD or MOTION RECORD modes are engaged.
2. Activating or deactivating the EVENT RECORDING and TIMER RECORDING modes. If these are
deactivated, the conditions specified in the QUICK START menu will not trigger the DVR to record.
3. EVENT RECORD IPS / TIMER RECORD IPS – you are able to configure custom IPS settings for different
recording modes here. In addition, the highest applicable setting takes effect. For example, you could set
the DVR to record for a period at 3 images per second and when it detects motion, increase the IPS to a
much higher setting.
4. OVERWRITE: You can disable the default overwrite mode of the DVR. When OVERWRITE is set to OFF,
and the DVR hard drive fills up, it will simply stop recording, rather than record over the oldest footage first
(its default behaviour).
4.3 Programming the Timer
To most efficiently use the DVR, it is important to set the timer carefully. The instructions that follow cover setting the
timer for both TIMER RECORDING and EVENT RECORDING modes.
1. Open the MENU.
2. From the QUICK START page, select either the RECORD TIMER or the EVENT TIMER (whichever you
want to set – you can set both to operate at once, but you must program each separately).
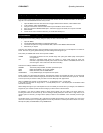
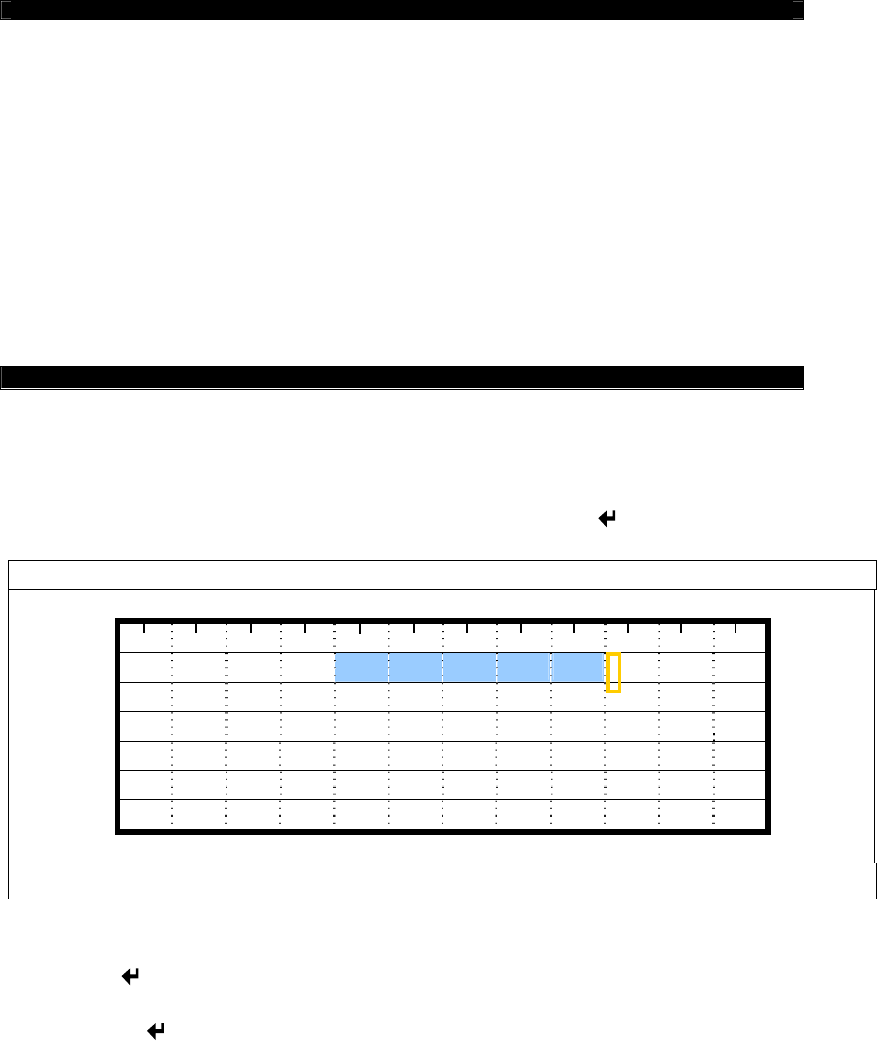
3. Set the applicable TIMER status to ON. Then, whilst ON is highlighted, press
. The following window will
appear:
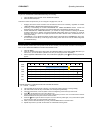
4. The horizontal axis shows hours of the day, in 24-hour time (0 being midnight, 12 being midday)
5. The vertical axis shows the days of the week, from Sunday through Saturday.
6. Using the arrow buttons, move the yellow cursor to the beginning of the interval you want to set.
7. Press
to set the start point. The cursor will turn red.
8. Use the arrow buttons to move to the end point of the period you wish to set. You’ll notice that a blue bar
stretches between the start point and the cursors location.
9. Press the
button again to set the end point. The cursor will turn yellow again, and you are able to repeat
the process from step 4 to create another active interval.
10. When you have set all the intervals you want, press the MENU button to exit this screen.
11. Repeat this process if you wish to set a timer for an alternate recording mode.
RECORD / DETECTION TIMER
0 2 4 6 8 10 12 14 16 18 20 22 24
SUN
MON
TUE
WED
THU
FRI
SAT
PLEASE CONSULT YOUR INSTALLER FOR ADVANCE SETTINGS
uv s t MOVE SELECT


