18
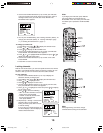
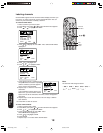
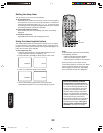
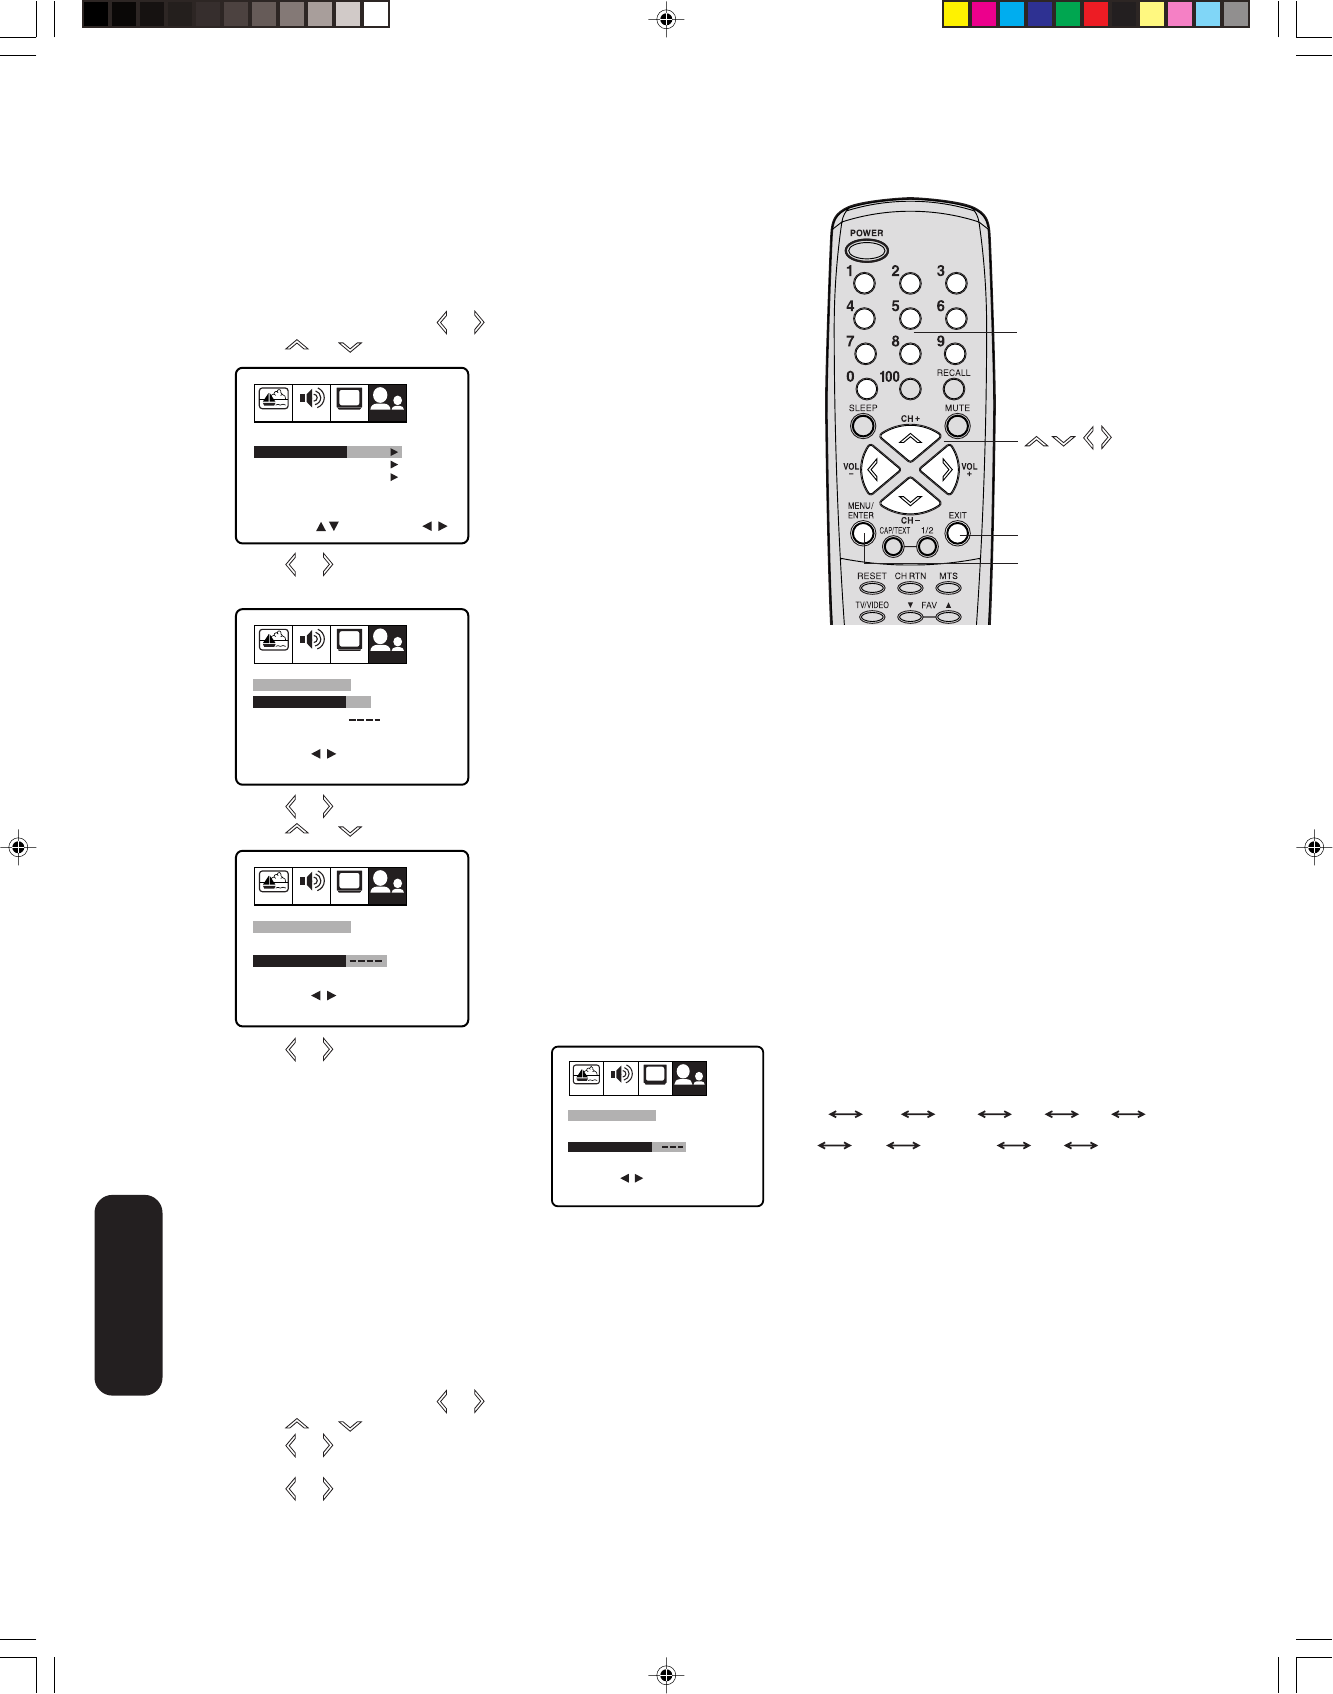
7. Press or to enter a character in the
first space. Press the button repeatedly
until the character you want appears
on the screen. Press ENTER.
8. Repeat step 7 to enter the rest of the
characters.
If you would like a blank space in the
label name, you must choose a blank
space from the list of characters; otherwise, a dash will appear in
that space.
9. Repeat steps 1–8 for other channels. You can assign a label to
each channel.
10. Press EXIT to clear the screen.
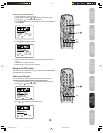
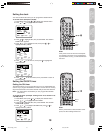
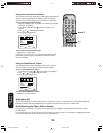
To erase channel labels:
1. Select a channel with a label.
2. Press MENU, then press
or until the OPTION menu appears.
3. Press
or to highlight CH LABEL.
4. Press or to display the CH LABEL menu.
SET/CLEAR will be highlighted.
5. Press
or to highlight CLEAR.
6. Press ENTER.
7. Repeat steps 1–6 to erase other channel labels.
Note:
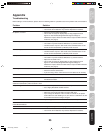
The character will change as below.
SPACE
–0 9
+
• • •
–
• • •
A
Z
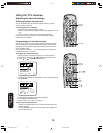
Labeling channels
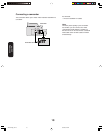
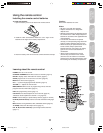
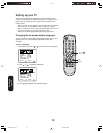
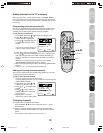
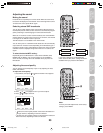
Channel labels appear over the channel number display each time you
turn on the TV, select a channel, or press the Recall button. You can
choose any four characters to identify a channel.
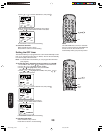
To create channel labels:
1. Select a channel you want to label.
2. Press MENU, then press
or until the OPTION menu appears.
3. Press or
to highlight CH LABEL.
4. Press
or to display the CH LABEL menu. SET/CLEAR will be
highlighted.
5. Press or to highlight SET.
6. Press
or to highlight LABEL.
PICTURE AUDIO SETUP
CH
OPTION
SELECT START
CH LABEL START
START
DVD
FAVORITE CH
LOCK
OFF
ON/OFF TIMER
COLORSTREAM
ENGLISHLANGUAGE
START
PICTURE AUDIO SETUP
CH
OPTION
SET/CLEAR SET CLEAR
CH LABEL : CH 12
LABEL
END EXIT
SET ENTER
SELECT
PICTURE AUDIO SETUP
CH
OPTION
SET/CLEAR SET
CH LABEL : CH 12
LABEL
END EXIT
SET ENTER
SELECT
PICTURE AUDIO SETUP
CH
OPTION
SET/CLEAR SET
A
CH LABEL : CH 12
LABEL
END EXIT
SET ENTER
SELECT
Menu/
Enter
Exit
Channel
Numbers
Using the TV’s
Features
3U50101A(E)_P14-23 3/31/05, 6:19 PM18


