


English
24
1/2
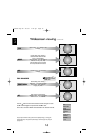
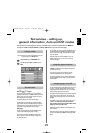
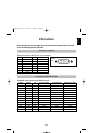
SET UP
Language English
Country UK
Auto tuning
OK
Manual tuning
OK
AV connection
OK
Picture position
OK
MENU
Back
EXIT
Watch TV
1/2
SET UP
Language English
Country UK
Auto tuning
OK
Manual tuning
OK
AV connection
OK
Picture position
OK
MENU
Back
EXIT
Watch TV
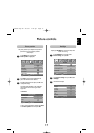
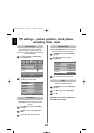
HDMI audio
If the connected HDMI source does not support digital
audio, plug the audio cable into PC/HDMI1 audio on the
back of the television (as shown in the ‘Connecting a
computer’ section), then use the HDMI1 audio settings.
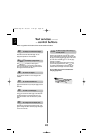
In the SET UP menu press
e
until
AV connection is highlighted, then press OK.
2
3
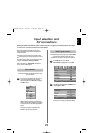
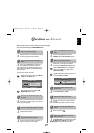
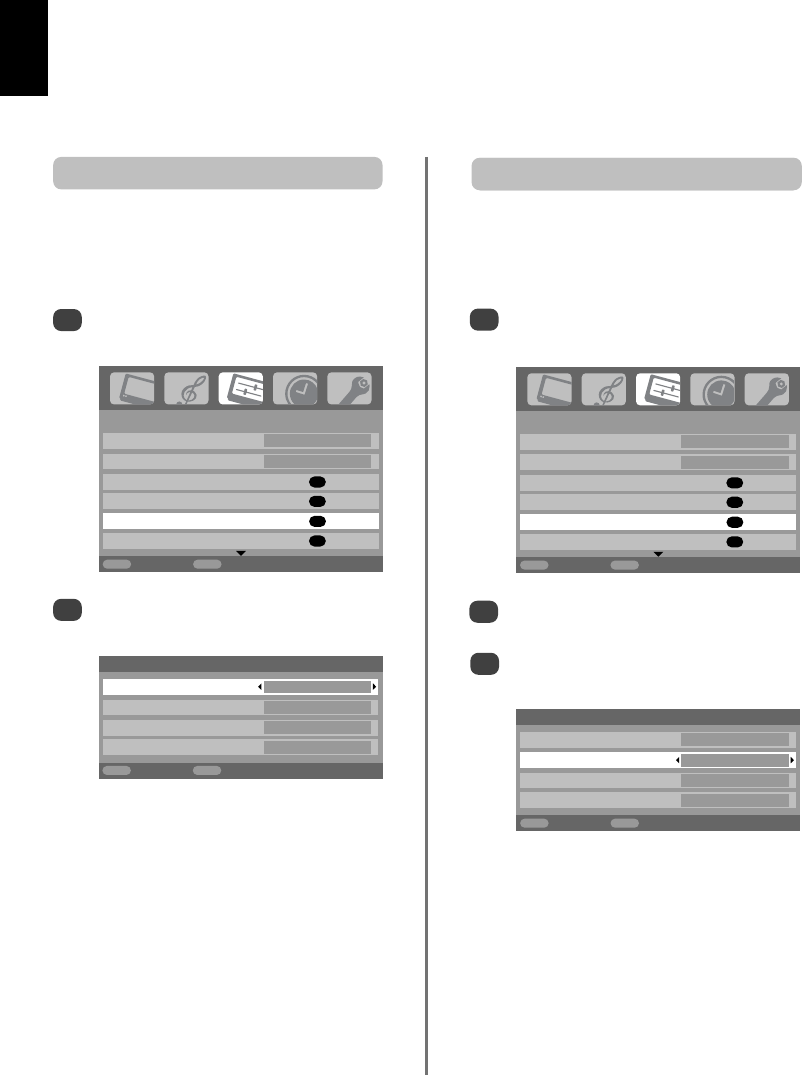
In the AV connection menu press
e
to highlight
PC/HDMI1 audio and using
x
select HDMI1.
Then highlight HDMI1 audio and using
z
or
x
select Auto., Digital or Analogue.
1
Input selection and
AV connections
continued
HDMI, the HDMI logo, and High-Definition Multimedia
Interface are trademarks or registered trademarks of HDMI
Licensing, LLC.
HDMI1 audio
AV connection
PC/HDMI1 audio PC
HDMI1 audio Digital
EXT2 input AV
Woofer Internal
MENU
Back
EXIT
Watch TV
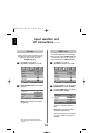
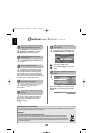
AV connection
PC/HDMI1 audio HDMI1
HDMI1 audio Digital
EXT2 input AV
Woofer Internal
MENU
Back
EXIT
Watch TV
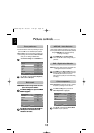
Highlight PC/HDMI1 audio then use
x
to select
the PC option.
2
NOTE: Selecting the PC option will force HDMI
into digital audio.
In the SET UP menu press
e
until
AV connection is highlighted, then press OK.
1
In order to receive sound from a connected PC, plug the
audio cable into the back of the television (as shown in
‘Connecting a computer’ section), then use the
PC/HDMI1 audio settings.
PC audio
If the sound is missing select an alternative
setting.
NOTE: HDMI1 supports digital and analogue
sound, HDMI2 is digital sound only.
Certain formats of DVD disk may not output from
this TV (32/44.1/48kHz and 16/20/24 bits are
acceptable).
*
C3000P Eng OM 26/1/07 4:48 pm Page 24