VIZIO VW26L HDTV10F User Manual
2.6 Connecting Your VCR or Video Camera
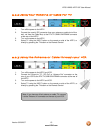
1. Turn off the HDTV and VCR or Video Camera.
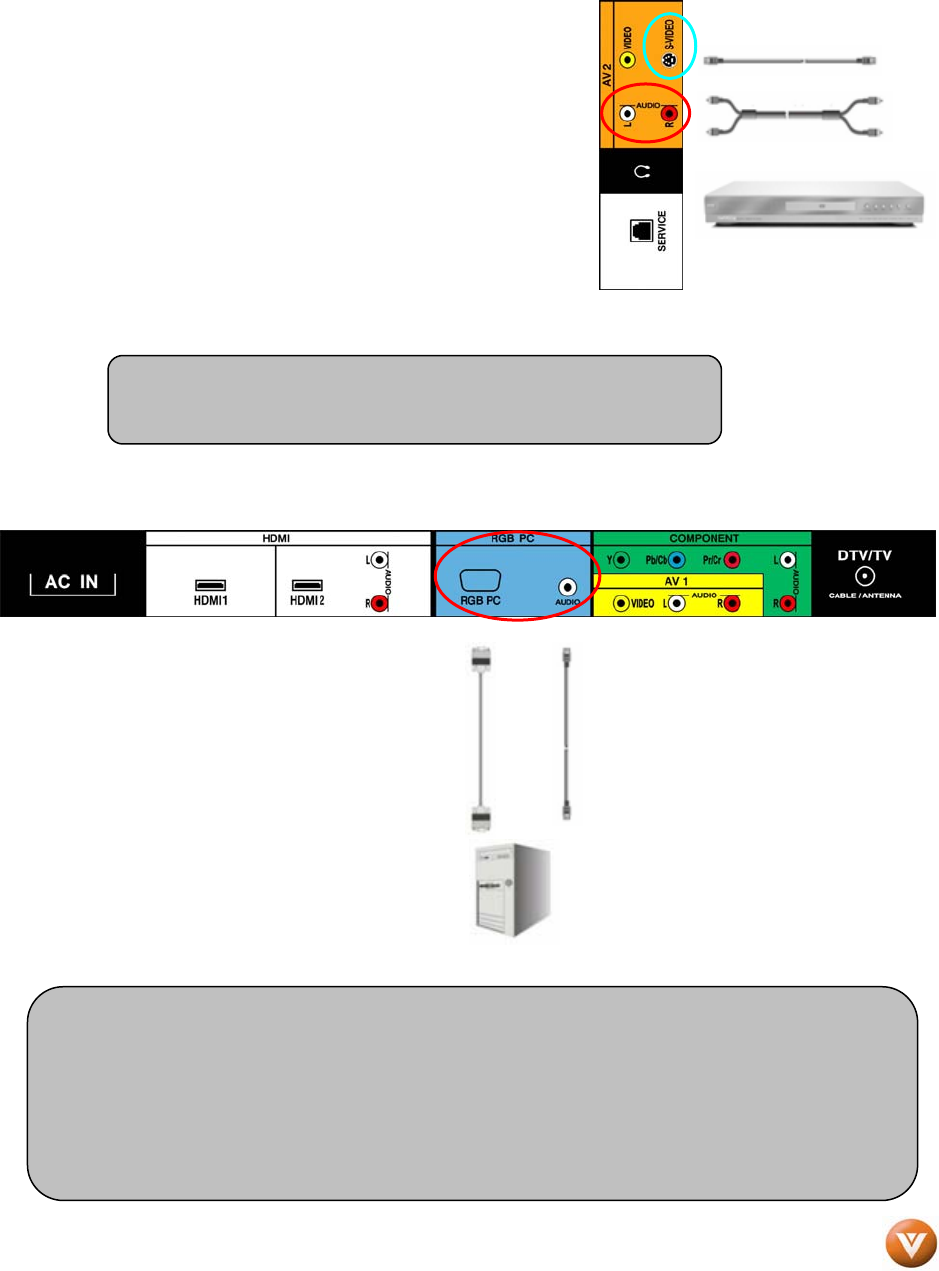
2. Connect the S-Video jack on the rear of your VCR or
Video Camera to the S-Video jack in the AV2 group
on the side of the HDTV.
3. Connect an audio cable (white and red connectors)
cable to the audio output connectors associated with
the S-Video output on your VCR or Video Camera
and connect the other end to the audio connectors
associated with the AV2 input on the side of the
HDTV.
4. Turn on the power to the HDTV and VCR or Video
Camera.
5. Select AV2 using the INPUT button on the remote or
side of the HDTV, or directly by pressing the AV button on the Remote Control.
Note: Refer to your VCR or Video Camera user manual for more
information about the video output requirements of the product.
2.7 Connecting Connecting a PC Computer
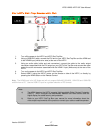
1. Turn off the power to the HDTV and
PC Computer.
2. Connect a 15-pin D-Sub RGB (VGA)
cable to the RGB output of your pc
computer and the other end to the
RGB PC input (blue area) at the rear
of the HDTV.
3. Connect the Audio Out on your pc
computer to the RGB PC Audio input
(blue area) at the rear of the HDTV.
4. Turn on the HDTV and PC Computer.
5. Select RGB using the INPUT button
on the remote or side of the HDTV, or directly by pressing the RGB button on the Remote.
Note:
a) For the best picture quality when connecting a pc computer through RGB PC, set
your pc computer timing mode to VESA 1366x768 at 60Hz. Please refer to the pc
or graphic card’s user guide for additional information on how to set the timing
mode and the video output requirements of the product.
b) A RGB (VGA) cable and stereo mini jack cable are not included and can be
purchased at an electronics store.
Version 9/20/2007 23
www.VIZIO.com


