ENGLISH
5050
Advanced Recording
Setting the White Balance
✤ The White Balance function works in both <Camera> and <M.Cam> modes. ➥page 19
✤ The White Balance is a recording function that preserves the unique image colour of the object in any recording condition.
✤ You may select the appropriate White Balance mode to obtain good quality image colour.
■
<Auto ( )> : This mode is generally used to control the White Balance automatically.
■
<Indoor ( )> : This controls the White Balance according to the indoor ambience.
- Under halogen or studio/video lighting
- Subject is of one dominant colour
- Close up
■
<Outdoor ( )> : This controls the White Balance according to the outdoor ambience.
- In daylight, especially for close up and where the subject is of one dominant colour.
■
<Custom WB ( )> : You can adjust the white balance as you wish based on the shooting
environment.
1. Set the [Power] switch to [CAMERA].
2. Set the [Mode] switch to [TAPE] or [MEMORY].
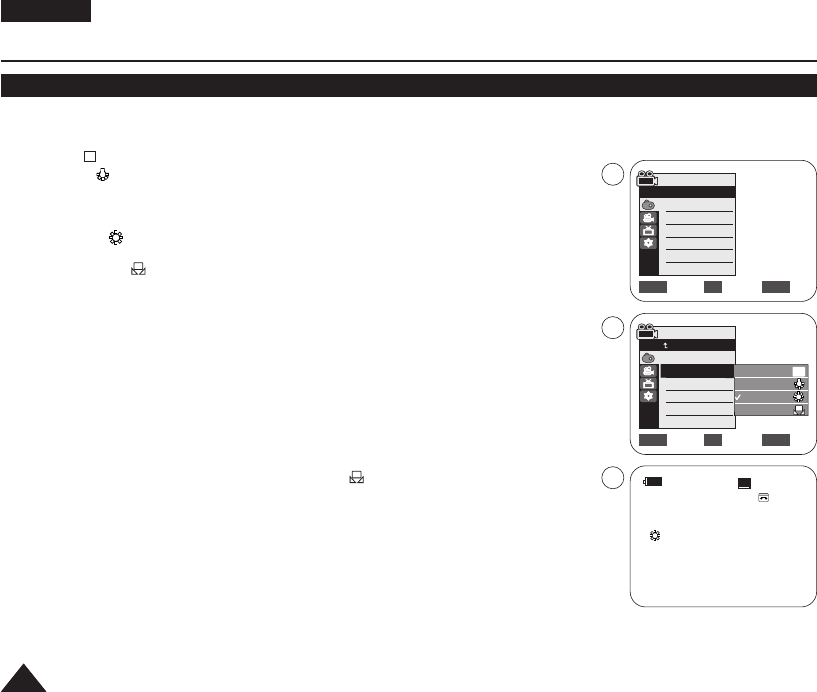
3. Press the [MENU] button.
■
The menu list will appear.
4. Move the [Zoom] lever up or down to select <Camera>, then press the [OK] button.
5. Move the [Zoom] lever up or down to select <White Balance>, then press the [OK] button.
6. Move the [Zoom] lever up or down to select desired mode <Auto>, <Indoor>, <Outdoor> or
<Custom WB>, then press the [OK] button.
■
To explain about the Custom WB:
-
Select Custom WB and press the [OK] button. (“Set white balance” will appear and blinks on the screen.)
- Place the white object under the desired lighting then press the [OK] button. (The “set white
balance” will disappear and the Custom WB icon ( ) will be displayed.)
7. To exit, press the [MENU] button.
■
When the <Auto> mode is selected, no icon is displayed.
[ Notes ]
■
Direct accessing the White Balance function is available simply using the [QUICK MENU] button.
➥page 20
■
The White Balance function will not operate in EASY.Q mode.
■
Turn the Digital Zoom off (if necessary) to set a more accurate white balance.
■
Reset the white balance if lighting conditions change.
■
During normal outdoor recording, setting to Auto may provide better results.
■
Buttons other than EASY.Q, [MENU] and [OK] will not work during setting the Custom WB.
■
Pressing the [MENU] button while setting the Custom WB will cancel the Custom WB setting and sets the White Balance to Auto.
A
60min
0:00:10
SP
STBY
7
œ
<When the Outdoor option was selected>
√Auto
√Auto
√Off
√Off
√Off
√Off
Move Select Exit
MENUOKZOOM
Camera Mode
√Camera
Program AE
White Balance
Visual Effect
16:9 Wide
DIS
Digital Zoom
Move Select Exit
MENUOKZOOM
Auto
Indoor
Outdoor
Custom WB
A
4
6
Camera Mode
Back
Program AE
White Balance
Visual Effect
16:9 Wide
DIS
Digital Zoom
01040E VPD963 UK~066 3/20/06 12:32 PM Page 50


