


AVerMedia User’s Manual
EYES Pro/MP2016/MP3000/MP5000
113
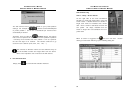
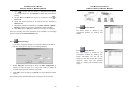
4. Click to confirm the time setting. A settled time will appear
on the right blank box. Click Delete to delete the previous time
setting.
5. Set the Start and End time by the up and down arrows
in
Time field.
6. Check the desired cameras to be involved into the schedule in
Camera field.
7. Mentioned comment is allowed by using Add/ Delete/ Update/
Restore buttons for the further information while recording.
8. Click Ok to save or Cancel to delete the previous arrangement.
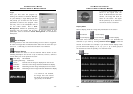
Once the recording has been generated as the schedule, the recording
status is observed in Channel Status field.
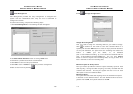
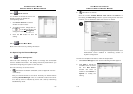
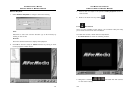
6.2.5
Network Setup
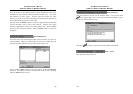
If you want to transmit images for remote surveillance via TCP/IP,
first click this button to pop up the following dialogue.
1. Select TCP port connecting to server via Auto assignment or
specify at least 32 ports at a range from 1025 to 65535 for
transferring image and receiving commands.
2. Click OK to save the setting or Cancel to quit the dialogue without
saving.
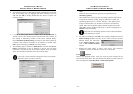
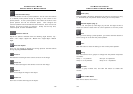
The following is the detailed illustration to configure the connection:
AVerMedia User’s Manual
EYES Pro/MP2016/MP3000/MP5000
114
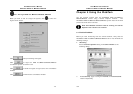
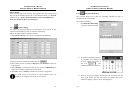
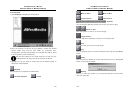
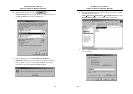
6.2.6
Sensor Status
The sensor status is viewed on the
consequent window by clicking this
button.
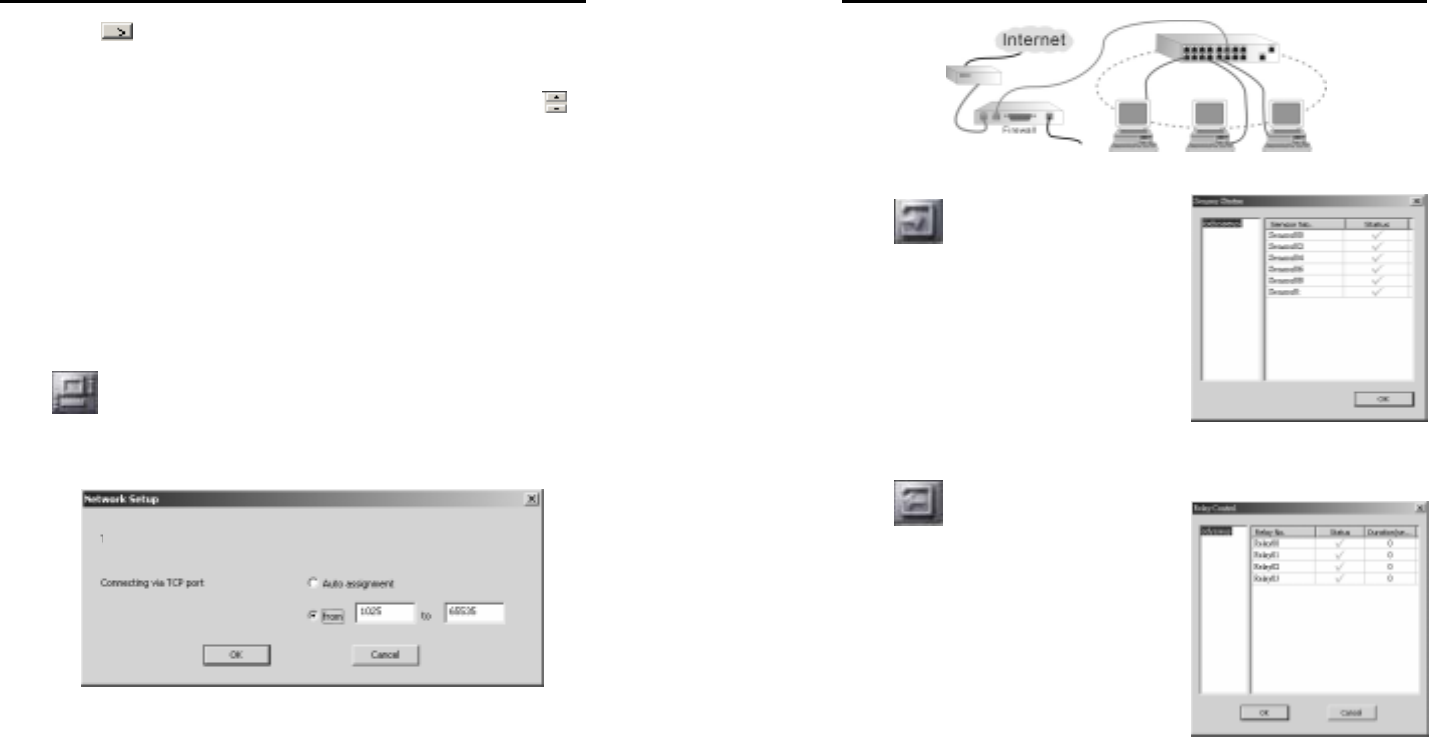
6.2.7
Relay Status
The relay status is viewed on the
consequent window by clicking this
button. Otherwise, you can set the
duration of the relay output after a relay
triggered. Note that the duration
value ”0” denotes the incessant relay
output.