


15
651/751BDazur
ENGLISH
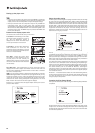
Setting up the player
Accessing the Easy Setup Wizard
When the player is turned on for the first time, an Easy Setup Wizard
screen will appear. This is a series of guided instructions designed to
configure the basic settings for the unit.
NNoottee::
If the Easy Setup Wizard has previously been completed or
cancelled, it will no longer initiate when you turn on the unit. To access
Easy Setup Wizard again, press the Setup button on the remote control,
select Device Setup, then Reset Factory Default. Select "OK" to confirm
loading the factory default settings. Once the factory default settings are
loaded the Easy Setup Wizard will appear again.
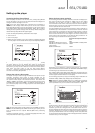
To start the Easy Setup Wizard, please follow these steps:
1. Turn on the TV.
2. Turn on the player.
3. Switch the input selection on your TV so that the TV displays the signal
from the player. You should see the first step of the Easy Setup Wizard.
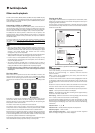
The first step of the Easy Setup Wizard gives you the opportunity to skip
the entire wizard. If you are familiar with setting up audio/video
equipment and would like to fully customize the player settings using its
setup menu, you may use the button to select the
"Cancel" option,
then press the Enter button to exit the Easy Setup Wizard.
Use the buttons to select the language, then press Enter button to
continue with the Easy Setup Wizard.
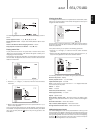
Choose the primary video output
The player can output video through its HDMI and component output
terminals. Composite video output is always available but not
recommended. By setting the "Primary Video Output" option, the player
can optimize video output of the selected terminal. The choices are
"HDMI 1", "HDMI 2" and "Analog". If you connect the player to the TV using
an HDMI cable, please select "HDMI 1" or "HDMI 2" correspondingly. If
you connect the player to the TV using component video cables, please
select "Analog".
NNoottee::
The best performance will be provided over the HDMI connection.
Between the two HDMI outputs, HDMI 1 should be given priority for use
since it benefits from the superior Marvell QDEO video processing
solution.
To make your selection, use the buttons to highlight the choice, and
then press the Enter button to go to the next
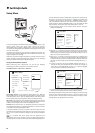
Select the best output resolution
For the latest generation of 1080p, "Full HD" or "True HD" TV displays, the
best output resolution will naturally be 1080p. For all other digital
televisions this will likely be 720p or 1080i. These are general
recommendations that work for most users, but there can be exceptions.
Advanced users may want to try all supported resolutions and choose the
one that provides the best visual result.
The 651/751BD supports a special "Source Direct" output resolution on
its HDMI output. This resolution is recommended for use with external
video processors or high-end TVs with high quality scalers. In "Source
Direct" mode, the player works as a "transport". It decodes video from the
discs and then sends the raw video signal in its native resolution and
format, without extra processing, to the external video processor or TV.
The actual output resolution thus varies by content:
Content Source Direct Output Resolution
PAL DVD 576i
NTSC DVD 480i
Most Blu-ray Movies (film-source) 1080p 23.976Hz or 1080p 24Hz
Most Blu-ray TV shows or Concerts 1080i
(video-source)
SACD and DVD-Audio 1080i
Depending on your selection of "Primary Video Output", the available
output resolution selections will differ. For the HDMI 1 and HDMI 2 output,
the following output resolutions are available:
Auto, 1080p, 1080i, 720p, 480p/576p, 480i/576i, and Source Direct. If
"Auto" is selected, the player will determine its output resolution based on
the best signal resolution that the TV can display.
For the Analog (component) output, the following output resolutions are
available: 1080p, 1080i, 720p, 480p/576p and 480i/576i.
NNoottee::
1080p only applies to HDMI output, if it is selected for component
video outputs, it will automatically be down-scaled to 1080i. Please refer
to the specifications of your TV to find the best resolution to use.
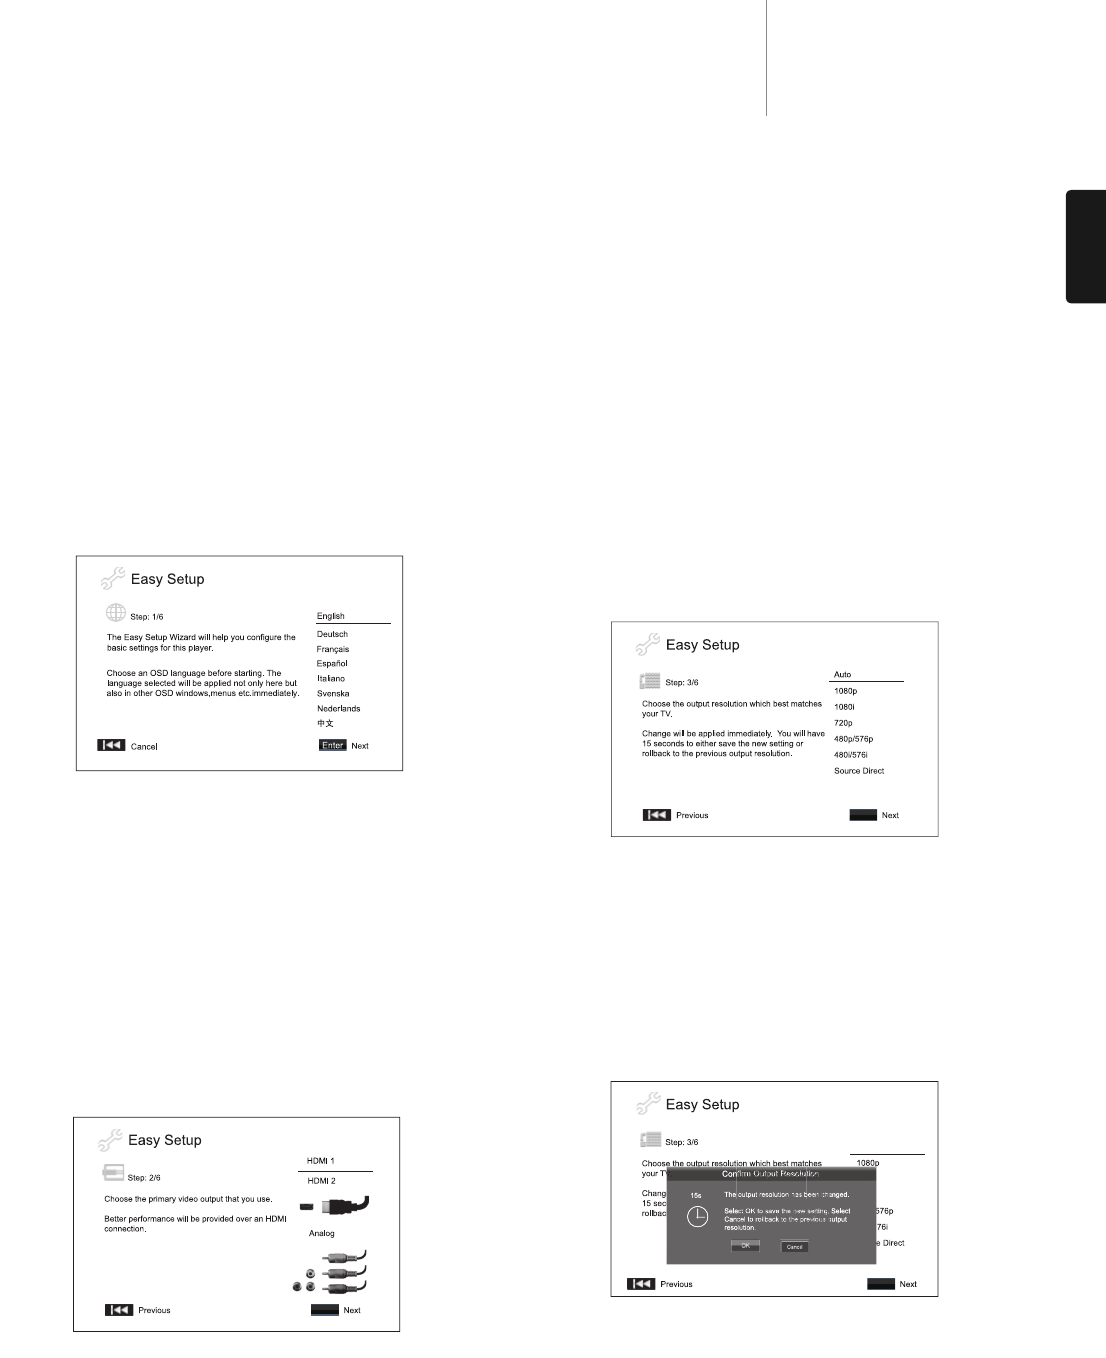
Press the buttons to select the desired output resolution, then press
the Enter button. The player will apply the selected output resolution and
ask you to confirm the selection. If your TV supports the selected
resolution, you will see a dialog box with a countdown clock. Use the
button to highlight the
"OK" option and press the Enter button to save the
resolution setting. If your TV does not support the selected resolution,
you may see a black screen or an error message. In this case please wait
for 15 seconds and the Easy Setup screen will reappear. Select a different
resolution that your TV can support.
Enter
Enter
Enter
Auto
Enter
Enter
Enter
E
nter
E
nter
E
nter
Auto
Enter
Enter
Enter
Enter
Enter
Enter
Auto
Enter
Enter
Enter
Enter
Enter
Enter
Auto
Enter
Enter
Enter