


12
PREPARATION
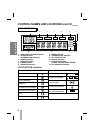
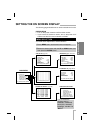
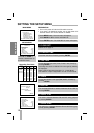
SETTING THE SETUP MENU
6. AUDIO PLAY
5. DISPLAY
3. VHS-TAPE
2. ELAPSED TIME
1. CLOCK SET
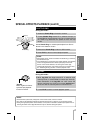
MAIN MENU
SETUP MENU
Press UP or DOWN to
choose a desired item on
the SETUP menu.
Choose the camera’s color type (B/W, AUTO, COLOR) by
pressing
ENTER
.
The time/date DISPLAY is switched between ON and OFF by
pressing ENTER.
The audio is switched between ON and OFF during playback
by pressing ENTER.
Details are on page 13.
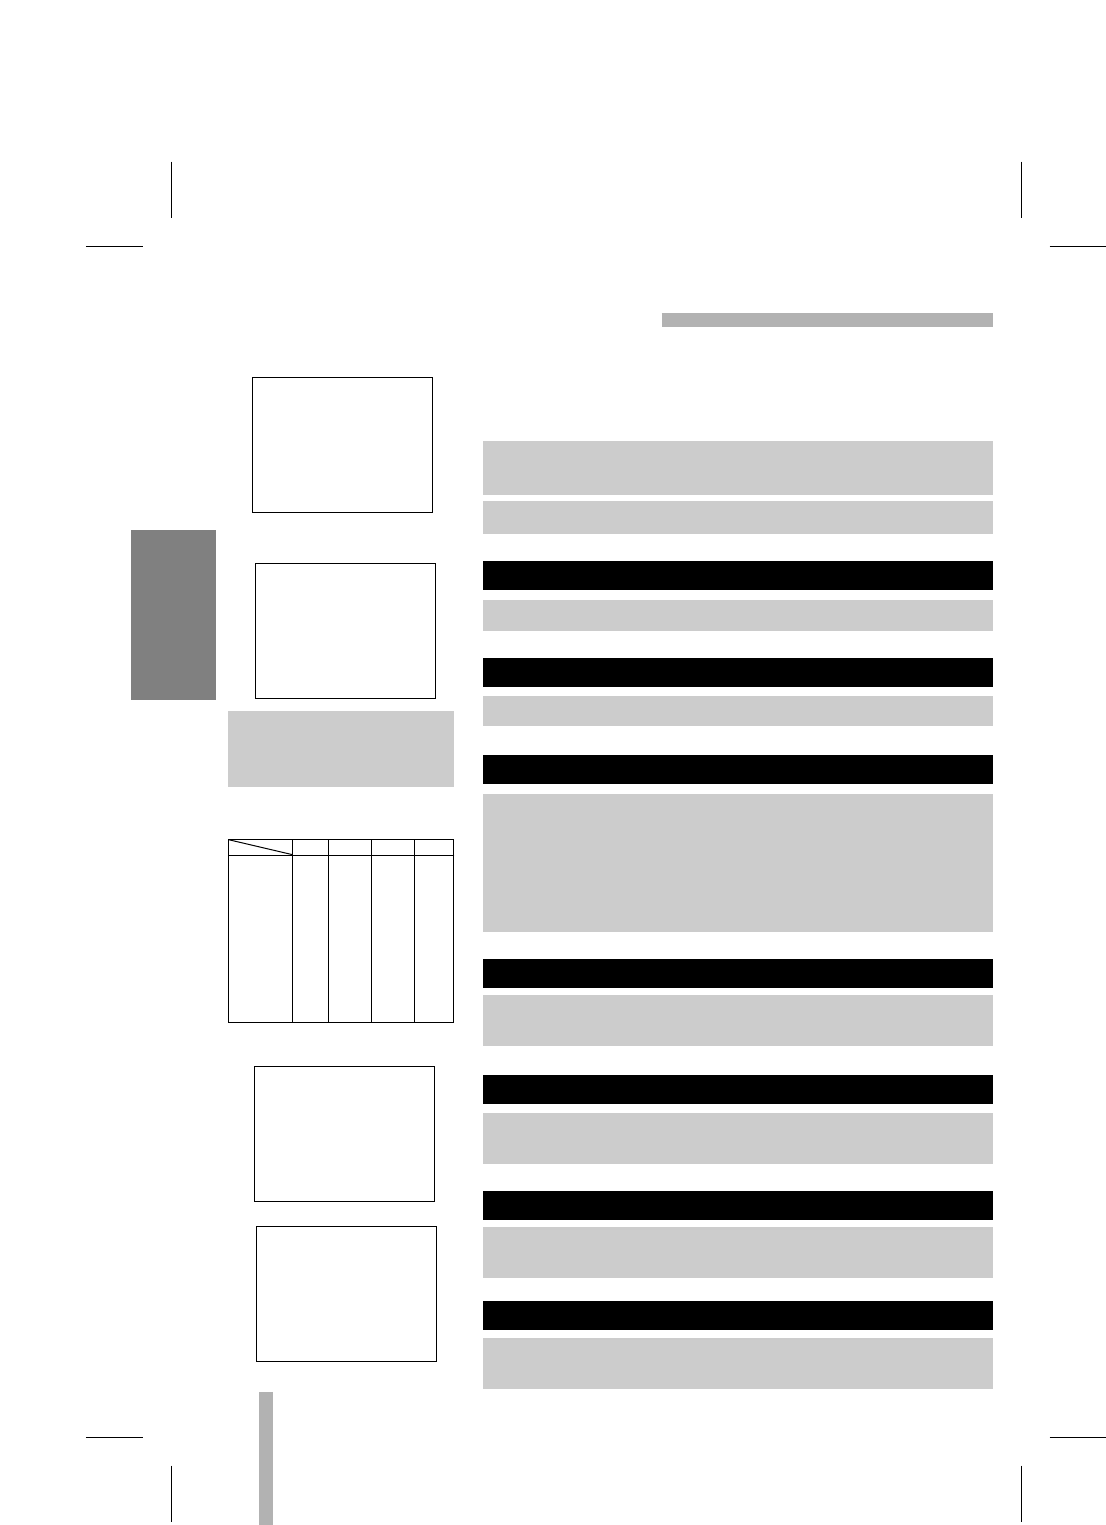
Check the used time of head by pressing
ENTER
.
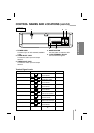
Choose the tape type used (T-120, T-160, T-180, T-210) by
pressing ENTER.
Recording time mode on OSD & FLD is changed by selecting
the tape type.
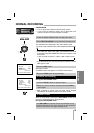
Refer to the left recording time table. (*L : Linear Mode)
The selection of tape is supposed to ‘T-120’ on this manual.
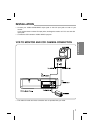
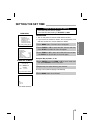
PREPARATION
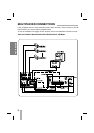
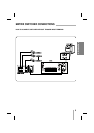
•Turn on the power of both the VCR and the monitor.
• If you have a TV instead of monitor, turn on the power of TV
and then set the TV’s source selector to VIDEO.
1 Press MENU button. The main menu will appear.
Press DOWN or UP to choose VCR SET UP.
2 Press ENTER button. The VCR SET UP menu will appear.
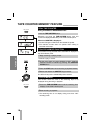
VCR SET UP
CLOCK SET
ELAPSED TIME
VHS-TAPE T-120
VIDEO AUTO
DISPLAY ON
AUDIO PLAY ON
QUASI V-SYNC ON
(UP) (DOWN) (ENTER) (MENU)
VCR SET UP
CLOCK SET
ELAPSED TIME
VHS-TAPE T-120
VIDEO AUTO
DISPLAY ON
AUDIO PLAY ON
QUASI V-SYNC ON
(UP) (DOWN) (ENTER) (MENU)
ELAPSED TIME
DATE OF FIRST USE:
01/01/03
PERIOD IN USE:
00004 HOURS
(MENU)
MENU
VCR SET UP
REC MODE SETUP
TIMER REC SET UP
ALARM SET UP
POWER FAIL RECALL
LANGUAGE ENGLISH
(UP) (DOWN) (ENTER) (MENU)
7. QUASI-SYNC
The quasi-sync is switched between ON and OFF during play-
back by pressing ENTER.
T-120 T-160 T-180 T-210
L6H L8H L9H L10H
L18H L24H L27H L31H
L30H L40H L45H L52H
72H 104H 117H 136H
96H 136H 153H 178H
120H 168H 189H 220H
168H 232H 261H 304H
240H 328H 349H 430H
480H 648H 729H 850H
960H 1288H 1449H 1690H
000H 000H 000H 000H
Recording Time Table
tape type
Recording
time mode
displayed on
OSD & FLD
4. VIDEO