


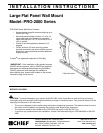
Installation Instructions
4
INSTALLATION
MOUNT INSTALLATION
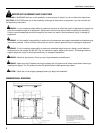
WARNING: It is the responsibility of the installer to
verify that the wall to which the mount is anchored will
safely support the combined load of all attached
components and equipment.
1. Determine approximate mounting location, keeping in
mind the display size.
NOTE: The mount is to be installed on dual wood studs
or other equivalent vertical or horizontal
supporting framework.
2. Use a stud sensor to locate the two wood studs. Mark
locations with a pencil.
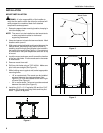
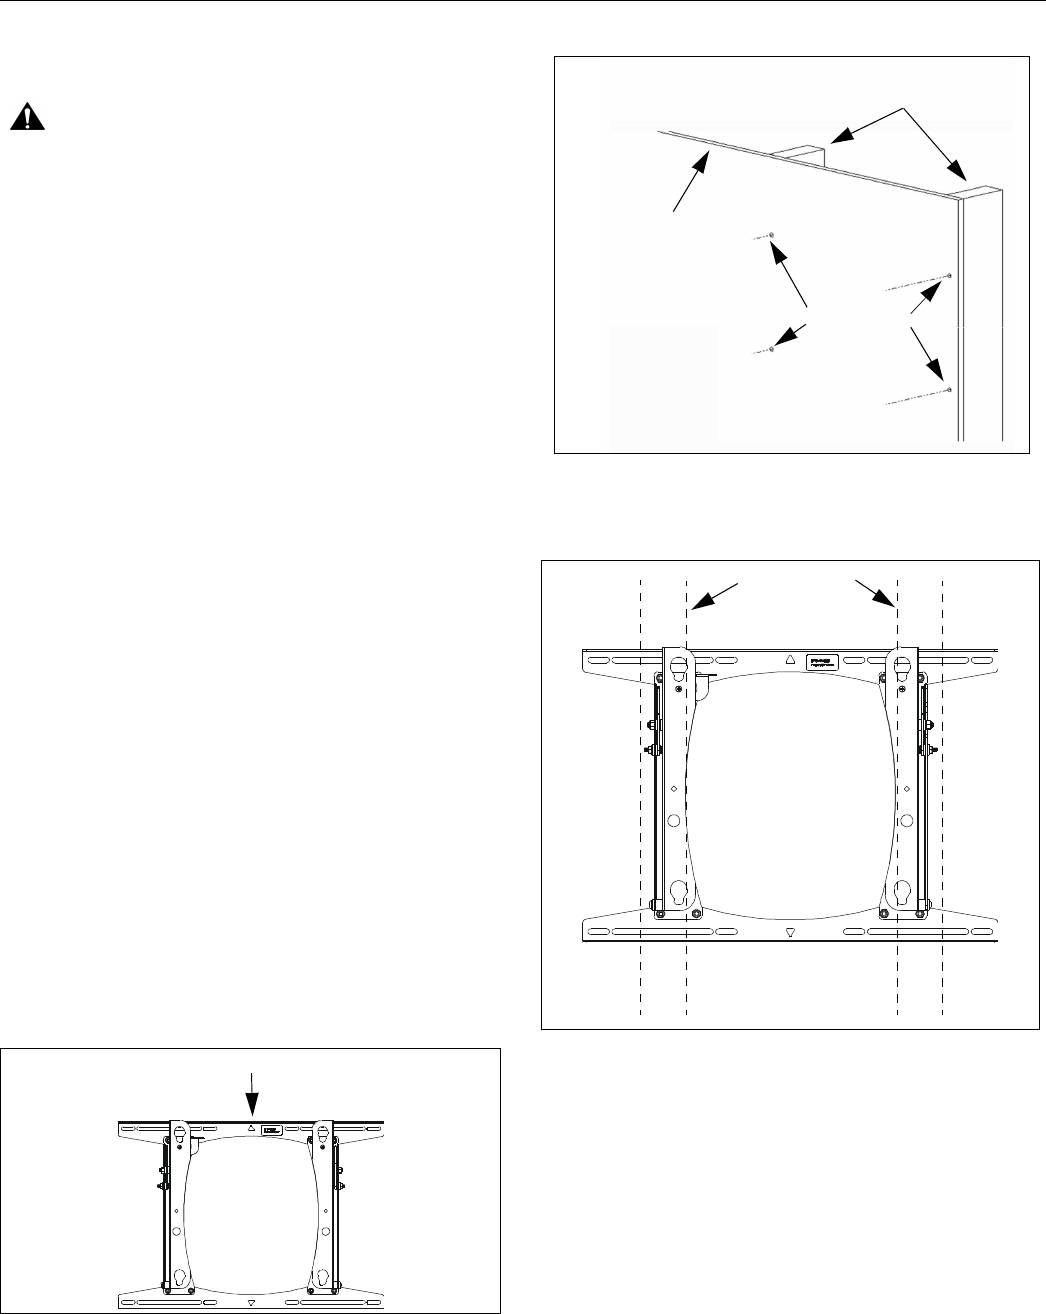
3. With mount at desired height and located between the
marked studs, temporarily hang mount on wall by
installing a nail through the triangular hole located in
the center of the mount (See Figure 1). Ensure mount
is oriented such that pitch adjustment arms are at top
of mount.
4. Level the mount and use a pencil to mark the location
of the four pilot holes. Ensure marks are in the center
of wood studs.
5. Remove mount from wall.
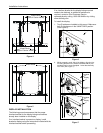
6. Drill four pilot holes using a 7/32" drill bit. Make sure
pilot holes are straight (See Figure 2).
7. While holding mount against wall, select appropriate
mounting holes:
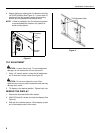
• 16" on center studs: The mount can be installed
centered between the studs as shown (See
Figure 3), or it can be installed to the left or right
of center (See Figure 4).
• 24" on center studs: The mount must be centered
between the studs (See Figure 5).
8. Install four 5/16" x 2-½" lag bolts (20) and four 5/16"
washers (30) through mounting holes and into pilot
holes. Tighten all lag bolts.
Figure 1
Figure 2
Figure 3
Insert nail here
Pilot Holes
Wall
Wood Studs
Wood Studs