10
DVD Writer User’s Guide
Filename: s3adndd.doc Title: Self Cover [complete version]
Template: HP-Print2K.dot Author: billm Last Saved By: billm
Revision #: 17 Page: 10 of 30 Printed: 10/16/02 02:38 PM
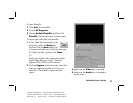
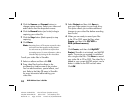
5 Click the Source and Format buttons to
change capture options. Select your video and
audio device from the drop-down menus.
6 Click the Record button (red circle) to begin
capturing your video file.
7 Click the Stop button (black square) to stop
capturing.
8 Click Done.
Note:
Recording from a VCR requires a specific video
and sound card that supports analog devices.
You also must set up ShowBiz to capture from
an analog source. For more information, refer to
ShowBiz Help by clicking the ? in the toolbar.
To edit your video files in ShowBiz:
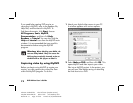
1 Select an album and then click OK.
2 Drag video files from the album to the
storyboard or timeline area of the window.
You can add transitions, special effects, and
text. Refer to the Help (?) menu in ShowBiz
for more information about editing your
video files.
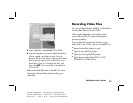
3 Select Project and then click Save to
save your video project to your hard drive.
This option allows you to make additional
changes to your video files before recording
them to disc.
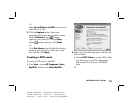
4 When you are ready to record your files
to the CD or DVD, open the files, select
Create, and then click CD/VCD or
DVD (without menus).
Or
Click Create, and then click MyDVD
™
Project. ShowBiz is minimized, and MyDVD
opens. The movie you created is combined
into a single video file. Click Burn to record
your video file to CD or DVD. The video file is
added to your current MyDVD project, and a
button is added to the DVD movie’s menu.
Click OK.


