


Normally, anything recorde d on the tape is automatically erased when new recording is
made. It is possible to protect your recording from accidental erasure by removing the tabs
found on the rear of the cassette.
When the cassette is held with the recorded side upper-most and exposed tape facing the
front, the protective tab will be fou nd on the left rear of the cassette.
All pre-recorded cassette are prote cted in this way to prevent accidental erasure of the
com mercial recording. "Protected" cassette will prevent the record button from being
operated. If at an y time you attempt to record and find that this button will not depre ss,
never force the mechanism or it may b e damaged. Check that a cassette has been loaded
and that tab has not bee n remo ved.
Recording on a cassette from which the tabs h ave been removed can be done by covering
the tab openings with a piece of adhesive tape.
CARE OF CASSETTE MECHANISM
Gently clean the tape hea d and pinch wheel/capstan assemblies after every 10 hours of
using the unit. A range of cassette care products are available.
PLAYING VCD/CD
Set FUNCTION SWITCH to "CD/VCD" position. Open the CD doo r to put in a compact
disc. Close i t and start reading. The LE D disp lay always shows the tracks of a disc which
are still to be played. Then it start playback at first track. Total number of tracks of the
disc are shown in stop mode.
When playing, press REPEAT button once. REPEAT INDICATOR will light up and flash
for playing the same track only. If repeat all tracks, press the REPEAT button again,
REPEAT INDIC ATOR wi ll light up. To cance l repeat play, press the REPEAT button until
the repeat indicator disappears.
Playing Th e Entire Disc
1. Playback will start by pressing CD PLAY/PAUS E button, playback starts with the first
track.
The display will show the current track number.
2. To interrupt playback, press CD P LAY/PAUSE button. The indicator "P AUSE" will light
up.
3. To resume playback, press CD PLAY/PAUSE button on ce again.
4. To stop playback, p ress CD STOP but ton.
Selecting A Different Track Du ring Play
Selecting A Different Track During Play
1. Press C D SKIP FORWARD/BACKWARD button on the unit continuously until the
desired track number appears in the d isplay.
2. Playback starts from the desired track.
Stopping p lay
1. Press C D STOP button if you wish to stop play. The total track number which can be
played will now appear in the display.
2. Open the CD doo r on the unit to remove the CD.
REPEAT PLAY
When playing, press REPEAT button once. REPEAT INDICATOR will light up and flash
for playing the same track only. If repeat all tracks, press the REPEAT button again,
REPEAT INDIC ATOR wi ll light up. To cance l repeat play, press the REPEAT button until
the repeat indicator disappears.
PROGRAM PLAY (APPLICABLE DURING REMOTE CON TROL OPER ATION)
1. Press "PROG" button to make program memory in stop mode.
2. "PROG" and track pos itions will be shown on the TV screen.
3. Press nume ric button on remote to select a tra ck number. The track number will show
on display.
4. Repeat step (3) to program other tracks. During programming, you can press "PRO G"
button to canc el the entering procedure.
5. Total programs available are 20.
6. After finishin g programming, press CD PLAY/PA USE button, playback will sta rt from the
first programme d track (Program indicator lights up).
7. Yo u can press CD SKIP FORWARD/BACKWAR D button to select the track n umber in
memory.
8. In stop mode, press STOP button to cancel the pro gram play and the program indicator
will disappear.
Note: For details of VCD/CD /MP 3 operation, please s ee th e remote han dset section.
HEADPHONE JACK
For private listening, insert a 3.5mm headphone into the HEAD PHONE JACK. The
SPEAKER output is automatically cut off.
CAUTION: LISTENING AT HIGH POWER FOR A LONG MOMENT COUL D DAMAGE
USERS' EARS.
COMPACT DISC MA INTENANCE
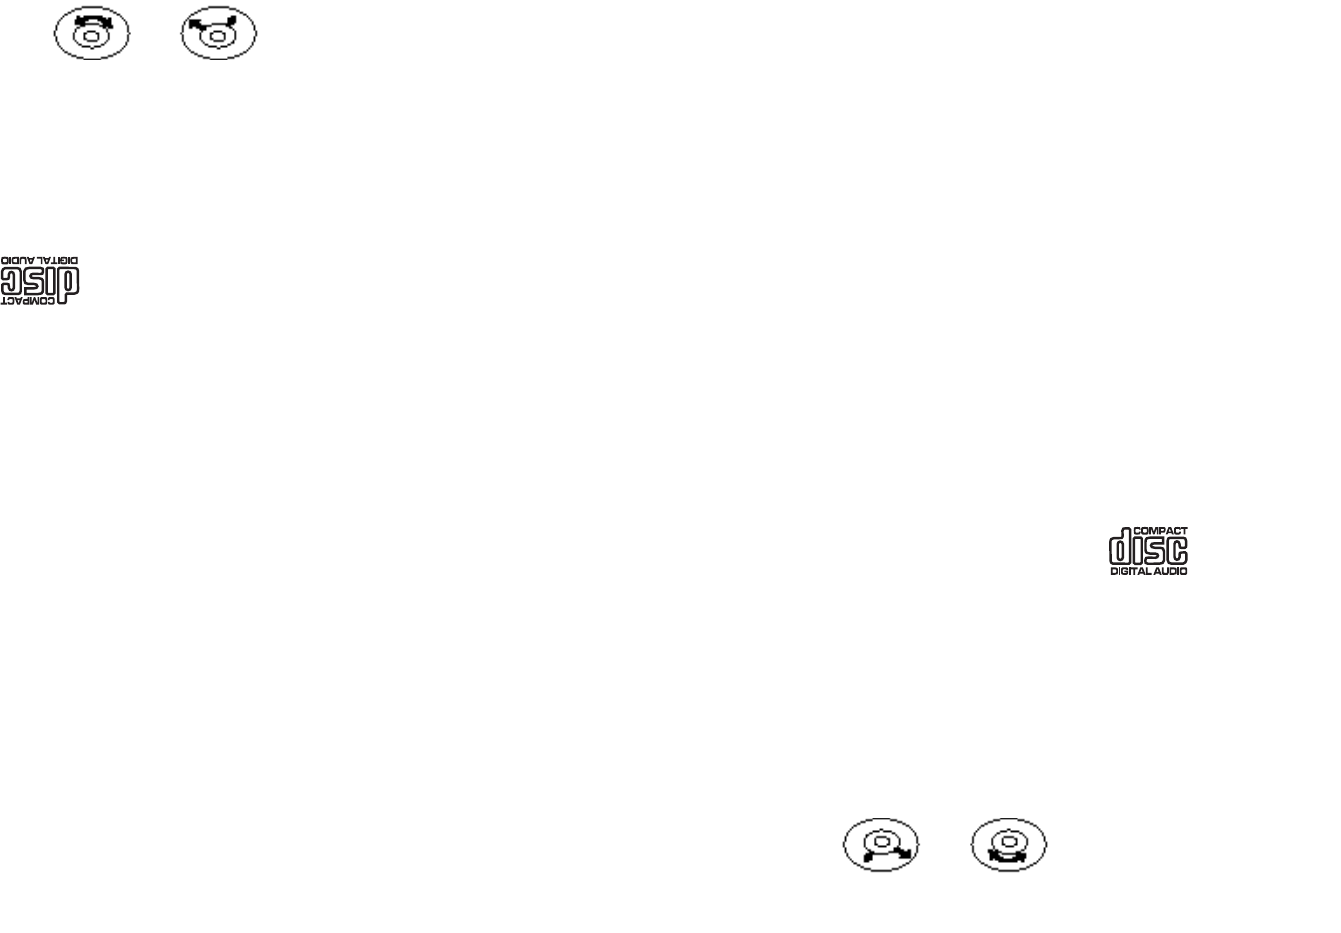
1. Always use a compact disc bearing the mark as shown.
2. Notes on handling discs
* Removing the disc from its storage case and loading it.
* Do not touch the reflective rec orded surface.
* Do not stick paper or write anything on the surface.
* Do not bend the disc.
3. Storage
* Store the disc in its case.
* Do not expose discs to direct sunlight or high temperatures, high humidity or dusty
places.
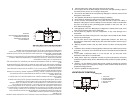
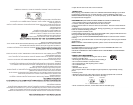
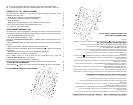
4. Cleaning a disc
* Should the disc become so iled, wipe off dust, dirt and fingerprints with a s oft cloth.
* The disc should be cleaned from the centre to the edge.
* Never us e benzene, thinners , record cleaner fluid or anti-static spray.
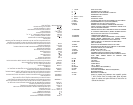
CORRECT INCORRECT
REPETICIÓN DE LA REPRODUCCIÓN
Durante la reproducción, presione el botón REPEAT una vez. La luz indicadora de repetición
se iluminará de manera intermitente para repetir esa misma pista solamente. Si se desea
repetir todas las pistas, presione el botón REPEAT de nuevo. La luz indicadora de repetición se
iluminará. Para cancelar la función de repetición, presione el botón REPEAT hasta que la luz
indicadora desaparezca.
REPRODUCCIÓN DE PROGRAMA (SOLAMENTE UTILIZANDO EL
CONTROL REMOTO)
1.Presione el botón “PROG” para efectuar la memoria del programa mientras el equipo se
encuentre detenido.
2.Se mostrará en la pantalla la frase “PROG” y las posiciones de las pistas.
3.Presione los botones numéricos en el control remoto para seleccionar los números de las
pistas. El número de la pista se mostrará en la pantalla.
4.Repita el paso (3) para programar otras pistas. Durante la programación, se puede presionar
el botón “PROG” para cancelar lo que se ha ingresado.
5.El número total de programas disponibles es 20.
6.Después de terminar con la programación, presione el botón CD PLAY / PAUSE. La re-
producción comenzará con la primera pista programada (la luz indicadora de programa se
iluminará).
7.Se puede presionar el botón CD SKIP FORWARD/BACKWARD para seleccionar el número
la pista de la memoria.
8.Mientras el aparato se encuentre detenido, presione el botón STOP y el programa y la luz
indicadora desaparecerán.
Nota: Para más detalles sobre el funcionamiento de VCD/CD/MP3, véase la sección del control
remoto.
ENTRADA PARA AUDÍFONOS
Para escuchar el equipo en privado, inserte audífonos de 3.5mm en la entrada para audífonos.
La salida de audio de los altavoces quedará suprimirá automáticamente.
PRECAUCIÓN: EL USO PROLONGADO DE LOS AUDÍFONOS A NIVELES ALTOS DE VOLU-
MEN PUEDE DAÑAR LOS OÍDOS.
MANTENIMIENTO DE LOS DISCOS COMPACTOS
1.Siempre utilice un disco compacto que porten la marca:
2.Notas sobre cómo manipular los discos:
Al retirar el disco de su estuche y ponerlo en el equipo
•No toque la supercie reectora con la grabación
•No adhiera papel ni escriba sobre la supercie.
•No doble del disco.
3.Almacenamiento
•Guarde los discos en sus estuches
•No exponga los discos a la luz solar directa, altas temperaturas, humedad o lugares con polvo.
4.Limpieza del disco
•Si el disco se ensuciara, limpie el polvo, suciedad y huellas digitales con un paño suave.
•Debe limpiarse el disco desde el centro hacia afuera.
FRO M TH E CE NTR E TO TH E ED GE
C OR R E C T INCO R R E CT
CORRECT INCORRECT
FROM CENTRE TO THE EDGE
FRO M TH E CE NTR E TO TH E ED GE
C OR R E C T INCO R R E CT
CORRECTO INCORRECTO
DEL CENTRO HACIA AFUERA
•Nunca utilice bencina, diluentes, limpiadores de discos o aerosoles anti estática.