


- 16 - EN
1C29
5 Select the year
Press the Arrow button K or L
until your desired year appears.
(Example: 2004)
Then press the Arrow button
B.
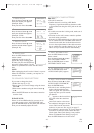
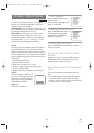
6 Select the hour
Press the Arrow button K or L
until your desired hour appears.
(Example: 5, PM)
Then press the Arrow button
B.
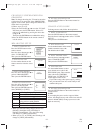
7 Select the minute
Press the Arrow button K or L
until the desired minute appears.
(Example: 40)
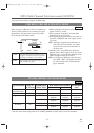
8 Start the clock
Press the SETUP button on the
remote control.
Although seconds are not dis-
played, they begin counting from
00 when you press the SETUP but-
ton on the remote control. Use this
feature to synchronize the clock with the correct
time.
NOTE:
When unplugging the AC cord or if there is a power
failure for more than 3 seconds, you may have to
reset the clock.
TO CHANGE CLOCK SETTING
If you want to change the clock,
1)Follow the steps [1] to [2].
2)Select where you want to change using the Arrow
button
B.
3)Enter correct numbers using the Arrow button
K
or L.
4)Press the SETUP button on the remote control to
start the clock.
PLEASE NOTE:
If there is no local PBS station in your area or on
your cable system, select “AUTO CLOCK” and
press the ENTER button to turn [OFF] this function.
Then you can manually adjust the clock.
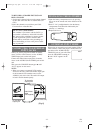
AUTOMATIC CLOCK SETTING
Make sure ...
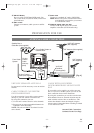
•
The unit is turned on.
•
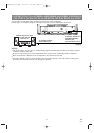
Confirm the unit is receiving a RF (Radio
Frequency) signal from either an antenna or cable
system connection using the ANT. jack on the rear
panel.
NOTE:
•
If a cable converter box is being used, make sure it
is powered on.
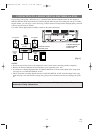
•
You must use the unit’s remote control to perform
the clock setting procedure.
•
If the unit is connected directly to a cable converter
box or satellite box, the local PBS station must be
selected on the cable box itself and the unit must
be set to the output channel of the cable converter
box or satellite box (usually channel 3 or 4), to be
able to set up or correct the clock automatically.
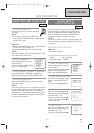
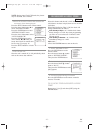
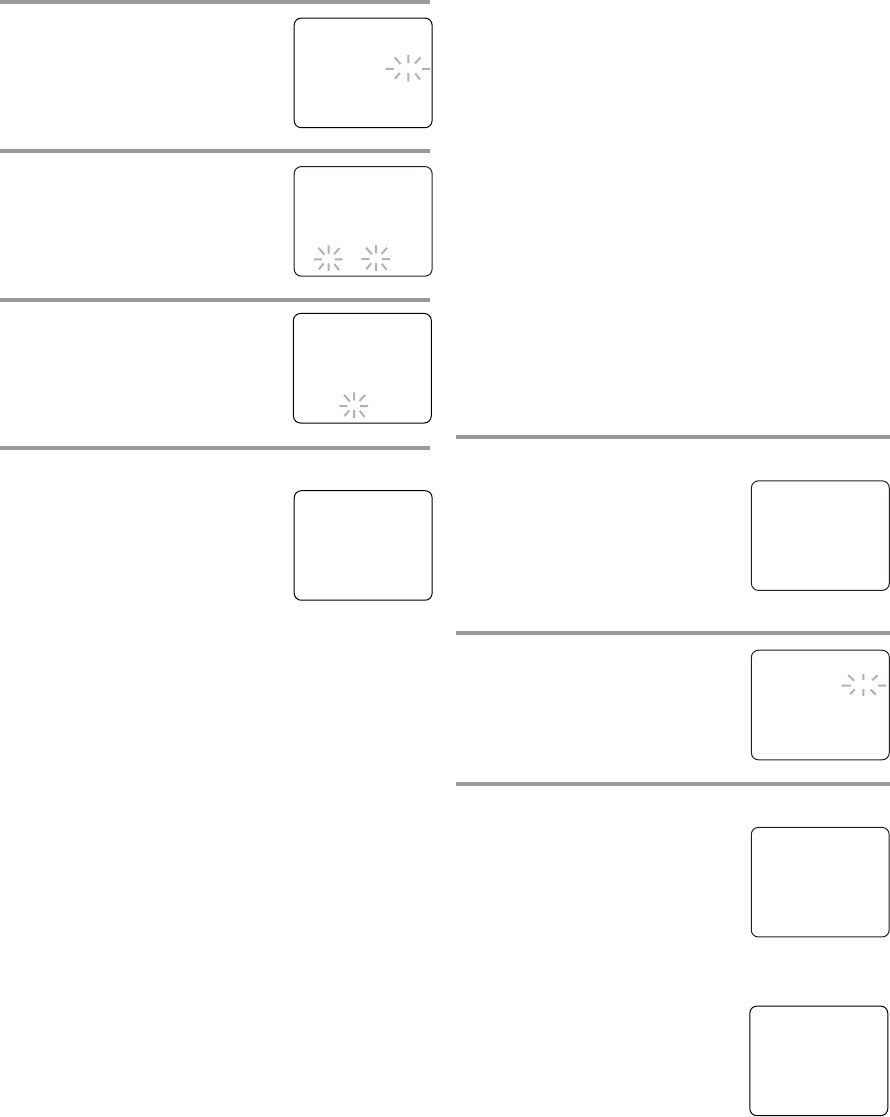
1 Select “SETTING CLOCK”
Press the SETUP button on the
remote control.
Press the Arrow button
K or L to
select “SETTING CLOCK”.
Press the ENTER button to enter
“SETTING CLOCK” menu.
2 Set “AUTO CLOCK” to [ON]
Press the ENTER button until
“AUTO CLOCK [ON]” appears.
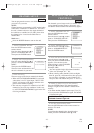
3 Begin “AUTO CLOCK CH SEARCH”
Press the Arrow button L to select
“AUTO CLOCK CH SEARCH”.
Press the ENTER button.
•
The unit is now searching for the
station which contain the auto
clock set signal. The search for a
signal may take up to 20 seconds
per channel.
•
“_ _” appears at the lower left of
the screen when the search has
ended.
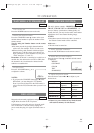
•
Auto Clock station- write down
the number(s) that appear on the
screen. These are the auto clock
station(s) in your area. See step [4] on page 17.
•
If no number(s) appear on the TV screen, there are
no stations in your area which contain the Auto
Clock signal. Auto Clock Setting is not possible.
Please use Manual Clock Setting on page 15.
Press the SETUP button to exit the screen.
– MANUAL CLOCK SET –
MONTH DAY YEAR
0 5 / 0 6 THU 2 0 0 4
HOUR MINUTE
0 5 : – – PM
– MANUAL CLOCK SET –
MONTH DAY YEAR
0 5 / 0 6 THU 2 0 0 4
HOUR MINUTE
0 5 : 4 0 PM
5:40 PM
– MANUAL CLOCK SET –
MONTH DAY YEAR
0 5 / 0 6 THU 2 0 0 4
HOUR MINUTE
– – : – – – –
– SETTING CLOCK –
B AUTO CLOCK [ON]
AUTO CLOCK CH SEARCH
AUTO CLOCK CH [ 02 ]
MANUAL CLOCK SET
D.S.T. [OFF]
– SETTING CLOCK –
AUTO CLOCK [ON]
B AUTO CLOCK CH SEARCH
AUTO CLOCK CH [ 02 ]
MANUAL CLOCK SET
D.S.T. [OFF]
– AUTO CLOCK CH SEARCH –
08 10 13
_ _
- TV/VCR SETUP -
TIMER PROGRAMMING
B SETTING CLOCK
CHANNEL SET UP
USER’S SET UP
V-CHIP SET UP
LANGUAGE [ENGLISH]
CAPTION [OFF]
ZERO RETURN
TIME SEARCH
INDEX SEARCH
T0052UC(p1-35).QX3 04.9.16 2:13 PM Page 16