30 EN
DVD+
RW
DVD+
RW
DVD+R
DVD+R
DVD-
RW
DVD-RW
+VR
DVD-R
DVD-R
+VR
VCR
VCR
You can program the unit to record
up to 8 programs within a month in
advance. Daily or weekly program
recordings are also available.
• Be sure to set the clock before
setting a timer programming.
• Insert a recordable disc or a
videotape with a record tab.
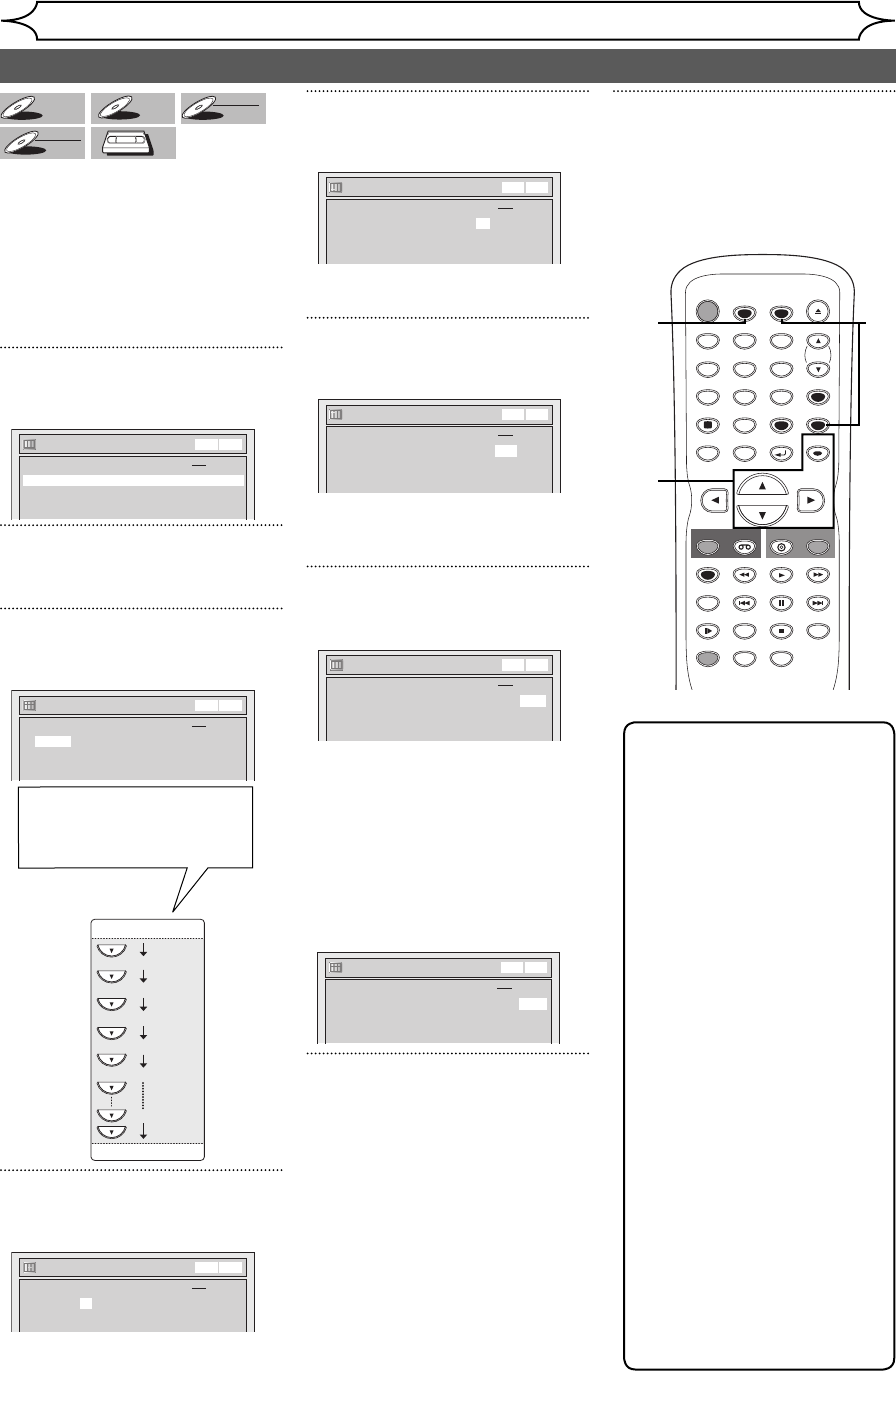
1
Press [TIMER].
Timer Programming list will appear.
Timer Programming
2. ---
3. ---
1. ---
Date Start End CH Mode
DVD
VCR
VCR DVD
2
Using [K / L], select a program
number. Press [OK].
3
Using [K / L], enter the Date.
Press [B].
Timer Programming
2. ---
3. ---
1. JAN/01 --:-- --:-- E1 DVD
Date Start End CH Mode
DVD
VCR
VCR DVD
Daily
MON-SAT
JAN/01
JAN/31
MON-FRI
SAT
FRI
SUN
When pressing [L] at the
current date, the Date will
change as follows.
e.g. January 1st
4
Using [K / L], enter the Start
and End time. Press [B].
Timer Programming
2. ---
1. JAN/01 12:57AM --:-- E1 DVD
Date Start End CH Mode
DVD
VCR
VCR DVD
5
Using [K / L], select the channel
number to record. Press [B].
Timer Programming
2. ---
3. ---
1. JAN/01 12:57AM 1:57AM 8 DVD
Date Start End CH Mode
DVD
VCR
VCR DVD
To record from external input,
select E1 or E2.
6
Using [K / L], select a recording
media. Press [B].
Timer Programming
2. ---
3. ---
1. JAN/01 12:57AM 1:57AM 8 DVD
Date Start End CH Mode
DVD
VCR
VCR DVD
• To record on a videotape, select
VCR.
• To record on a disc, select DVD.
7
Using [K / L], select a recording
mode.
Timer Programming
2. ---
3. ---
1. JAN/01 12:57AM 1:57AM 8 DVD HQ
Date Start End CH Mode
DVD
VCR
VCR DVD
Refer to “Recording mode” on
page 25 for DVD or page 74 for
VCR.
When “Auto” (DVD only) is
selected as a recording mode, the
unit determines how much time is
available on the disc and records
in the appropriate recording mode
to complete recording the program.
8
Press [OK] when information is
entered.
Your program setting will be stored.
• To set another program, repeat
steps 2 to 8.
• To exit, press [TIMER] or
[SETUP].
• When programs are overlapped,
“Overlap” and the overlapped
program numbers will appear on
the TV screen.
9
Press [TIMER SET] to set a
Timer Programming.
TIMER REC indicator will light up
on the front panel.
Recording
Timer Recording
Note
• If you have not set the clock
yet:
A manual clock setting menu
will appear instead of the
Timer Programming list at
step 1. Continue with step 3
in “Manual Clock Setting” on
page 23 before setting a timer
programming.
• Press [{ / B] to move the
cursor to the left and the right
in the timer programming list.
• After step 9, you can use the
other component (VCR or
DVD) which is not currently
programmed by turning the
power on. Note that the
programmed device will start to
capture the selected channel
2 minutes before the start time
and at the moment, if the other
device still stays in recording,
recording pause or the One-
touch Timer Recording mode
turning a different channel, the
current mode will be canceled
and you cannot change the
channel. When both devices
capture the same channel,
the current mode continues to
function.
Timer Programming
2. ---
3. ---
1. JAN/01 12:57AM 1:57AM 8 DVD Auto
Date Start End CH Mode
DVD
VCR
VCR DVD
STOP
STANDBY-ON
TIMER SET
TIMER
PREV NEXT
OPEN/CLOSE
SPACE
123
456
78
0
9
CH
VIDEO/TV
SLOW
PAUSE
.@/:
ABC DEF
GHI JKL MNO
PQRS
REC
DISPLAY
TUV WXYZ
DVD
REC
REC MODE
ZOOM
SEARCH
VCR
SETUP
CM SKIP
RETURN
DISC MENU
TITLE
DUBBING
RAPID PLAY
CLEAR
OK
PLAY
AUDIO
3
2
19
8
6
7
8
4
5


