


41
ON-SCREEN DISPLAY
Setup
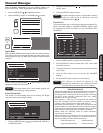
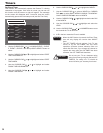
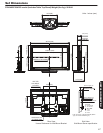
Set The Power Indicator
This feature allows you to adjust the brightness intensity of the
LED indicating light in the Front of your Hitachi Plasma TV. Select
MAX or LOW for maximum brightness or lowest brigthness. Select
OFF to turn off the indicating light.
Power Light Indicator Brightness ◄ Max ►
Move
SEL
Return
Set The Power Indicator
Setup
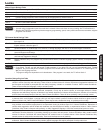
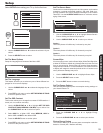
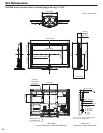
Set HDMI-CEC Options
Set to ON this feature will enable HDMI-CEC signal bus to allow
your Hitachi Plasma TV to discover and communicate automatically
with other compatible HDMI-interfaced Audio/Video equipment.
CEC signal bus makes possible global controls based on “plug &
play” automation to minimize the number of IR remotes and key-
presses required for basic operation of your AV system. Select OFF
to disable this option.
HDMI CEC On Off
Move
SEL
Return
Set HDMI-CEC Options
Setup
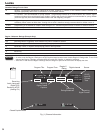
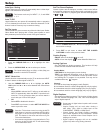
With “HDMI-CEC” feature, you can interface the connected
equipment through the HDMI terminal automatically if the connected
equipment meets an industry standard “HDMI CEC (Consumer
Electronics Control)”. Please check if the connected equipment
supports HDMI CEC before using this feature. For example, here
are two common functions operating when HDMI CEC is set to
ON.
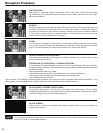
Auto Input
change and
Auto Play
Condition : While the Plasma TV is in
Standby mode.
When the connected equipment starts (such
as DVD playback and Disc insertion), the
Plasma TV is automatically turned On and
switches the picture and audio to HDMI
input.
System
Standby
Condition : While the Plasma TV is On.
When the Plasma TV is switched off or set
to Standby mode, the connected equipment
is also turned off or in Standby mode.
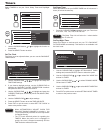
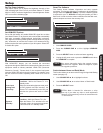
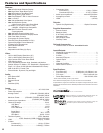
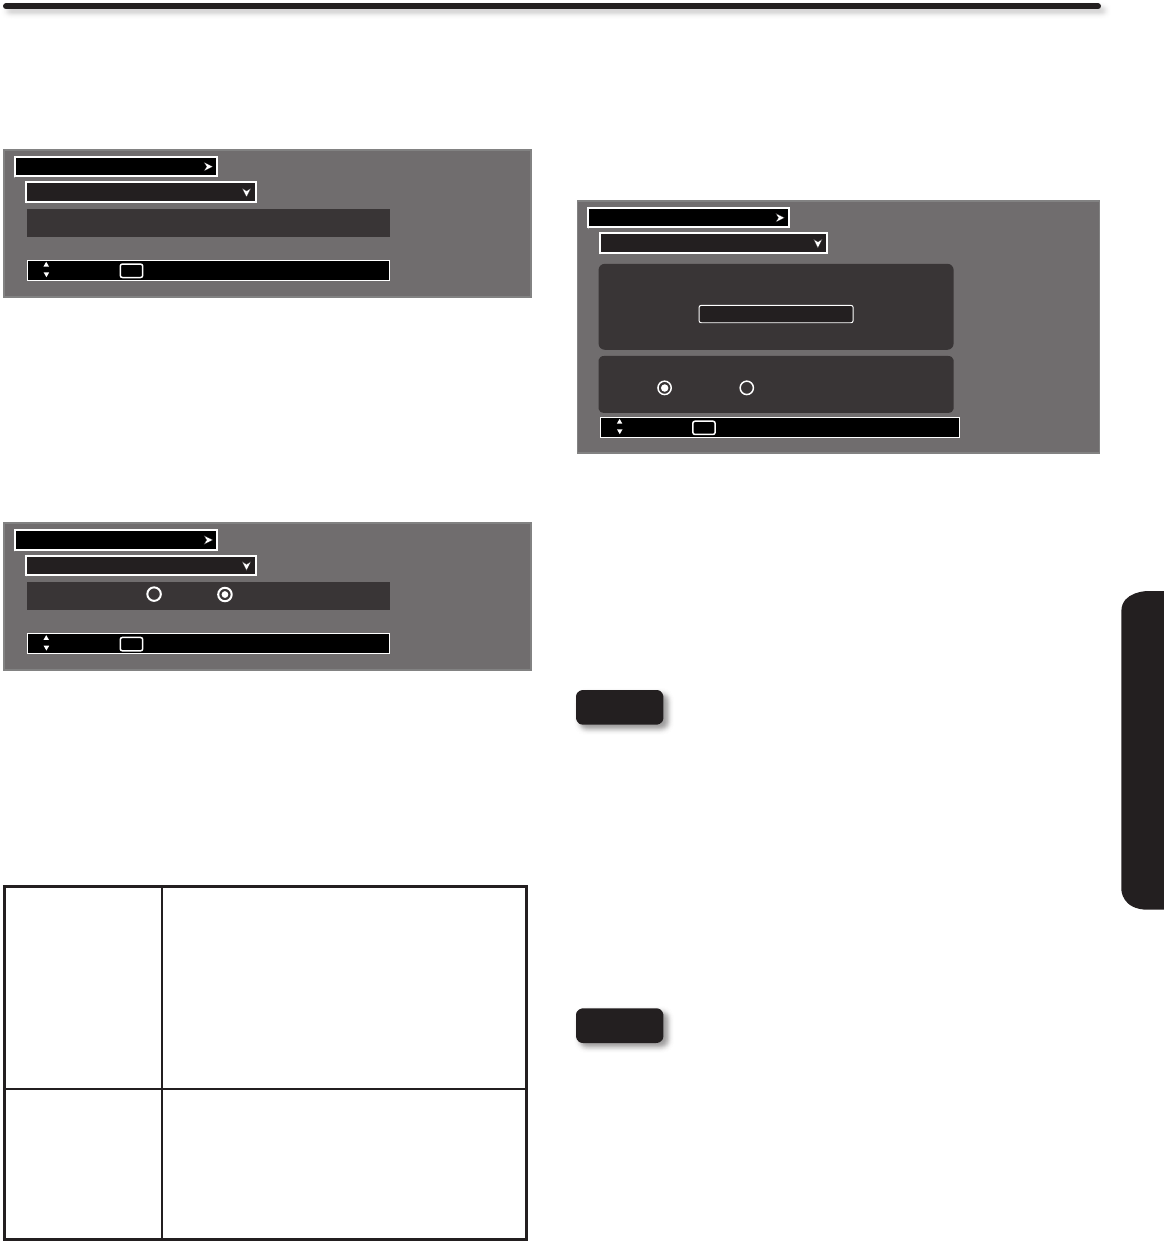
Reset The Software
This feature shows software information and easy upgrade
procedure. This function allows the TV software to be upgraded by
using a ash card (MMC/SD CARD). If a future software upgrade
is required for your TV, HITACHI will notify and provide you with a
ash card. In order to receive written notication and the ash card,
please complete and return the warranty card.
Reset The Software
Setup
Move
SEL
Return
Software Upgrade Main : Vxxx.xxxx
Sub : Vxx.xx
Please Insert MMC/SD card before upgrading.
Upgrade Now
Switch between Home and Retail Mode
Home Retail
Insert 1. MMC/SD CARD.
Press the
2. CURSOR PAD ▲ or ▼ to highlight UPGRADE
NOW.
Press the
3. SELECT button to select and start upgrading.
Unplug the AC power cord or press the
4. POWER switch when
the UPGRADE is complete.
Any power interruption during the upgrade process
will cancel the upgrade. When this happens, repeat
the upgrade procedure.
Switch between Home and Retail Mode
This function allows you to return to the Energy Savings Initial Setting
screen (see page 13).
Use
1. CURSOR PAD ▲,▼ to highlight functions.
Use
2. CURSOR PAD ◄, ► to select Home or Retail mode.
Press the 3. SELECT button.
RETAIL Mode is intended for showroom or shop
use only, if you make any video or audio adjustment
changes in this mode they will not be saved when the
TV is turned Off .
NOTE
NOTE