RECORDING HINTS
1 ) Be sure to check that the "PWR." and the "VCR" indicators are both on.
2) Turn on the TV and Cable Box.
3) Set the channel to be recorded on the VCR.
4) Set the TV and Cable Box to channel 3 or 4.
5) Set the CH3/CH4 switch on the back of the VCR to match the channel set on the TV.
6) To view ONE channel while recording ANOTHER, the "VCR" indicator must be off.
For AUTOMATIC TIMER RECORDING, the "VCR" indicator must be off after step [11] on page 28.
7) Set the channel to be viewed on the Cable Box.
Note: If you wish to see the VCR menu, view what you are recording or playing a tape with this
connection, the "VCR" indicator must be on and the Cable Box channel must match the channel selected on
the back of the VCR. (CH 3 or 4)
Note to CATV system installer
This reminder is provided to call the CATV system installer's attention to Article 820-40 of the NEC that
provides guidelines for proper grounding and, in particular, specifies that the cable ground shall be
connected to the grounding system of the building, as close to the point of cable entry as practical.
SETTING THE CH3/CH4 SWITCH
If your TV does not have A/V terminals:
When the VCR is in the Playback mode or when the VCR is in the VCR position, your TV will receive
signals from the VCR on either channel 3 or 4.
To use the VCR with your TV, set the selector switch to CH3 or CH4 (which is located in the back of your
VCR), whichever is not used for normal broadcasts in your area. Then set your TV to the same channel.
A/V TERMINALS
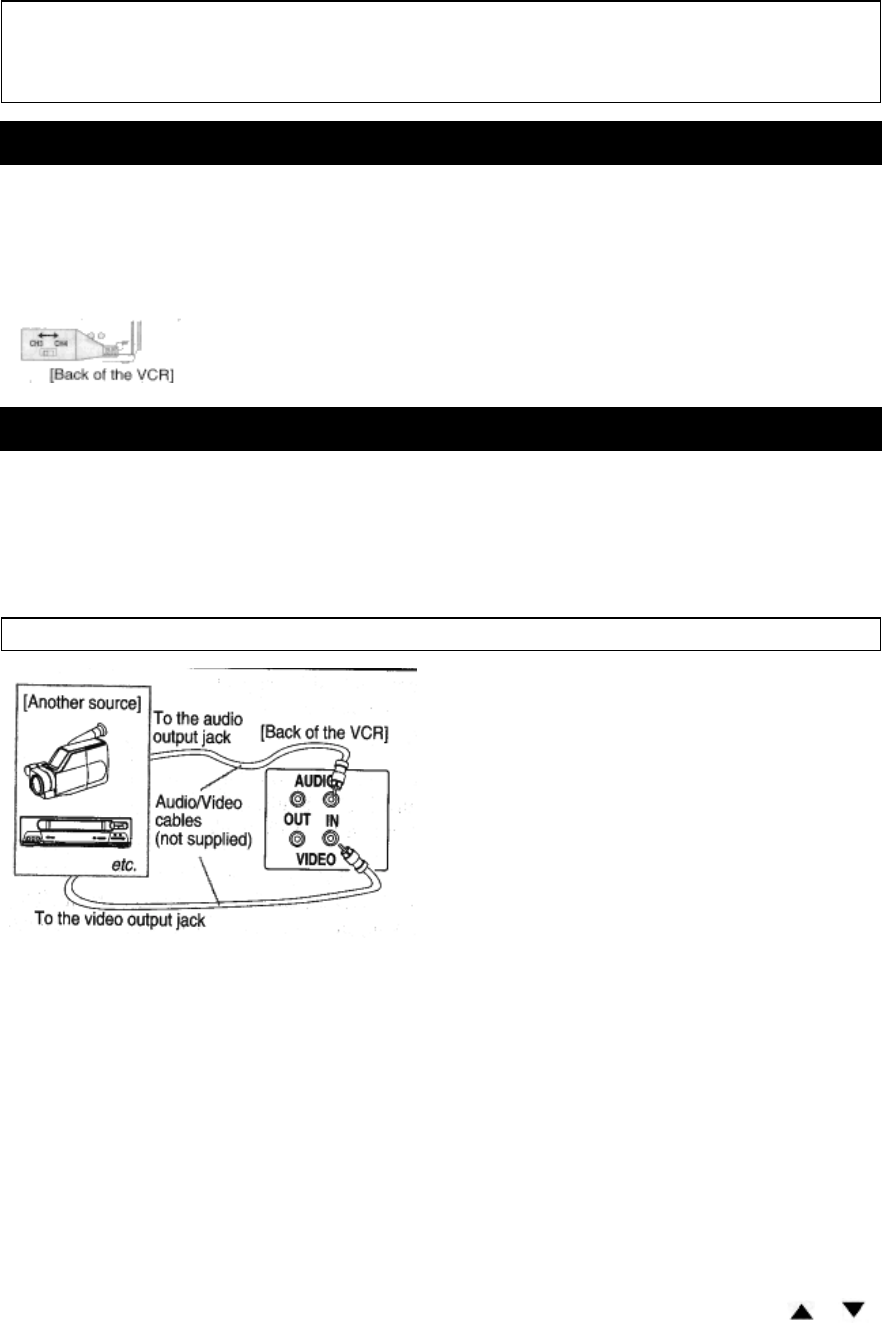
CONNECTING TO INPUT JACKS
When you copy a video tape, or watch a program recorded on an another source, use the audio/video input jacks on the
VCR.
USING THE REAR JACK:
Fig. 7:
USING THE FRONT JACK:
You can use the audio and video input jacks on the front panel of the VCR instead of using the jacks on the back.
INPUT SELECT OF FRONT OR REAR
To use the audio/video input jacks, select the "LineIn Rear (L1)" or "LineIn Front (L2)" position.
1) Be sure to check that the "PWR." and the "VCR" indicators are both on.
2) Turn on the TV and set the TV to channel 3 or 4. Now set the CH3/CH4 switch on the back of the VCR to match the
channel selected on the TV.
3) Connect the audio/video cables to the audio/video input jacks on the back of the VCR. Now connect the other end of
the cables to the audio/video output jacks on the source.
4)
• If you use the audio and video input jacks on the back of the unit, press 0, 0, 1 on the remote control to select the
"LineIn Rear (L1)" position.
• If you use the audio and video input jacks on the front of the unit, press 0, 0, 2 on the remote control to select the
"LineIn Front (L2)" position.
You may also select the "LineIn Rear (L1)" or "LineIn Front (L2)" setting by pressing the CHANNEL(CH)
or
button.
Notes:
• "LineIn Rear (L1)" or "LineIn Front (L2) is found before the lowest memorized channel. (Example: CH2)
• When the TV screen displays "LineIn Rear (L1)" or "LineIn Front (L2), its background will be blue.
CONNECTING TO OUTPUT JACKS
If your TV has A/V input jacks, you may connect your VCR's AUDIO/VIDEO OUTPUT jacks to the audio/video input
jacks on back of your TV.
Direct audio/video connections usually result in a better picture and sound quality for tape playback. Please see your
TV's owner's manual for A/V input connections.


