Operation
______________________________________________________________________________________________
72
Setup and Save Functions
These function buttons allow you to configure the Backup Viewer and save a
JPEG image or AVI video.
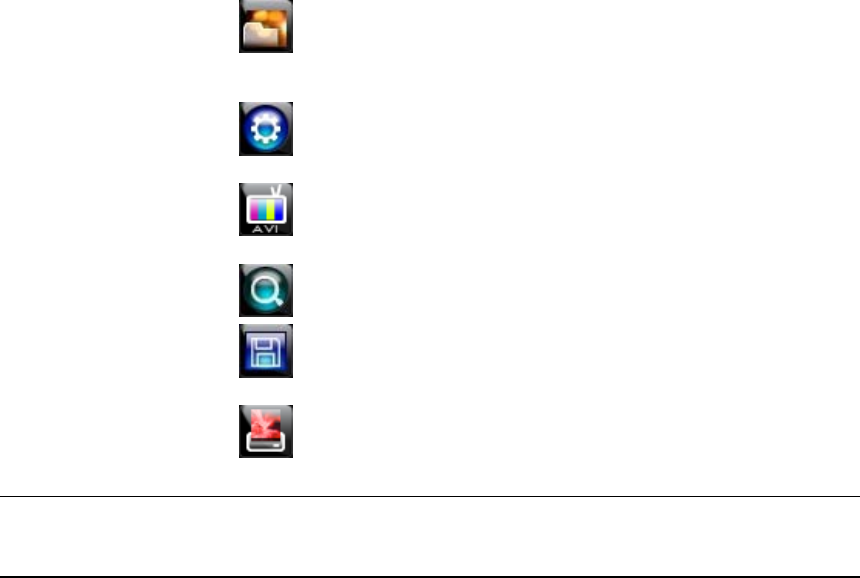
OPEN – Allows you to choose which data to open. When selecting
data that is saved to your local hard drive, the video must be in a
directory named DATA. Navigate to the folder above the DATA
directory and click OK to see the available playback options.
SETTINGS – Select Direct Draw De-Interlacing for image viewing.
Also allows you to include Image information when exporting a
JPEG.
EXPORT AVI –To export an AVI file: Click this button, enter the
desired Digital Signature, the AVI start time, the AVI end time and
to include audio data (if desired) and press OK.
ZOOM – Select this button to turn your cursor into a magnifying
glass and click the desired camera image to zoom in.
EXPORT JPEG – To save a JPEG: Click this button, enter the
desired Digital Signature and click OK, then browse to the desired
save location.
PRINT – Opens the print window on your computer.
Upgrade Firmware at the DVR
Obtain the latest software release and save the file to a CD, DVD or USB
Device. Please check the product web site at www.honeywellvideo.com or
contact Technical Support for the latest software. See back cover for contact
information.
1. Insert a CD/DVD or USB Drive containing the update files.
2. Select System > System Configuration.
3. Select S/W UPGRADE to open the UPGRADE FIRMWARE window.
4. Select the media type (DVD/CD-ROM / TFTP / USB HDD/STICK).
5. Click SCAN.
6. Click OK to start the upgrade.
