


July 1, 2003 11:22 am Page 8
—8—
Master Page: Right
Instant Review
Simply by pressing a single button, the recorder power comes on,
rewinds, and begins playback of the last timer-recorded
programme. If you have several programmes recorded, you can
easily access any of them.
NOTE:
Before starting, make sure that the recorder is off and that the
Timer mode is disengaged.
— Activate Instant Review
Press REVIEW. The recorder power comes on and the recorder
searches for the index code indicating the start of the last timer-
recorded programme. Once it's found, playback begins
automatically.
● The front display panel tells you how many programmes have
been recorded. If you have, for example, 3 programmes,
“REVIEW” and “3” appear and blink. To watch the first of the 3
programmes, press REVIEW three times
. The recorder searches
and begins playback automatically. You can access a
programme as far as 9 index codes away from the current tape
position.
NOTE:
Instant Review is not possible while the recorder is in the Timer
mode.
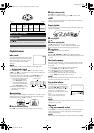
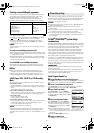
Soundtrack selection
Your video recorder is capable of recording three soundtracks (HI-
FI L, HI-FI R and NORM) and will play back the one you select.
During Playback
Pressing AUDIO on the remote control changes the soundtrack
being played back as follows:
NOTES:
● “HIFI L
R” should normally be selected. In this mode, Hi-Fi
stereo tapes are played back in stereo, and the NORM track is
played back automatically for tapes with only normal audio.
● For instructions on recording stereo and bilingual programmes,
refer to page 10.
● “O.S.D.” must be set to “ON” or the on-screen displays will not
appear (
੬
16)
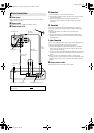
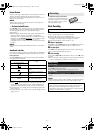
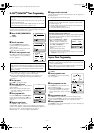
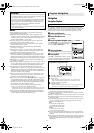
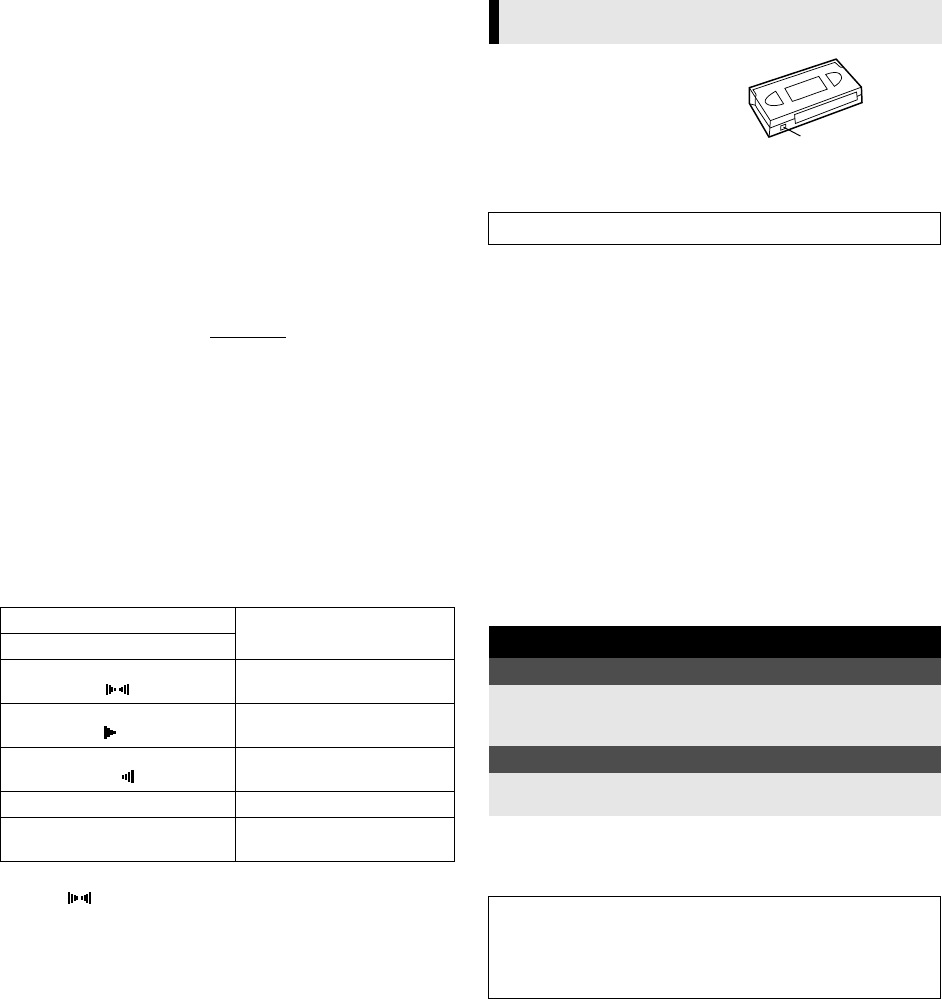
Accidental erasure prevention
To prevent accidental recording on a
recorded cassette, remove its safety
tab. To record on it later, cover the
hole with adhesive tape.
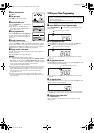
Basic Recording
A
Load a cassette
Insert a cassette with the record safety tab intact.
● The recorder power comes on automatically.
● The recorder checks the tape information for Programme
Navigation. For details, refer to “Navigation” (
੬
14).
● Select the appropriate colour system (
੬
16).
B
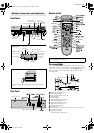
Choose a programme
Press PR +/– or the number keys. Or push the JOG dial and turn it
to the left or right to select the channel you wish to record.
C
Set tape speed
Press p. Check the SP/LP/EP indicator on the recorder display
panel to confirm the selected tape speed.
D
Start recording
Press and hold 7 and 4 on the remote control, or press 7 on the
recorder.
● B.E.S.T. takes place at the beginning of each first SP and first LP
(or EP) recording after inserting the cassette (
੬
15).
NOTE:
When recording in NTSC, if EP is selected, recording will always
be done in the VHS mode even if an S-VHS cassette is used.
Track
Use
On-screen Display
HI FI
L R
For Hi-Fi stereo tapes
HI FI
L
For main audio of Bilingual
tapes
HI FI
R
For sub audio of Bilingual
tapes
NORM For audio-dubbed tapes
HI FI
NORM
For audio-dubbed tapes
Recording
Turn on the TV and select the video channel (or AV mode).
During recording
Pause recording
Press
9
.
● Press
4
to resume recording.
● You can select channel in the recording pause mode.
Stop recording
Press
8
on the remote
control.
OR Press
0
on the recorder.
Recording Resume Function
If there is a power outage during recording (or Instant Timer
Recording or timer recording), the recording will resume
automatically when power is restored to the recorder unless the
recorder's memory backup has expired.
Record safety tab
HR-S6960AA_EN.fm Page 8 Tuesday, July 1, 2003 11:23 AM