


10
INITIAL SETTINGS (cont.)
q
2
3
6
5
/
8
3
¶7
8
1¡
1
2
3
4
5
6
7
8
0
9
MENU
OK
CH
CH
OK
MENU
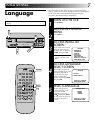
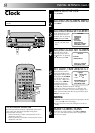
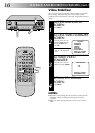
PERFORM AUTO CHANNEL
SET
6
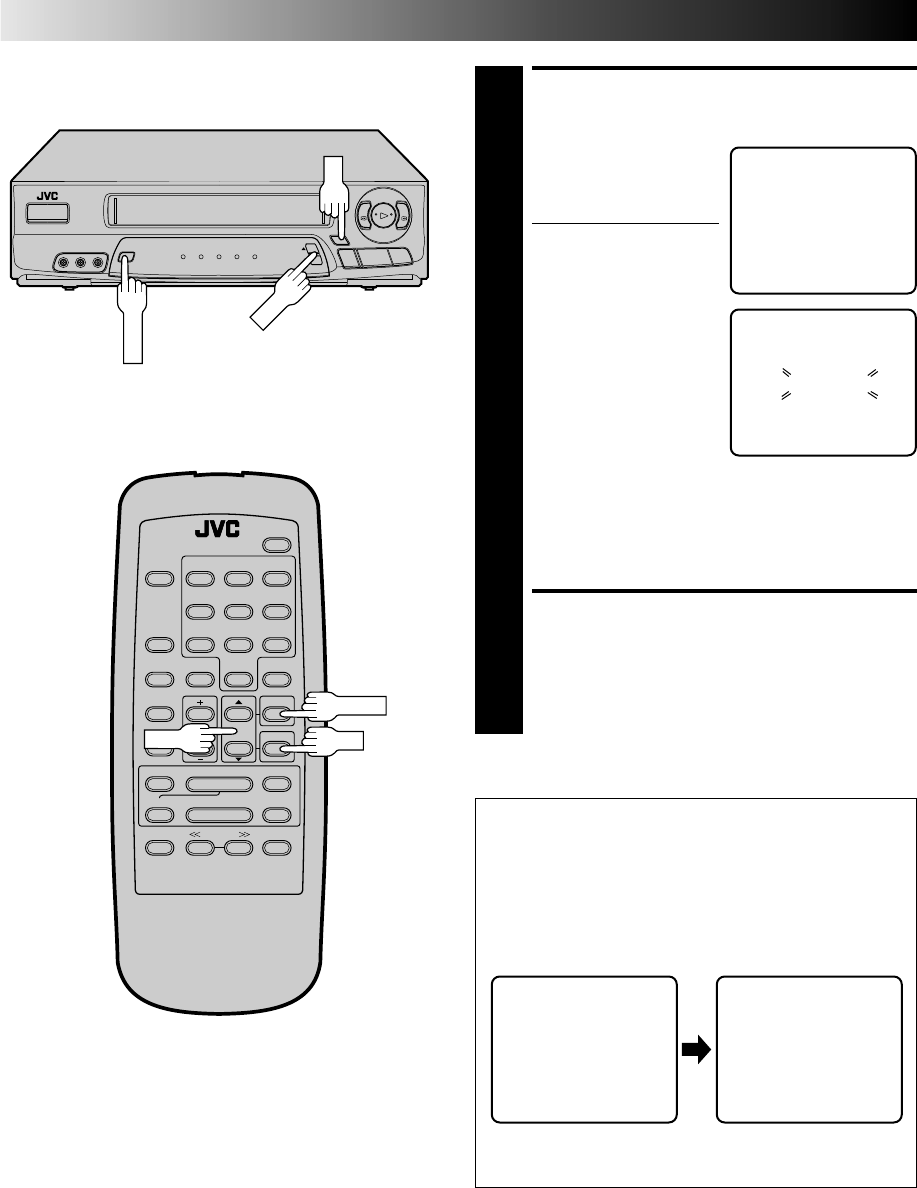
Place the arrow next to
"AUTO CHANNEL SET" by
pressing CH5
∞
, then
press OK.
● Receivable channels in
your area are
automatically assigned to
the CH
5
∞ buttons, and
non-receivable channels
are skipped.
NOTES:
●
At the end of Auto
Channel Set, “SCAN
COMPLETED” appears
on screen.
●
If the scan was unsuc-
cessful, “SCAN COMPLETED– NO SIGNAL” appears
on screen:
If you own the HR-A53U, check the connections and
start again.
If you own the HR-A33U, check both band setting
and connections and start again.
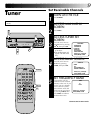
RETURN TO NORMAL
SCREEN
7
Press MENU as many times as necessary.
TUNER SET
BAND
AFC
=AUTO CHANNEL SET
MANUAL CHANNEL SET
PRESS (5,∞), THEN (OK)
PRESS (MENU) TO END
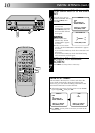
The VCR detects the band (TV or CATV) and selects the
correct band automatically during Auto Channel Set.
If necessary, you can check the setting at the Band screen
after Auto Channel Set has set the channels.
● At the Tuner Set screen, place the arrow next to "BAND"
by pressing CH5
∞
, then press OK.
● Press MENU as many times as necessary to return to the
normal screen.
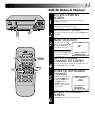
For HR-A53U Owners:
TUNER SET
=BAND
AFC
AUTO CHANNEL SET
MANUAL CHANNEL SET
PRESS (5,∞), THEN (OK)
PRESS (MENU) TO END
BAND
TV
=CATV
PRESS (5,∞) TO SELECT
PRESS (MENU) TO END
AUTO CHANNEL SET
SCANNING ...
PRESS (MENU) TO END