


16 EN
INITIAL SETTINGS (cont.)
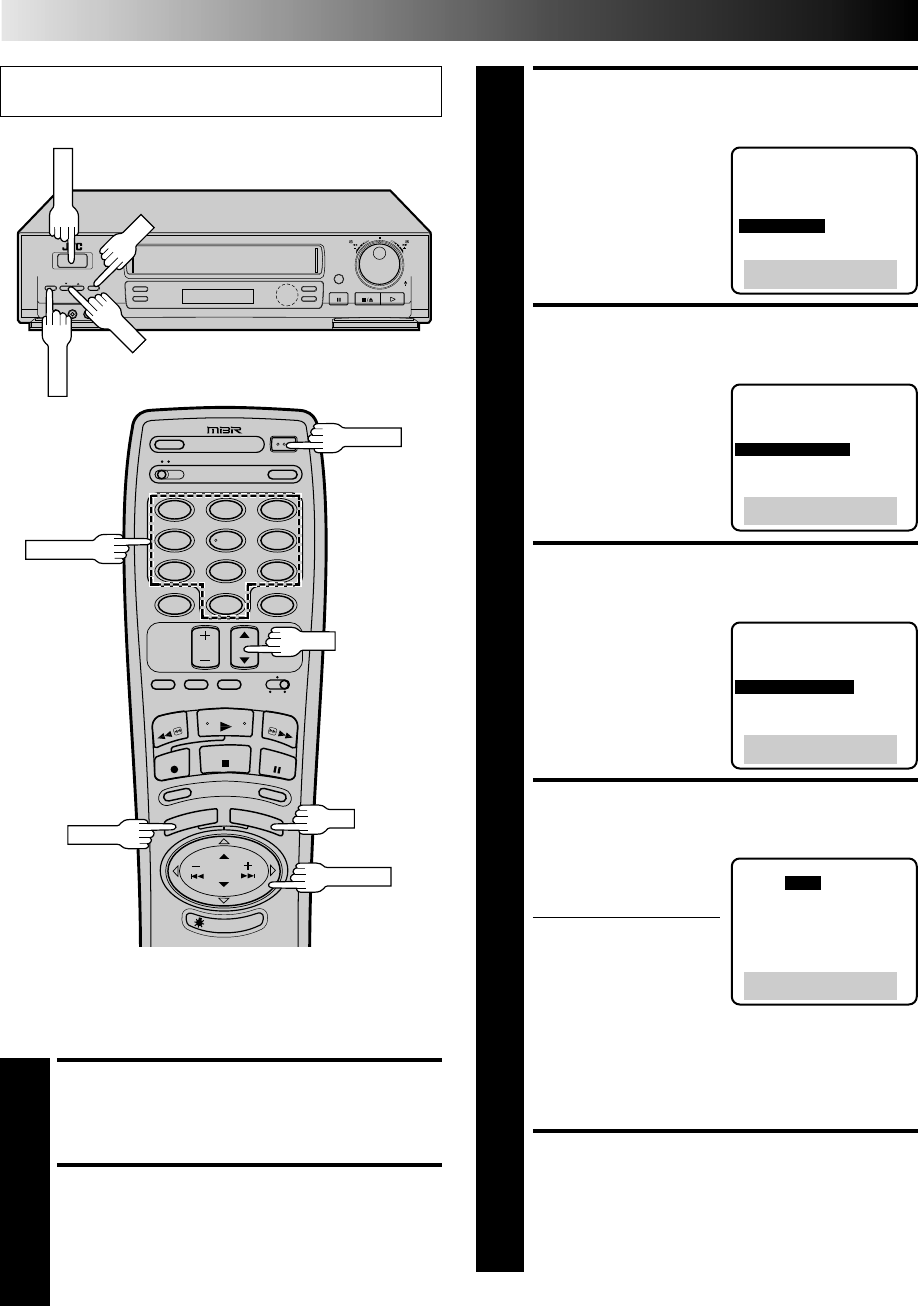
ACCESS CUSTOM SET
SCREEN
3
Press CH5
∞
or TIME
SCAN5
∞
to move the
highlight bar (arrow) to
“CUSTOM SET”, then
press OK.
ACCESS VCR PLUS+ SET-UP
SCREEN
4
Press CH
5
∞ or TIME
SCAN
5
∞ to move the
highlight bar (arrow) to
“VCR PLUS+ SET-UP”,
then press OK.
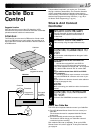
ACCESS CABLE BOX
OUTPUT SCREEN
5
Press CH
5
∞
or TIME
SCAN
5
∞
to move the
highlight bar (arrow) to
“CABLE BOX OUTPUT”,
then press OK.
SELECT CABLE BOX
OUTPUT CHANNEL
6
Your selection depends on
how your cable box is
connected to your VCR.
If your cable box is
connected to your VCR
using an RF connection . . .
. . . press CH
5
∞ or TIME
SCAN
5
∞ to move the
highlight bar (arrow) to the channel number representing
the cable box’s output (2–6).
If your cable box is connected to your VCR’s AUDIO/
VIDEO IN connectors . . .
. . . press CH
5
∞ or TIME SCAN
5
∞ to move the
highlight bar (arrow) to “ON LINE”.
RETURN TO VCR PLUS+
SET-UP SCREEN
7
Press MENU.
Turn on the TV and select the VCR channel 3 or 4 (or AV
mode).
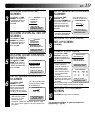
TURN ON THE VCR
1
Press POWER.
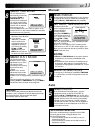
ACCESS MAIN MENU
SCREEN
2
Press MENU as many times as necessary.
Set Cable Box Output
Channel
MAIN MENU
PROGRAM SET
FUNCTION SET
TUNER SET
=CUSTOM SET
AUTO PICTURE
VIDEO STABILIZER
PRESS (5,∞), THEN (OK)
PRESS (MENU) TO END
CUSTOM SET
OVERRIDE
AUTO CLOCK SET
LANGUAGE SELECT
=VCR PLUS+ SET-UP
DBS RECEIVER OUTPUT
DBS RECEIVER BRAND SET
PRESS (5,∞), THEN (OK)
PRESS (MENU) TO END
VCR PLUS+ SET-UP
GUIDE CHANNEL SET
GUIDE CHANNEL MAP
=CABLE BOX OUTPUT
CABLE BOX BRAND SET
PRESS (5,∞), THEN (OK)
PRESS (MENU) TO END
CABLE BOX OUTPUT
=OFF
ON CH2
ON CH3
ON CH4
ON CH5
ON CH6
ON LINE
PRESS (5,∞) TO SELECT
PRESS (MENU) TO END
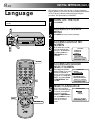
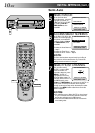
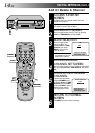
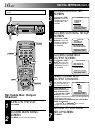
q
MENU
OK
CH
POWER
12
45
3
6
8
0
7
9
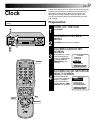
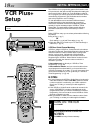
MENU
TIME SCAN
CH
OK
POWER
NUMBER