


EN 39
Turn on the TV and select the VIDEO channel (or AV mode).
PERFORM AUTO CHANNEL
SET
3
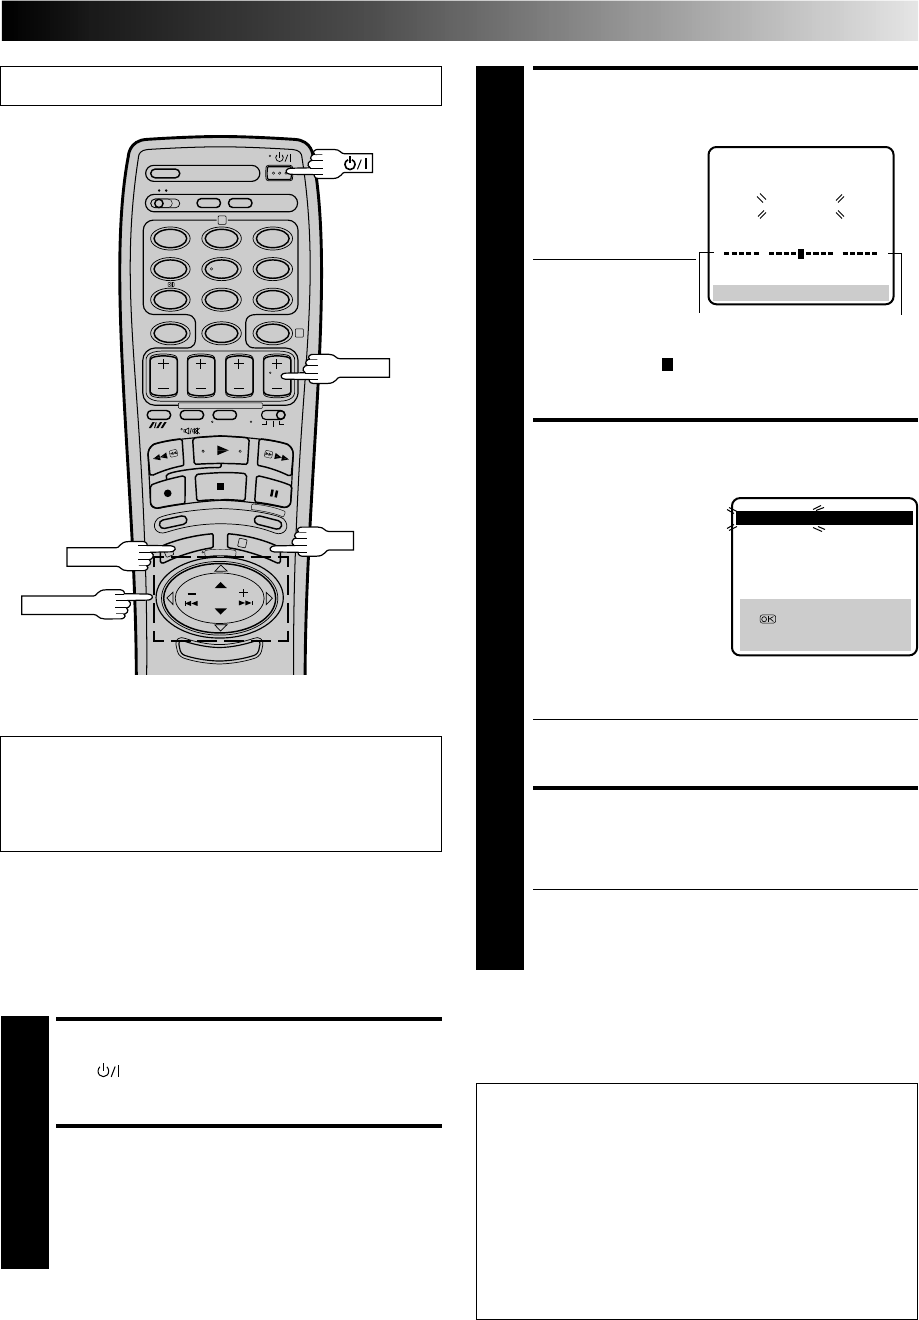
Press PUSH JOG%
fi
to
move the highlight bar
(pointer) to "AUTO CH
SET", then press OK to
initiate Auto Channel
Set.
● The Auto Set screen
appears, and
remains on screen
while the recorder
searches for receivable stations. As Auto Channel Set
progresses, the "
" mark on the screen moves from
left to right. Wait until the screen as shown in step 4
appears.
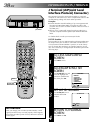
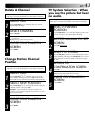
VIEW CONFIRMATION
SCREEN
4
The stations your recorder
located appear on a
Confirmation screen —
channel positions (PR) and
channels (CH). To view the
next page of the listing,
press PUSH JOG%fi .
The blueback screen and
the program currently
being broadcast by the
blinking station appear
alternately for 5 seconds each.
● Even though the displayed channel number may not
match the actual local channel number, the picture
being received will not be affected.
RETURN TO NORMAL
SCREEN
5
Press MENU.
● Using the Confirmation screen, you can skip or add
channel positions, enter station names (ID– ੬ pg.
43) and perform other operations. Refer to pages 40
– 43 for the procedures.
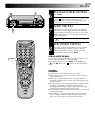
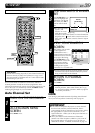
12
45
3
6
8
0
7
9
2
4
1
3
TV PROG
OK
MENU
PUSH JOG
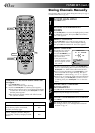
IMPORTANT
Perform the following steps only if auto channel set has not
been set correctly by Auto Set Up function (੬ pg. 4) or if
you have moved to a different area or if a new station starts
broadcasting in your area.
Your recorder needs to memorise all necessary stations in
channel positions in order to record TV programmes. Auto
Channel Set automatically assigns all receivable stations in your
area so that you can call them up with the TV PROG buttons
without going through any vacant channels.
Auto Channel Set
TURN ON THE RECORDER
1
Press .
ACCESS MAIN MENU
SCREEN
2
Press MENU twice.
AUTO SET
PLEASE WAIT
[MENU] : EXIT
0
+++
Beginning
End
5
5
PR CH ID PR CH ID
01 26 - - - - 08 - - - -
02 27 - - - - 09
- - - -
03 28 - - - - 10 - - - -
04 29 - - - - 11 - - - -
05 30 - - - - 12 - - - -
06 31 - - - - 13 - - - -
07 C08 - - - - 14 - - - -
[5
∞
]
=
: EDIT
= [CANCEL] : DELETE
[MENU] : EXIT
5
5
C: Cable
%
%
TUNER SET
IMPORTANT
● If no sound accompanies the picture on some channels
that have been stored by Auto Channel Set, the TV
system setting for those channels may be incorrect. Select
the appropriate TV system for those channels. ੬ "TV
System Selection – When you see the picture but hear no
audio" on page 41.
● Since your video recorder memorizes all detected
stations even if the reception condition is poor, some of
those stored stations may produce a noisy picture. To
delete those stations, ੬ "Delete A Channel" on page 41.
NOTE:
Fine tuning is performed automatically during Auto Channel
Set. If you want to perform it manually, refer to page 42.