


11
Note
● When using a 4:3 source on a Wide Angle screen there
are black bars on the left and right of the image. The
sidebars can be changed to gray using the Blanking Level
control located in the Display menu. If filling the entire screen
is desired, select Letterbox. The image will fill the screen
but the top and bottom 1/3 of the image will be cut off
(overscanned).
When watching 2:35 aspect ratio movies on a 16:9 (1:77)
screen, it is normal to see black bars at the top and bottom
of the image.
● The screen shape used in the installation must be set in
the Setup Menu during installation for proper Aspect Ratio
mapping. Anamorphic Aspect Ratio with 4:3 screens and
the Wide-4:3 settings are not available on units with scan
rates, 540p, 600p and Frame Doubling. See Setup section
for details.
Do not leave the 4:3 image with a Wide Angle
screen on for long periods of time on a
projector or plasma display. This can cause
permanent image burn-in. Image burn-in is
not covered by warranty
Ⅵ Picture Menu
Use these commands to fine-tune the image.
● After tuning the image, if the power is turned off without
storing the profile, the factory default value will be re-
stored.
Brightness
Factory 50
Adjust the brightness of the picture image.
Contrast
Factory 50
Adjusts the contrast of the picture image.
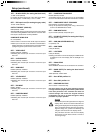
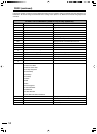
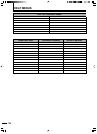
INPUT PICTURE
INPUTS DVI
ASPECT ANAMORPHIC
PROFILE
RECALL
PATTERNS
DISPLAY
STORE
FORMATS
F 1 2 3 4
1 2 3 4
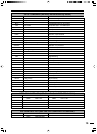
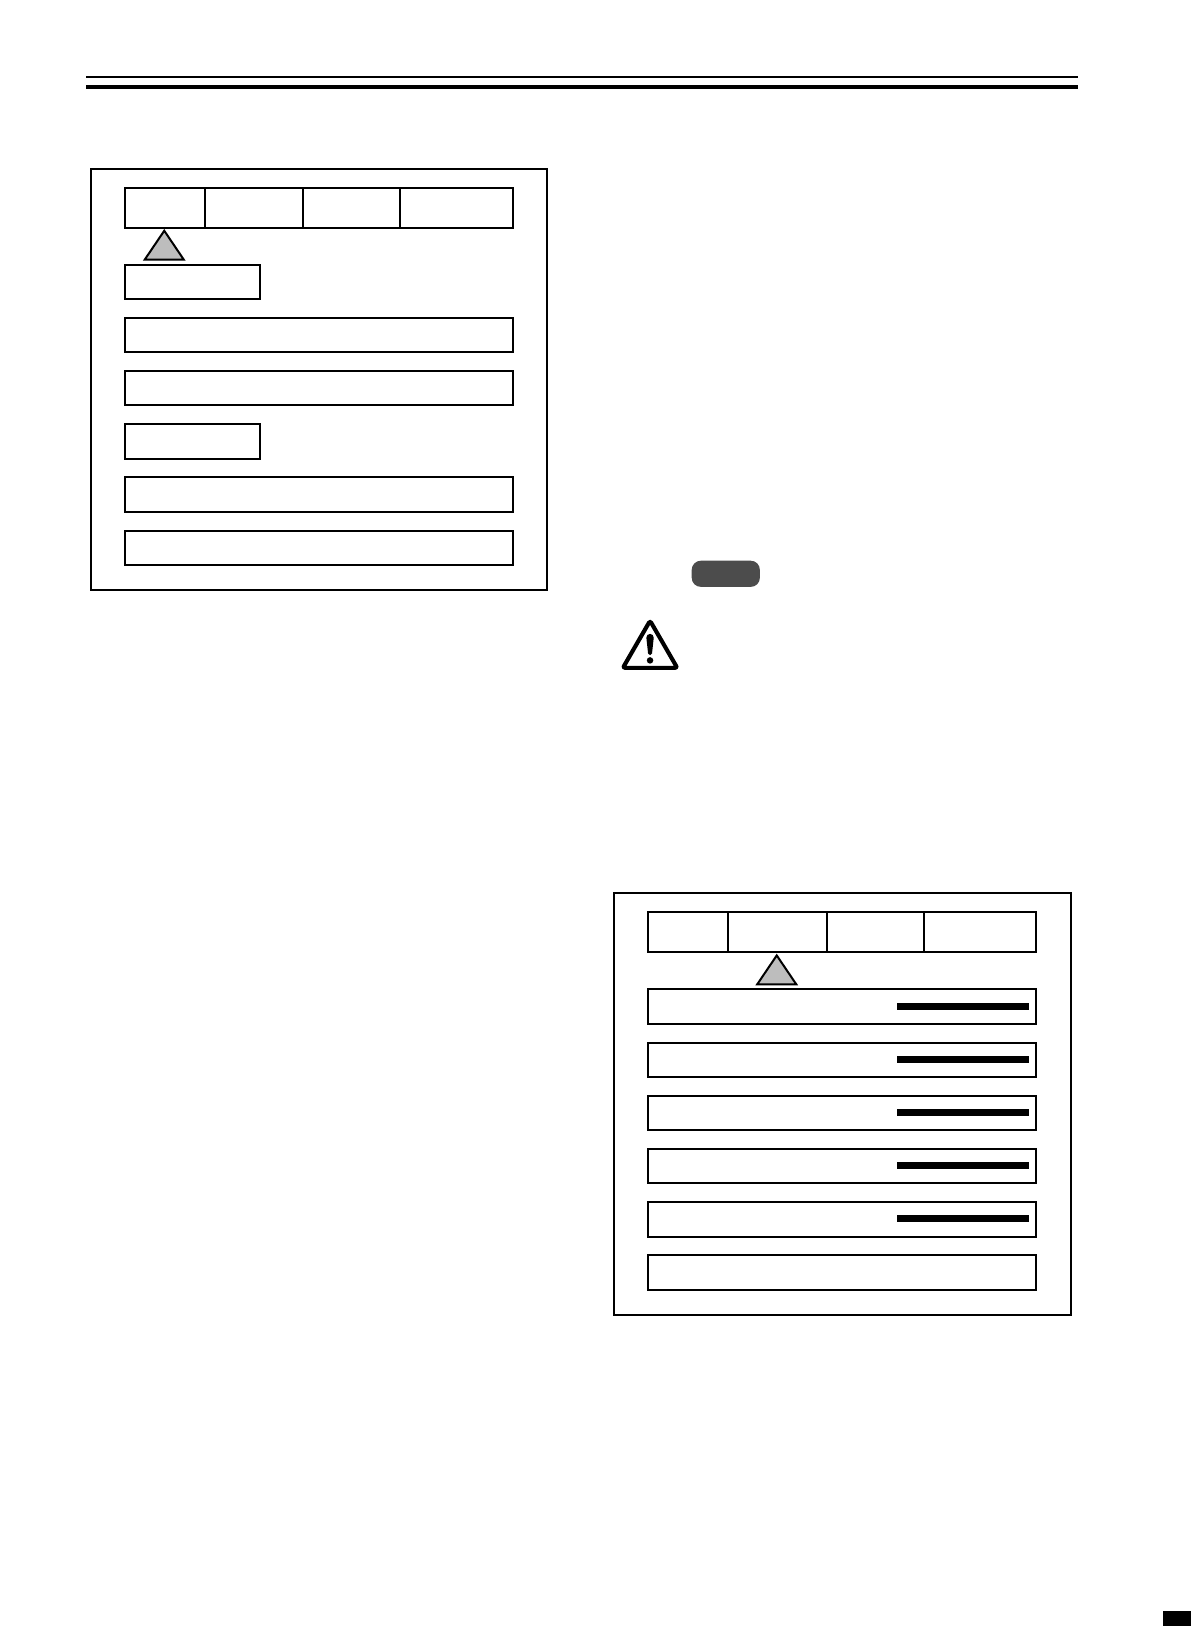
INPUT
PICTURE
BRIGHTNESS 50
CONTRAST 50
COLOR 50
TINT 50
4
NORMAL
ADVANCED COLOR SYS
PATTERNS
DISPLAY
DETAIL
Ⅵ Input Menu
Formats
1. Input Select: OSD
Video-S-Video- RGB-YCrCb-DVI
● The Pass-Thru input cannot be selected from the OSD
since an OSD is not available on that input. Use the
Input button on the remote to select it. The DVI Input
will not display an OSD unless there is a source con-
nected to it.
2. Aspect Ratio
4:3-Letterbox-Anamorphic
● This selection should match the aspect ratio of the
source, not the display. The aspect ratio of the display
should be selected in the Setup menu.
Profiles
1. Profile: Factory-1-2-3-4-5-6-7-8
2. Store: 1-2-3-4-5-6-7-8
To store a Profile (in the Input Menu):
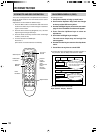
1. Press Menu button on the remote
2. Make all required adjustments.
3. Use the Function Up/down keys to select Profile
4. Use the Value Left/Right keys to select Profile
5. Press Enter
To recall a Profile (in the Input menu):
1. Press Menu button on the remote
2. Use the Function Up/Down keys to select Recall
3. Use the Value Left/Right keys to select profile
1-8
4. Press Store
5. There are separate banks of eight Profiles for
NTSC and PAL