Masterpage:Right+
EN 41
Filename [DVM700EU_10Navigation.fm]
NAVIGATION ON HDD/DVD DECK
Page 41Wednesday, 25 January 2006 10:28
Add scenes
1 Perform steps 1 – 5 of AEdit ScenesB (A pg. 40) before
continuing.
2 Press selection keys to select ASEL. TITLEB, then press
ENTER.
3 Perform steps 4 – 11 of ACreate Play ListB (A pg. 40).
Move Scenes
1 Perform steps 1 – 5 of AEdit ScenesB (A pg. 40) before
continuing.
2 Press selection keys to select AMOVEB, then press ENTER.
3 Press selection keys to select a scene to move, then press
ENTER.
4 Press selection keys to select another scene to which the
scene is to be moved, then press ENTER.
● To cancel the move, press selection keys to select ARETRYB,
then press ENTER.
5 Perform steps 9 – 11 of ACreate Play ListB (A pg. 40).
Delete Scenes
1 Perform steps 1 – 5 of AEdit ScenesB (A pg. 40) before
continuing.
2 Press selection keys to select ADELETEB, then press ENTER.
3 Press selection keys to select a scene to delete, then press
ENTER.
4 Perform steps 9 – 11 of ACreate Play ListB (A pg. 40).
Play Back Play List
1 Press NAVIGATION. The Library Database Navigation screen
appears.
2 Press selection keys to select APLAY LISTB, then press
ENTER.
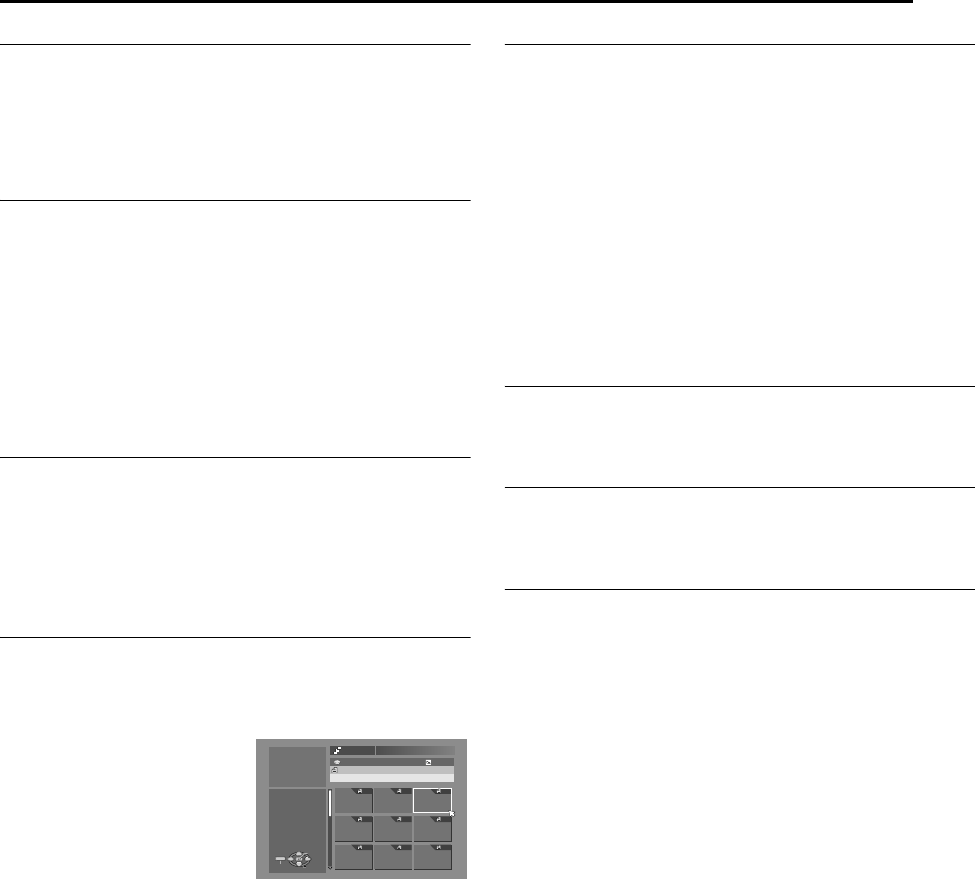
3 Press selection keys to select
the index (small pictures) of
the desired play list, then
press ENTER.
● When you want the plural play
lists to be played back
continuously, press MEMO
after selecting the desired play
lists. The numbers of the
playback order appear on the index. You can select up to 8 play
lists.
● When you want to correct the order, move the arrow to the
desired index and press MEMO. The number disappears and
the unit re-numbers the other play lists automatically.
● When you want to cancel the order, press CANCEL.
4 Press selection keys to select ABEGINNINGB, then press
ENTER. The playback starts.
● Upon completing play list playback, the normal screen will
resume.
● The normal screen will also resume when o is pressed to stop
play list playback.
Delete Play List
1 Press EDIT. The Editing screen appears.
2 (DVD deck only) Press selection keys to select AMODIFYB
under AORIGINAL/PLAY LISTB, then press ENTER.
3 Press selection keys to select ADELETEB under APLAY LISTB,
then press ENTER.
4 Press selection keys to select one play list you want to delete,
then press ENTER.
5 Press selection keys to select ADELETEB, then press ENTER.
● When you cancel the deletion, select ACANCELB, then press
ENTER.
6 Press EDIT to return to the normal screen.
NOTE:
Even if a play list is deleted, the titles recorded and the library
information are not affected at all.
Modify Index
A Perform steps 1 – 4 of AEdit ScenesB (A pg. 40) before
continuing.
B Perform steps 5 – 8 of AModify IndexB (A pg. 37).
Modify Play List Name
A Perform steps 1 – 4 of AEdit ScenesB (A pg. 40) before
continuing.
B Perform steps 2 – 6 of AModify Title NameB (A pg. 37).
Modify Category
A Perform steps 1 – 4 of AEdit ScenesB (A pg. 40) before
continuing.
B Perform steps 2 – 4 of AModify CategoryB (A pg. 38).
TEDDY BEAR 25/12
0026
001 002 003
004 005 006
007 008 009
143 MIN[FISH WORLD ]
ENTER
SELECT
NAVIGATION
EXIT
NAVIGATION > PLAY LIST
PRESS [NAVIGATION]
TO EXIT
SELECT WITH @
THEN PRESS [ENTER]
026 CREATED 26/12/03 FRI
[MOVIES]
DVM700EU_00.book Page 41 Wednesday, January 25, 2006 10:28 AM
