


46
ADVANCED OPERATIONS (cont.)
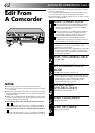
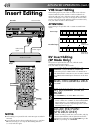
DV Audio Dubbing
This function lets you record new audio, without erasing the
original audio, on a DV tape that was recorded with "SOUND
MODE" set to "12BIT" (੬ pg. 35). You can then play back
audio that you recorded by connecting other audio or video
equipment to this recorder.
You cannot perform audio dubbing on a tape that was recorded
with "SOUND MODE" set to "16BIT", on a tape that was
recorded at the "LP" speed, or on a blank tape.
A. DUB
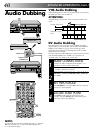
VHS Audio Dubbing
Audio dubbing replaces the normal audio sound of a previously
recorded tape with a new soundtrack.
ATTENTION:
Audio dubbing is not possible with a cassette recorded in EP
mode.
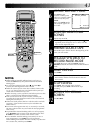
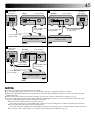
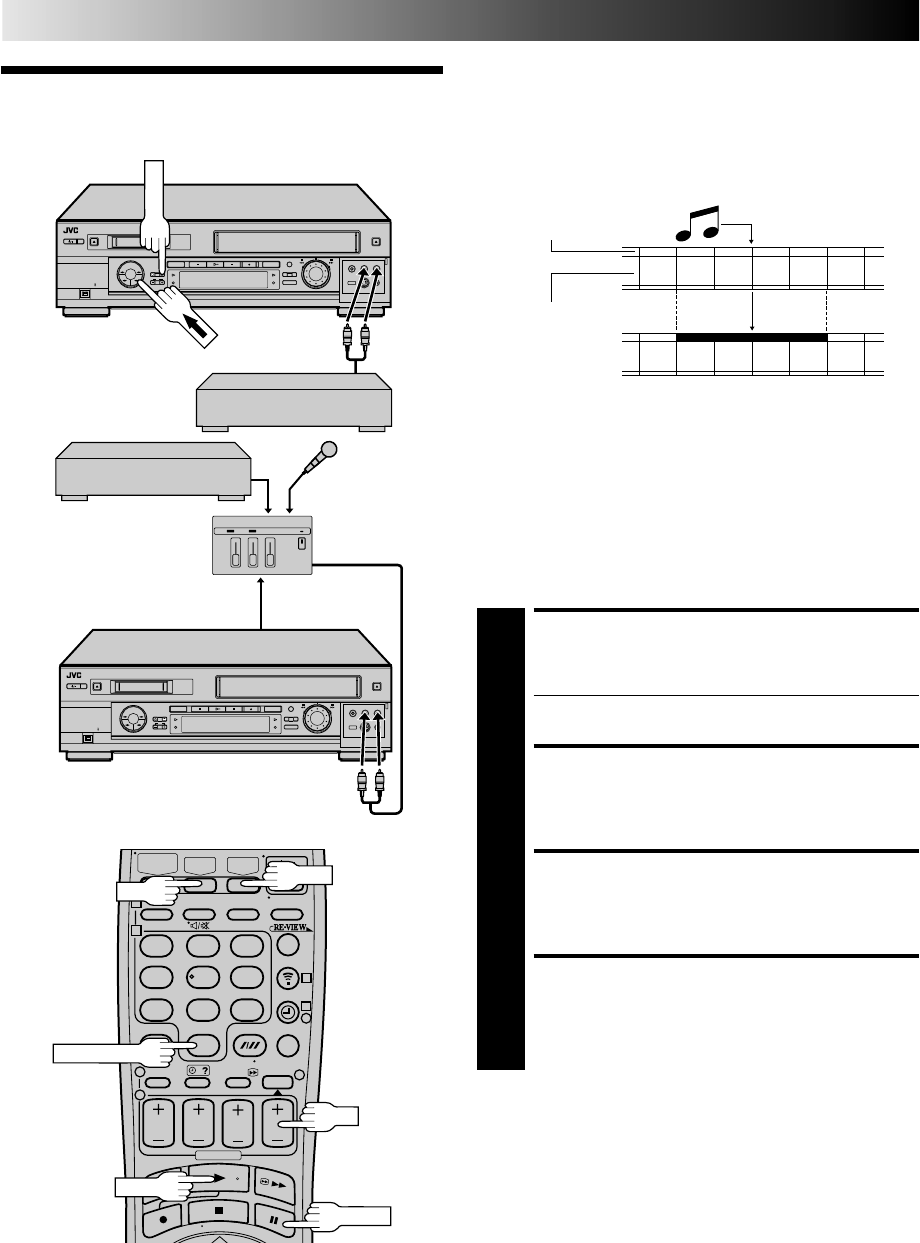
Audio Dubbing
Original sound
AUDIO OUT
Audio mixer
Audio-dubbed tape
CD Player etc.
Mixer output
Pre-recorded tape
Normal audio track
Video/Hi-Fi audio
track
CD Player etc.
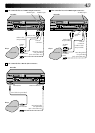
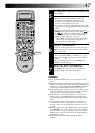
MAKE CONNECTIONS
1
Connect an audio component to the AUDIO L + R
connectors on the recorder's front panel.
● When connecting monaural equipment, use only the
recorder's AUDIO L connector.
SELECT RECORDING DECK
2
Press VHS.
SET INPUT MODE
3
Press NUMBER key "0" and/or PR so that "F-1" appears
in place of a preset number.
LOCATE START POINT
4
Press PLAY to start playback of the tape in your
recorder, and press PAUSE when you find the point
where you want to start dubbing.
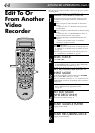
123
456
789
1
2
1
2
3
0
3
4
4
VHS
PAUSE
NUMBER "0"
DV
PLAY
NOTE:
To use the DV deck as the recording deck, press
←
and then
DV after selecting "F-1" in step 3. The dubbing direction
(
←
VHS) indicator lights.
PR