


34
Network Setup
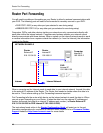
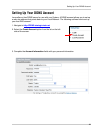
DDNS Setup
1. DDNS: Sets using DDNS to YES or NO. Navigate using
the
K and L buttons. Press the < and > buttons to move
within the IP address, and press + and - to change the
letters and numbers.
2. DOMAIN: Enter the Domain (web address) that the DVR
will connect to for remote viewing. Navigate using the
K
and L buttons. Press the < and > buttons to move within
the Domain, and press + and - to change the letters and
numbers.
3. USERNAME: Enter the Username used to connect to the Domain Server for remote viewing.
Navigate using the
K and L buttons. Press the < and > buttons to move within the Username,
and press + and - to change the letters and numbers.
4. PASSWORD: Enter the Password used to connect to the Domain Server for remote viewing.
Navigate using the
K and L buttons. Press the < and > buttons to move within the Password,
and press + and - to change the letters and numbers.
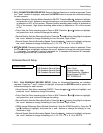
5. USE PUBLIC IP TO REGISTER: Sets using a Public IP for registration to YES or NO. Navigate
using the K and L buttons. Press the + and - to change to YES or NO. If the DVR is located
behind a router, this must be set to YES. When registration to the DDNS Server is complete,
an email will be sent to the registered email address with all necessary DDNS Setup information.
See Page 41 for more information on DDNS Setup.
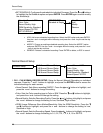
6. DDNS STATUS: Select to check the online status of the DDNS Server. A status indicator will
appear below this option indicating either CONNECTED or NOT CONNECTED.
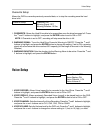
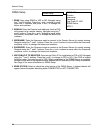
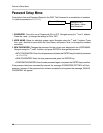
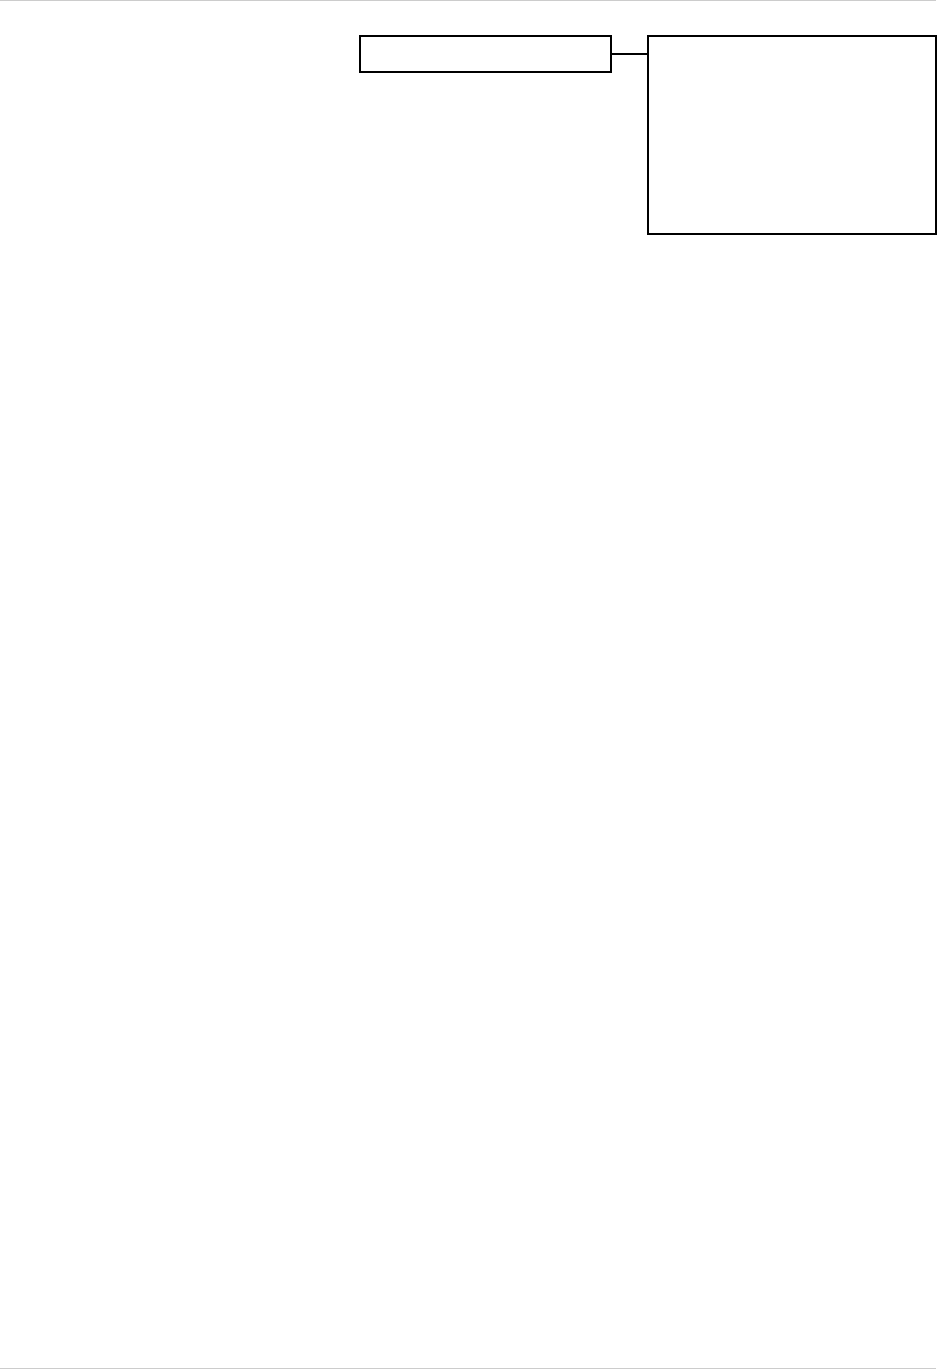
DDNS Setup
DDNS: NO
Domain:
Username:
Password:
Use Public IP: YES
DDNS Status:
APPLY