


35
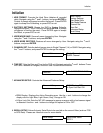
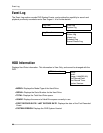
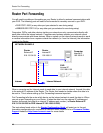
Initialize
Initialize
1. HDD FORMAT: Formats the Hard Drive (deletes all recorded
data). Navigate using the K and L buttons, and press ENTER to
Format. A prompt will appear to confirm the format - Press ENTER
again to accept the Formatting, or press ESC to exit.
2. FACTORY SETTINGS: Resets the DVR to Factory Defaults.
Navigate using the
K and L buttons, and press ENTER. A prompt
will appear to confirm the reset - Press ENTER again to accept
the Reset, or press ESC to exit.
3. USER MODE SAVE: Saves all menu changes by User. Navigate
using the
K and L buttons, and press ENTER.
4. USER MODE RESTORE: Restores all menu changes by User. Navigate using the K and L
buttons, and press ENTER.
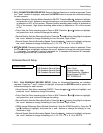
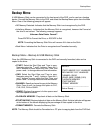
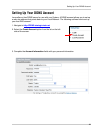
5. CHANNEL SET: Sets the default screen view to Single Channel (1-4) or QUAD. Navigate using
the
K and L buttons, and press ENTER to change the setting.
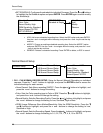
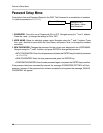
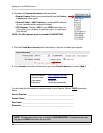
6. TIME SET: Sets the Date and Time for the DVR unit. Navigate using the K and L buttons. Press
the < and > buttons to navigate, and the + and - buttons to set the time.
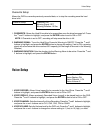
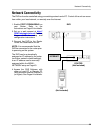
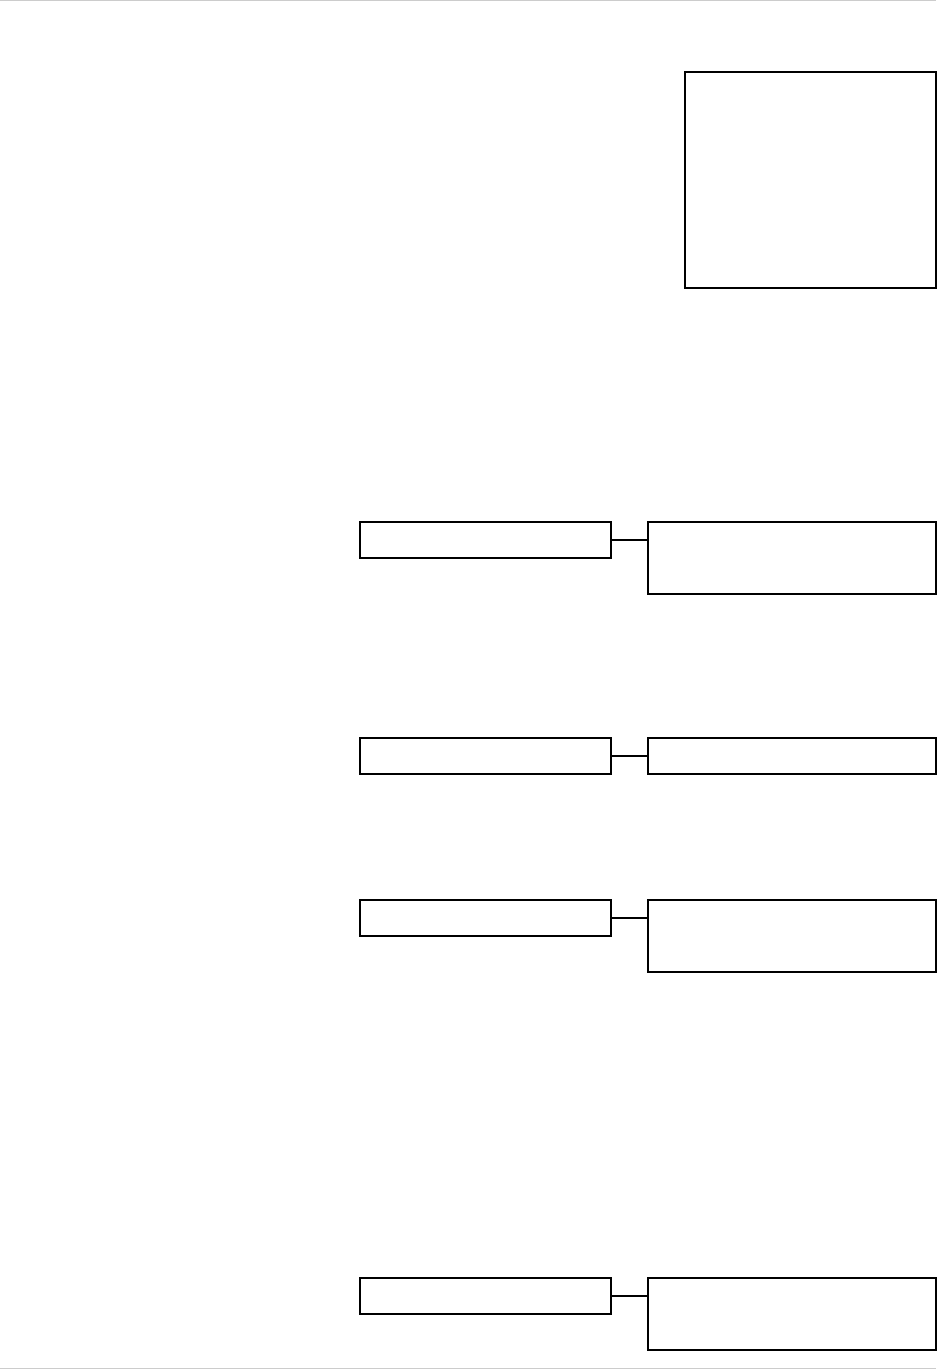
7. ADVANCED SETUP: Controls the Advanced Features Setup:
• IDSM Display: Displays the Active Recording area. Use the + and - buttons to change the
display color to Light Blue, Light Green, Gray, Orange or Off.
• H-Sync Lock Set: Sets the NO VID message to appear onscreen with a bad camera signal
is detected. Use the + and - buttons to change the option to ON or OFF.
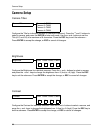
8. SERIAL SETUP: Allows 3rd party Serial Data to be overlaid on the current Video (such as POS
or GPS Data). Please see Lorexcctv.com for more details.
HDD Format
Factory Settings
User Mode Save
User Mode Restore
Channel Set
Time Set
Advanced Setup
Serial Setup
Channel Set
Single Channel
QUAD Channel
Time Set
01-15-2007 PM 12:01:02
Advanced Setup
IDSM Display: OFF
H-Sync Lock Set: ON
Serial Setup
Serial Data: None
APPLY