


30
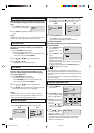
On screen display can be switched on or off when you
press the DISPLAY button.
The unit supports the Progressive scanning system as
well as the conventional interlaced scanning system.
If your TV is equipped with component jacks which
support the progressive video input, you can enjoy high
quality picture by making the Progressive scanning
mode active.
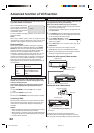
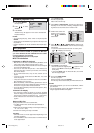
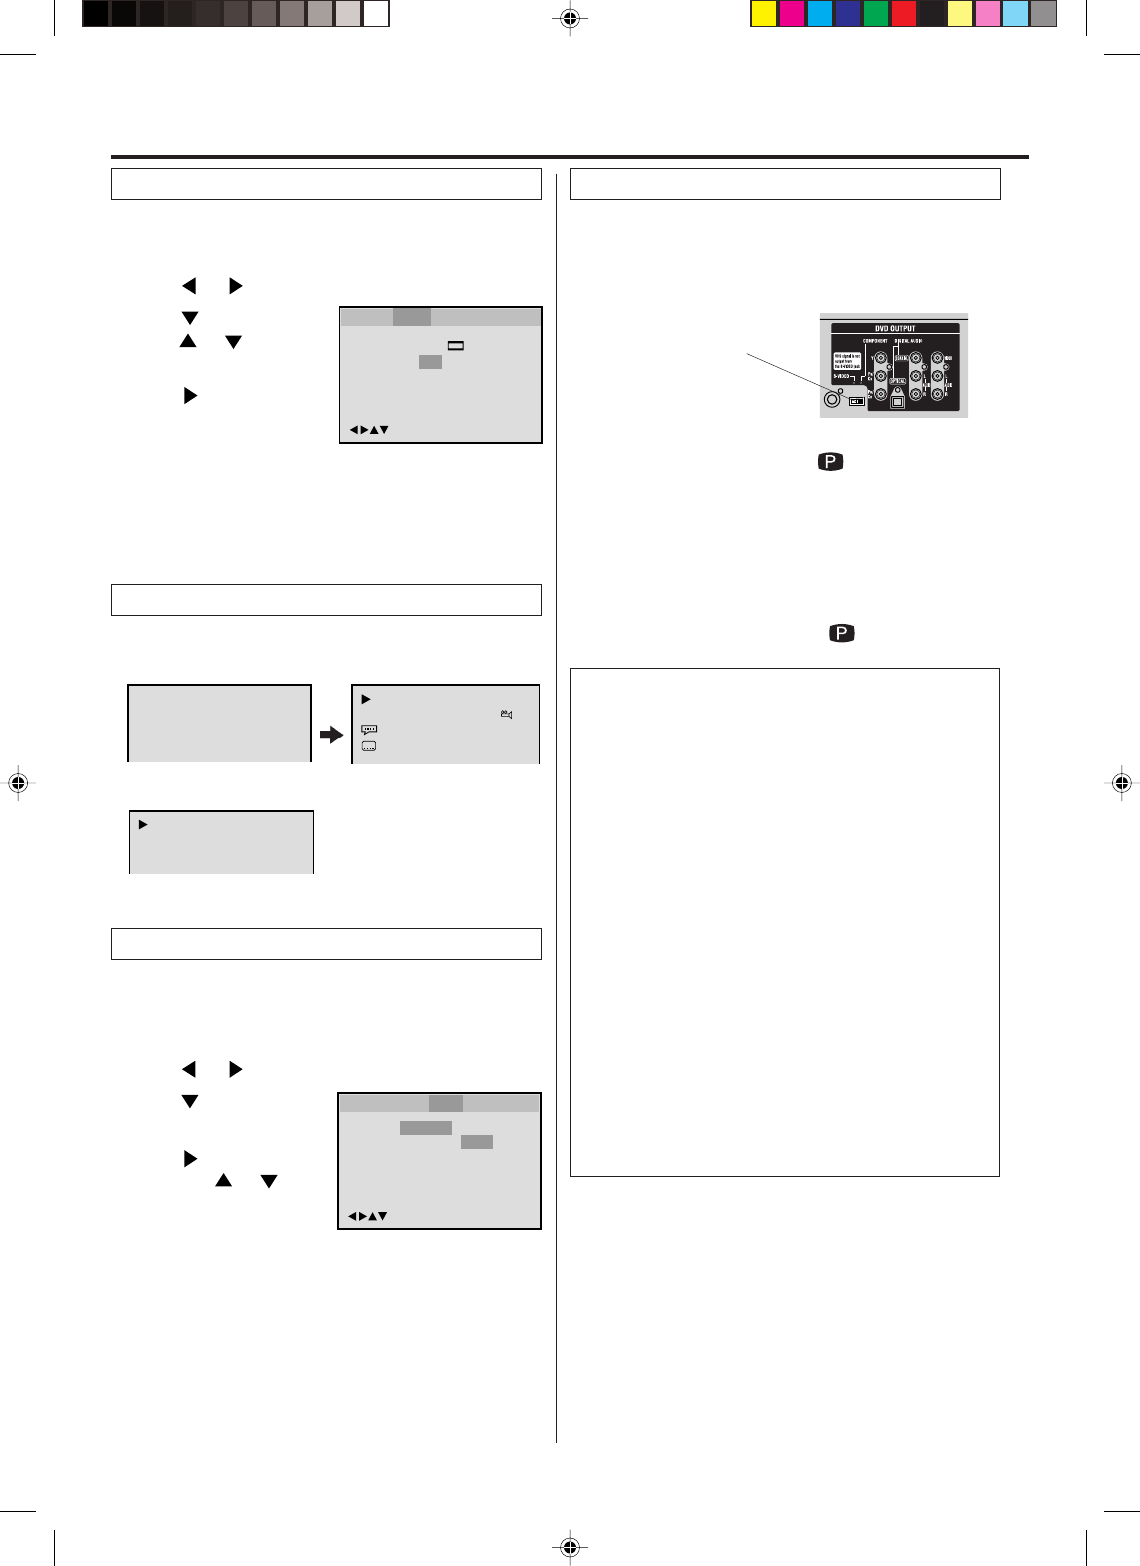
S-VIDEO/COMPONENT
Video selector switch
1
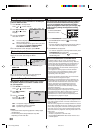
Press PROGRESSIVE in the stop mode.
The PROGRESSIVE indicator “ ” on the display
window will light.
• The unit recognizes the picture source (film or video) of
the current disc according to the disc information.
2
Press PLAY to start playback.
• To make the progressive scanning mode inactive, press
PROGRESSIVE in the stop mode.
The PROGRESSIVE indicator “ ” on the display
window will go off.
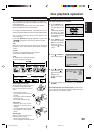
About PROGRESSIVE SCANNING MODE
To display video on the TV screen, the conventional
scanning method is called “Interlaced scanning.” With this
method, only half of the horizontal lines are displayed at a
time. So two fields complete a single picture (frame); i.e.,
the first field, containing all the odd-numbered lines, is
displayed followed by the second field, containing all the
even-numbered lines.
The Progressive scanning system scans all horizontal
lines at a time, so you can double the number of lines
compared with the interlaced scanning, resulting in a
high-density, flicker-free picture.
To enjoy a progressive scanned video, the TV connected
to the unit must have Progressive inputs.
Depending on the material source format, DVD discs can
be classified into two categories; film and video (note that
some DVD discs contain both a film source and a video
source). Film sources are recorded as 24-frame-per-
second information, while (NTSC) video sources are
recorded as 30-frame-per second (60-field-per-second
interlaced) information.
When the unit plays back a film source material,
uninterlaced progressive output signals are created using
the original information. When a video source material is
played back, the unit interleaves lines between the
interlaced lines on each to create the interpolated picture
and outputs as the progressive signal.
NOTES:
• Some discs may not be played back with the progressive scan-
ning mode correctly because of the disc characteristics or re-
cording condition.
• There are some progressive TV and High-Definition TV sets that
are not fully compatible with the unit, resulting in the unnatural
picture when playing back a DVD disc in the Progressive scan-
ning mode. In such a case, use the Interlaced scanning mode.
• You cannot make the progressive scanning mode active in fol-
lowing cases.
– The unit is in the VCR mode.
– The disc is played back in the DVD mode.
– The S-VIDEO/COMPONENT video selector swich is set to
S-VIDEO positon.
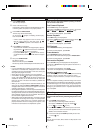
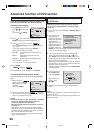
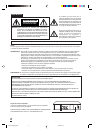
Setting on screen display
Progressive scan
00:34:56 01:12:33
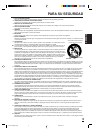
Each press of DISPLAY, the status display of the disc will
appear on the screen and change as follows.
DVD
AUDIO CD
Status display of disc
00:34:56 01:12:33
1/9
Title 1/99
1/8
1/32
Chapter 1/999
Eng DolbyDigital
Eng
34:56 71:33
Track 11/99
To make status display disappear, press DISPLAY again.
When you playback the CD disc, the status display will
appear on the screen and continue displaying.
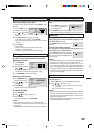
Press
or ENTER to
select “On” or “Off”.
1
2
3
To make SETUP screen disappear, press SETUP.
4
On: On screen displays appears when you press any
buttons (factory setting).
Off: On screen displays do not appear when you press
any buttons except SETUP, SEARCH MODE,
PLAY MODE, MARKER and DISPLAY.
Press or ENTER, then
press or to select
“Display”.
Press SETUP in the stop mode.
Press or to select “Picture”.
Tv Screen
Display
Off
4:3
/Enter/Setup/Return
Language Picture Parental Other
Language Picture ParentalSound Other
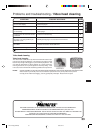
NOTES:
• This function works only during playback of Dolby Digital
recorded discs.
• The level of Dynamic Range Reduction may differ
depending on DVD video disc.
/Enter/Setup/Return
Language Picture ParentalSound Other
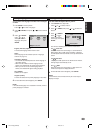
DRC
Std
Max
Std
Min
Press or ENTER,
then press or to
select desired setting.
1
Press SETUP in the stop mode.
Press or to select “Sound”.
2
3
Press or ENTER to
select “DRC”.
DRC (Dynamic Range Control) enables you to control
the dynamic range so as to achieve a suitable sound
for your equipment.
Dynamic Range Control
Max: Full dynamic range is increased.
Std: Full dynamic range is maintained.
Min: Dynamic range is reduced.
2D81121A[E] (28-BACK) 6/4/04, 18:2030