


Chapter 3. TV Setup 47
Additional Setup Using the
NetCommand Menu, continued
Automatic A/V Receiver Switching, Part 1: Learn IR
Codes for A/V Receiver Inputs
1. Connect your A/V receiver to the TV and DVD player.
See chapter 2, “TV Connections,” for suggestions.
2. Lift the TV front control panel cover. This lets
the IR Learning sensor receive signals from the
remote control.
3. Open the NetCommand menu.
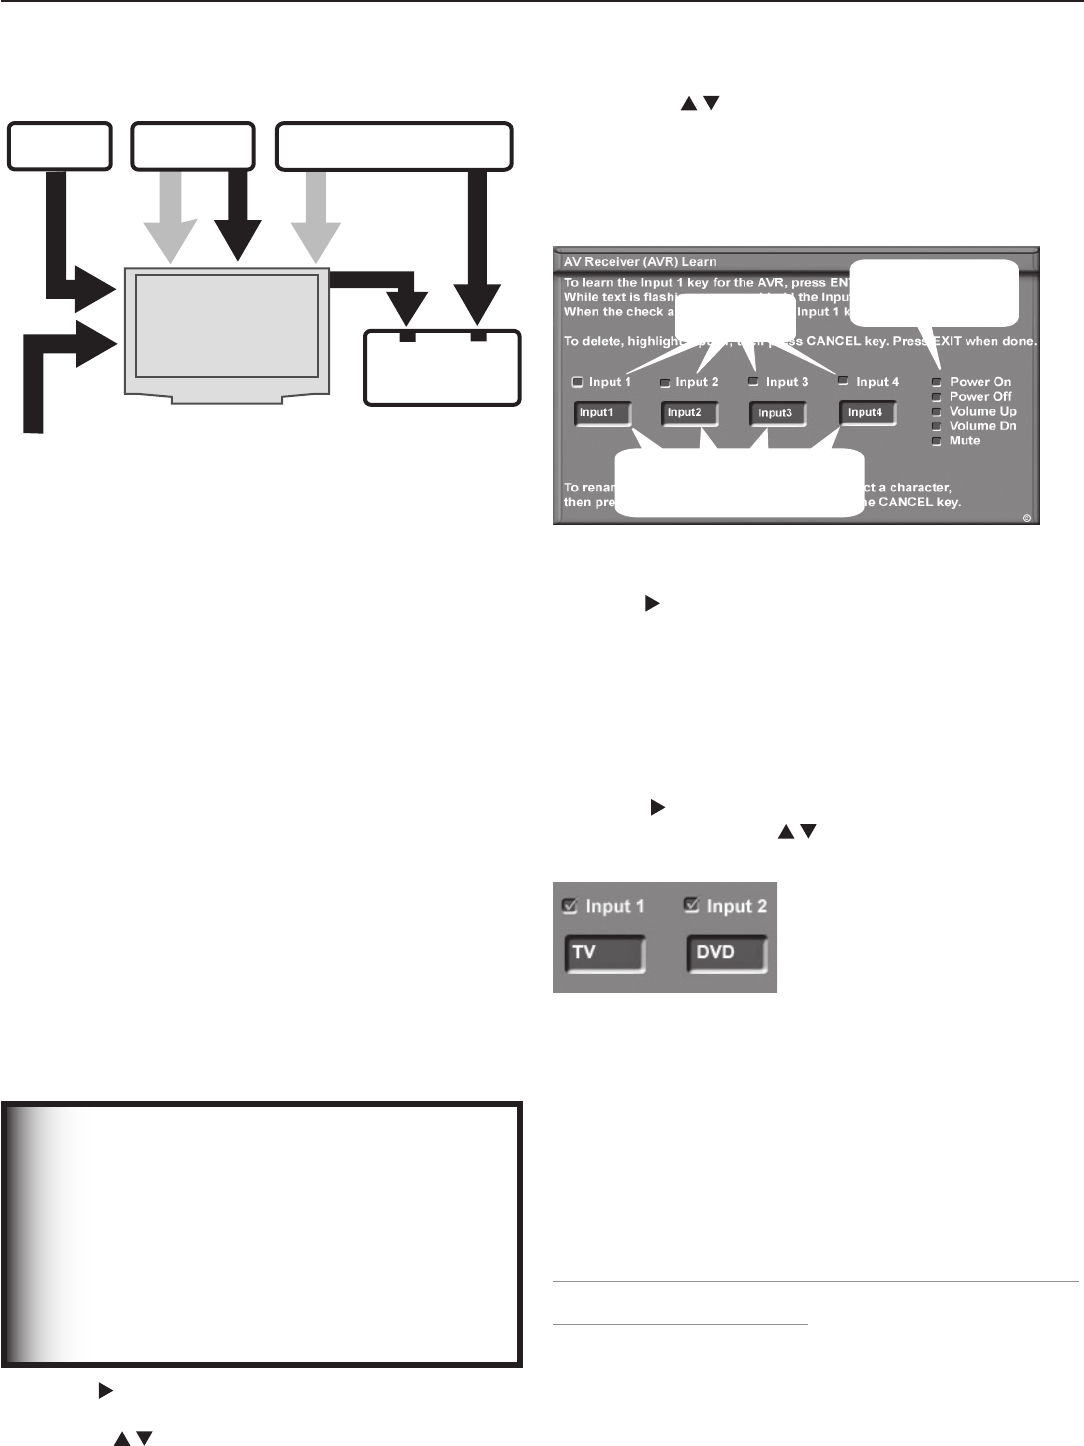
4. Highlight the Learn button under AV RECEIVER
SETUP and press
ENTER
to display the AV Receiver
(AVR) Learn screen. See figure 15.
When the AV Receiver Learn screen opens, the
highlight is on the check box for Input 1. The terms
Input 1–Input 4 are generic references to the A/V
receiver inputs for which the TV can learn IR codes.
5. In this example, the IR code for the A/V receiver’s
TV
Audio
input will be “learned” as Input 1.
Point the TV’s remote control at the TV’s external
remote control sensor (top left corner of TV).
Press
ENTER
on the TV’s remote control and while the
text Input 1 is flashing, press and hold the
TV INPUT
key
on the A/V receiver’s remote control.
6. When a check appears in the check box, release the
TV INPUT
key.
IMPORTANT
All audio from what you are watching on
the TV is always available as an output on
both the TV’s AUDIO OUT LEFT/RIGHT and
DIGITAL AUDIO OUT jacks.
To use the surround sound capabilities of your
A/V receiver however, you must connect your
DVD player, satellite receiver, or cable box
directly to the A/V receiver, as surround sound
may not be available from the TV’s audio output.
7. Press to highlight the text box for Input 1. To enter
a name:
• Use on the TV’s remote control to select a
character.
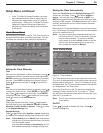
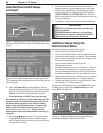
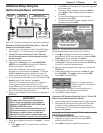
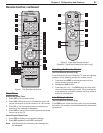
Figure 14.
Overview of A/V receiver connections described
• Press
ENTER
to set the letter and move the highlight
to the next letter.
• To delete a letter, highlight it and press
CANCEL
or
press to insert a blank space (underscore
character).
• To return the highlight to the first character,
repeatedly press
CANCEL
.
• To return to the default name, highlight the first
character and press
CANCEL
.
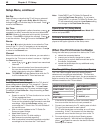
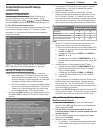
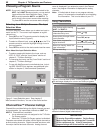
A/V Receiver
Audio Inputs
Text boxes for you to enter the
name of the associated audio
input on the A/V receiver
A/V receiver com-
mands the TV can
send when “learned”
Figure 15. The AV Receiver (AVR) Learn screen lets you
set up NetCommand control of your A/V receiver.
8. Press
to highlight the check box for Input 2. In
this example, the IR code for the A/V receiver’s
DVD
Audio
input will be “learned” as Input 2.
9. Press
ENTER
on the TV’s remote control and while the
text Input 2 is flashing, press and hold the
DVD INPUT
key
on the A/V receiver’s remote control.
10. When a check appears in the check box, release the
DVD INPUT
key.
11. Press
to highlight the text box for Input 2. Enter
the name DVD. Use to enter the name DVD.
Press
ENTER
to set each letter.
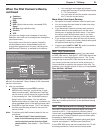
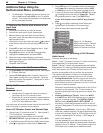
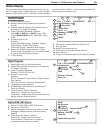
Figure 16. Assign names to
identify “learned” A/V receiver
audio inputs
12 Repeat steps 7 through 10 for any additional A/V
receiver inputs connected to other devices.
13. Press
EXIT
to close all menus.
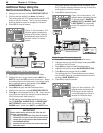
Automatic A/V Receiver Switching, Part 2: Tell the TV
Where Connected Devices Send Audio
•
You can assign each A/V receiver input to only one device.
•
Most devices are typically set up like the VCR in this
example, in which analog audio from the device is
sent through the TV and the input setting is left at the
default setting None.
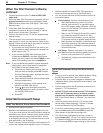
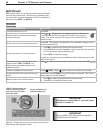
Analog Stereo Audio (e.g., analog VCR with audio connected
only to the TV: see figure 17)
1. Press
INPUT
to display the Input Selection menu.
2. Highlight the icon for the VCR and press
ENTER
to
switch to the VCR input.
3. Press
MENU
and open the NetCommand menu.