


41
41
Part III: Setup
CHANNEL EDIT Menu: SQV (Super Quick View™)
SQV (Super Quick View™)
Using The Menu Screen
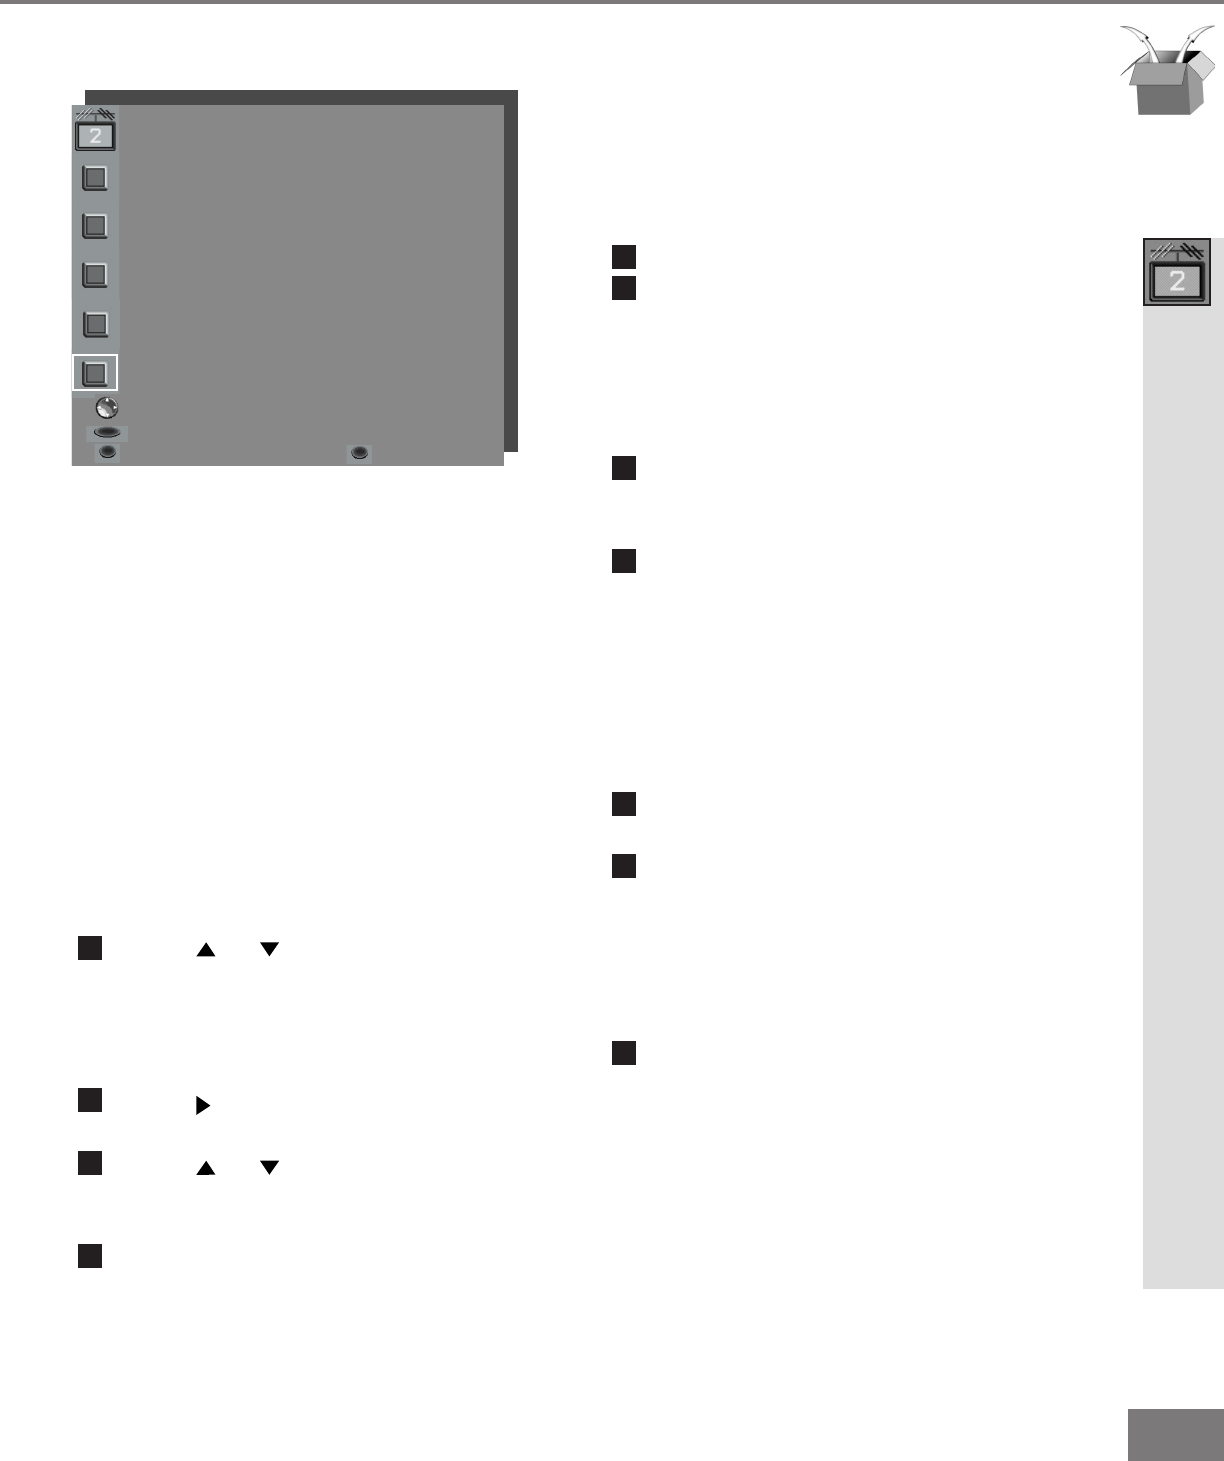
(Figure 1)
SQV (Super Quick View™) allows you to put
together a list of your favorite channels from Ant-A
and Ant-B. You can store up to 6 channels in
each of the 9 different memory banks. Once you
have added a channel to the SQV memory, “SQV”
will appear under the channel number on the TV
screen.
Changing SQV channels and banks using
the menu:
1
Press or when at Channel in the
menu or use the CHANNEL button on
the remote control to select the channel
you wish to add or delete from a SQV
memory bank.
2
Press when at SQV in the menu to
move the selector to the On/Off choice.
3
Press or when at SQV in the
menu to select the SQV memory bank
you wish to modify.
4
Press ENTER to add (On) or delete
(Off) the current channel from the SQV
memory bank that you have selected.
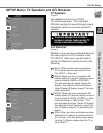
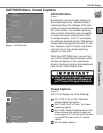
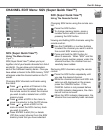
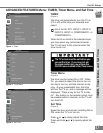
SQV (Super Quick View™)
CHANNEL EDIT menu
Antenna :Ant-A
Channel :002
Memory :Added
Name :KCBS
SQV :SQV1
Off
ADJUST to select item then
move to and change option
ENTER for menu or to start
MENU to return CANCEL
MAIN MENU
Figure 1. SQV (Super Quick View™)
SQV (Super Quick View™)
Using The Remote Control
Changing SQV banks using the remote con-
trol:
1
Press the SQV button.
2
To change memory banks, press a
number button within 5 seconds of
pressing the SQV button.
Viewing and Adding SQV channels using the
remote control:
1
Use the CHANNEL or number buttons
to select the channel you want to add to
the current SQV memory bank.
2
Press and hold the SQV button for
about 3 seconds. When “SQV” and the
memory bank number appear under the
channel number, the channel has suc-
cessfully been added.
Removing SQV channels using the remote
control:
1
Press the SQV button repeatedly until
you see the desired channel.
2
While the channel number and SQV indi-
cator are still displayed on the screen,
press the CANCEL button. If the
CANCEL button is not pressed before
the SQV indicator disappears, the chan-
nel will not be removed.
3
When the SQV indicator disappears, the
channel has successfully been removed.