


Page 27
MODELS: WD-60735 / WD-60C8 / WD-65735 / WD-65736 / WD-65835 / WD-65C8 / WD-73735 /
WD-73736 / WD-73835 / WD-73C8
Handle
Alignment Procedure
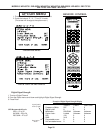
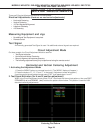
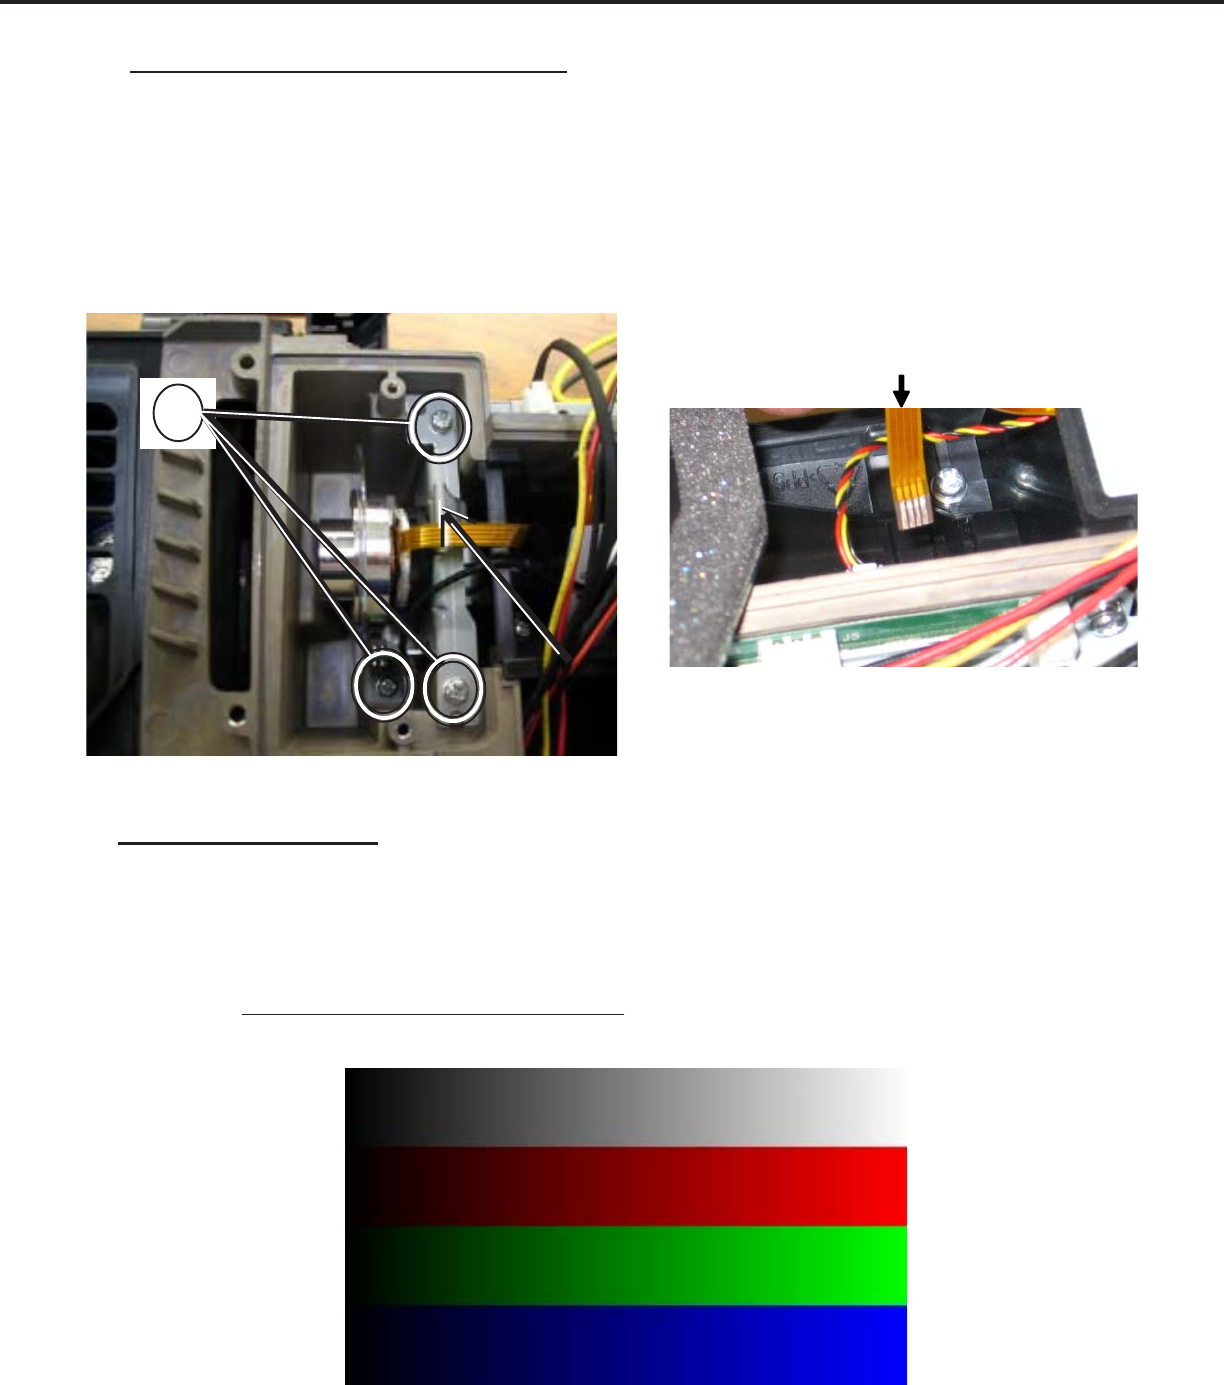
9) Once TV is reassembled and operating press <MENU 2457> followed by the <PLAY> button.
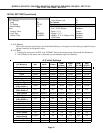
10) Press the <RWND> button 3 times to access the RAMP test pattern (as shown below).
11) Press Video button until item #60.IDL is shown.
12) Adjust IDL value until RAMP pattern color bars are smooth and solid.
(Hint: Final value is typically in the mid 30’s)
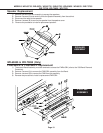
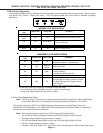
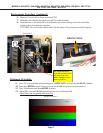
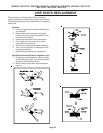
6) Remove 3 screws (C) as shown in picture CW3
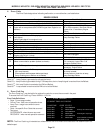
7) Hold the color wheel by the handle and pull it from the chamber.
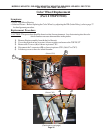
8) Install the new color wheel and reverse the above procedure making sure to not scratch the
wheel or allow dust inside the chamber
CAUTION: Do not twist the ribbon cable to J6 (the shiny silvery contacts must be facing up).
(Ramp Test Pattern)
(White)
(Red)
(Green)
(Blue)
Replacement Procedure (continued)
(Picture CW4)
RIBBON CABLE
(Picture CW3)
C
Handle
Use magnetized screw
driver and be careful to not
drop screw near color
wheel. Damage to color
wheel could occur