Chapter 6. NetCommand Functions 79
NetCommand-Controlled Recording
This section describes making recordings independently
of the TV Guide On Screen system. For instructions on
setting up recordings using TV Guide On Screen, see the
separate TV Guide On Screen® Interactive Program Guide
User’s Manual.
Recording from the Recording Setup Menu
You can schedule the recording to take place at a later
time and program the recording duration for a minimum
of 30 minutes and a maximum of six hours (in 30-minute
increments). The default is one hour. During the record-
ing, you can view a different device or power off the TV.
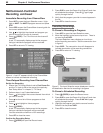
Immediate Recording from the Menu
1. Press (
RECORD
) to open the Recording Setup menu.
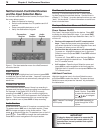
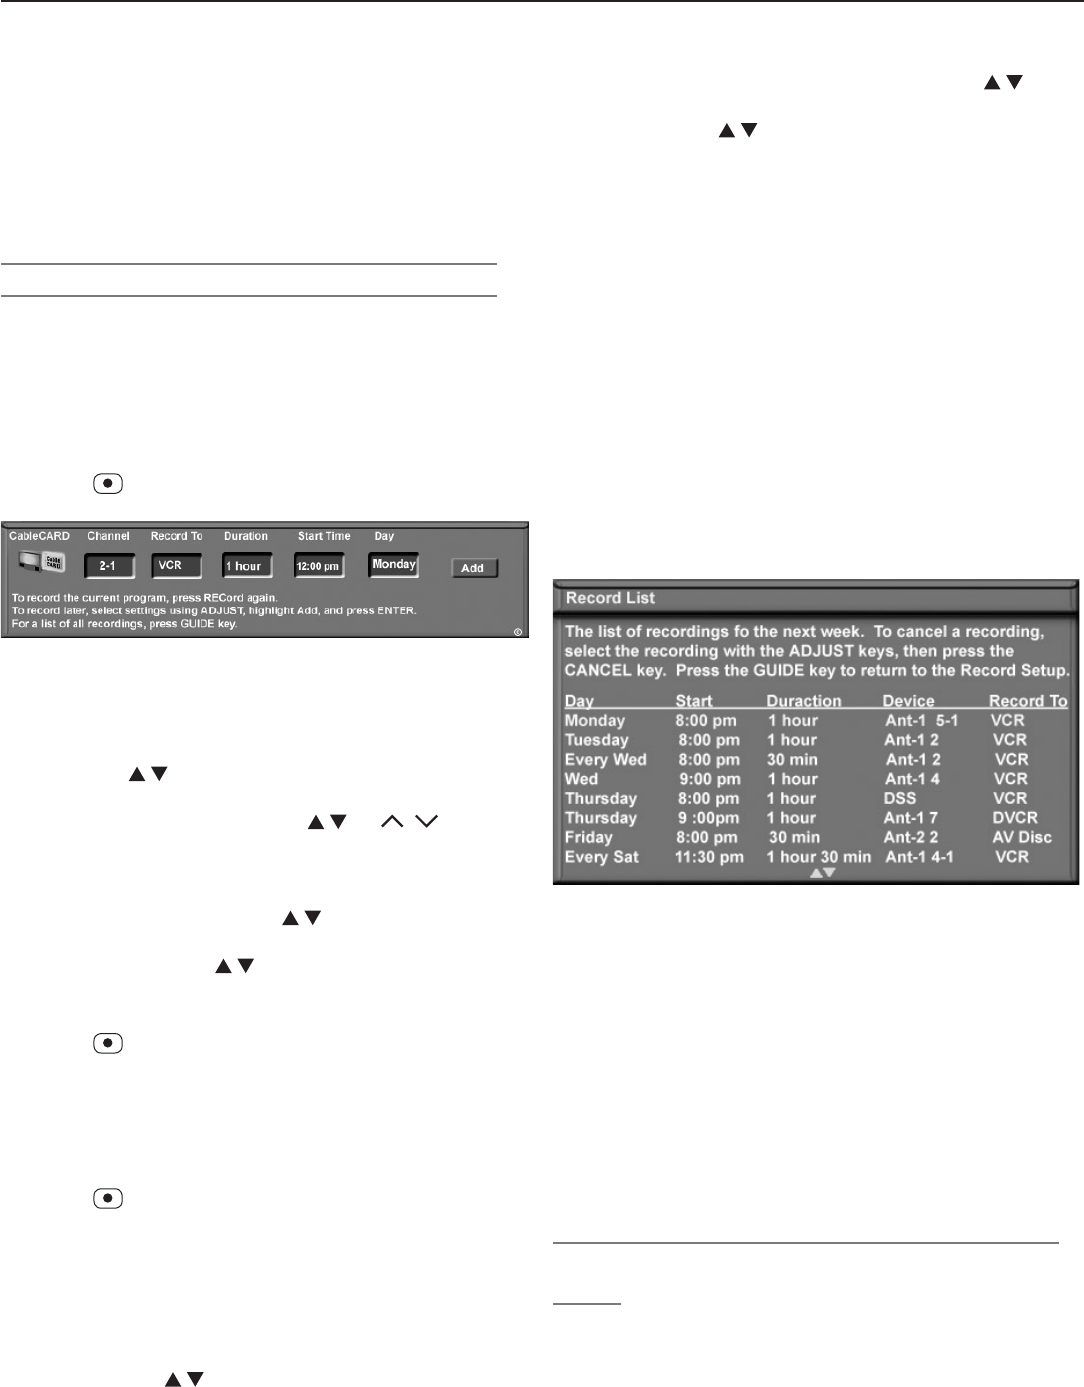
Figure 2. The Recording Setup menu
2. Review the recording setup information. Move the
highlight to each box you need to change.
• With the leftmost icon highlighted (the source),
press to change the source input if needed.
• Channel.
If the source is an antenna, select a
memorized channel using
,
CH
/ , or enter
the channel number from the remote control and
press
ENTER
.
• Record To. If you have more than one recordable
device connected, use to select it from the
list in the Record To box.
• Duration. Use to select a recording duration
of from 30 minutes to six hours in 30-minute incre-
ments. The default is one hour.
3. Press
a second time to start recording.
Time-Delayed Recording from the Menu
1. Ensure that TV Energy Mode is set to Fast Power On
and the TV clock is set to the correct time and day.
Use the Setup menu to make changes.
2. Press
(
RECORD
) to open the Recording Setup menu.
3. Review the recording setup information. To change
the source, recording device, or duration, follow the
steps described above under “Recording Now.”
4. Specify when to start the recording.
• Start Time
a. With the hour highlighted in gold characters,
press to select the hour, including AM or
PM. Press
ENTER
to move the highlight to the
minutes.
b. With the minutes highlighted, press to
select the minutes.
• Day. Use to select a day of the week.
5. Select Add and press
ENTER
to add the recording to
the Record List. A confirmation message will be
displayed if your selection is successful. If you pick
overlapping times, day(s), or destination devices, you
will see a message stating there is a conflict.
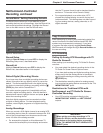
6. While the Recording Setup menu is displayed, press
GUIDE
to display the Record List (see figure 3). In the
Record List you can view a list of scheduled record-
ings and verify the addition of the recording to the
schedule. A maximum of 32 recordings can be
scheduled.
7. From the Record List you can:
•
Press
CANCEL
to delete a recording from the schedule.
• Press
GUIDE
to return to the Recording Setup menu.
• Press
EXIT
to return to TV viewing.
• Press
MENU
to return to the Main menu.
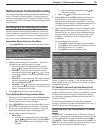
Figure 3. Record List screen. From the Record menu,
press GUIDE to open the Record List to review or cancel
scheduled recordings.
TV Guide On Screen® and the Record List
Programs scheduled through TV Guide On Screen do not
appear in the Record List. Refer to the separate TV Guide
On Screen® Interactive Program Guide User’s Manual
for information regarding scheduling recordings with TV
Guide On Screen.
If there is a conflict between a recording scheduled
through TV Guide On Screen and the Record List, the TV
Guide On Screen recording takes priority.
Recording from the ChannelView™ Channel
Guide
ChannelView™ is available when TV Guide On Screen is
disabled. ChannelView provides program listings, as sent
by the broadcasters, for memorized channels on
ANT 1
and
ANT 2
. Press the
GUIDE
key while watching
ANT 1
or
ANT 2
to view ChannelView listings and to set up imme-
diate or future recordings as described here.


