


E – 33
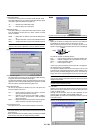
Image Options
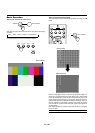
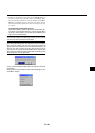
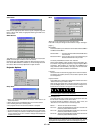
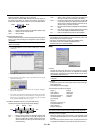
Keystone
This feature corrects the keystone (trapezoidal) distortion to make
the top of the screen longer or shorter to be the same as the bottom.
Use the
ᮤ
or
ᮣ
buttons on the slide bar to correct the keystone
(trapezoidal) distortion.
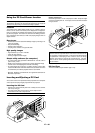
Keystone distortion
Normal
NOTE: The maximum keystone angle that can be corrected is 40 degrees up-
ward and 20 degrees downward with the projector placed horizontally on the
ground plane.
Depending on the type of graphics being used, the picture may get
blurred or keystone correction may not be possible when excessive
keystone correction is used.
The idea is, the closer you are to native resolution, the better image
you will see.
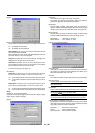
You can select the aspect ratio for input signal and display area re-
spectively.
Select the appropriate aspect ratio using the Select
ᮤ
,
ᮣ
, ▲, or ▼
button.
NOTE: When “Resolution” is set to “Native”, this feature is not available, and
the stored settings and adjustments are invalid.
The screen size (width-to-height) is set for input signal and display area re-
spectively.
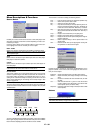
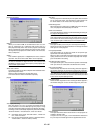
Advanced Options
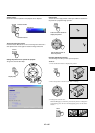
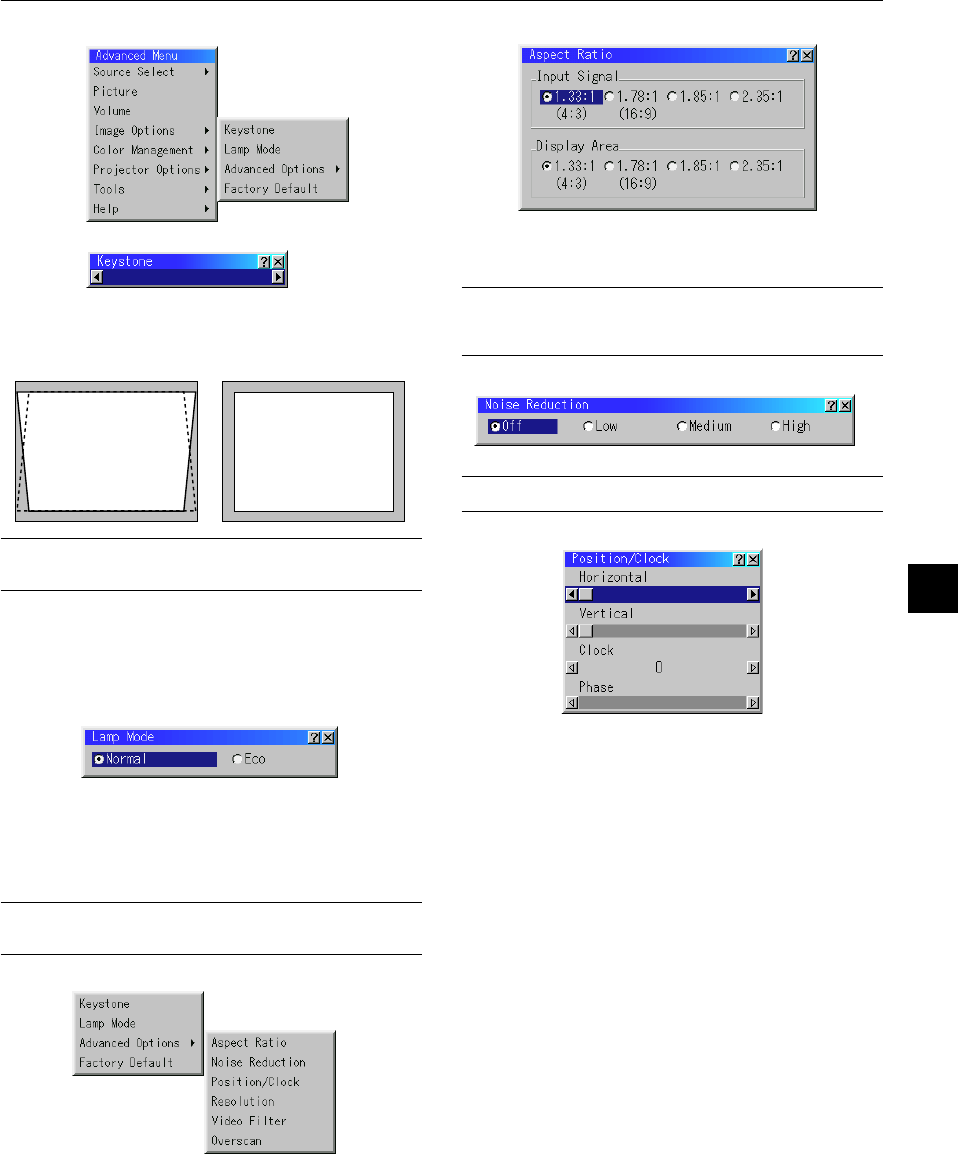
This feature enables you to select two brightness modes of the lamp:
Normal and Eco modes. The lamp life can be extended up to 2500
hours by using the Eco mode.
Normal Mode ..............This is the default setting.
Eco Mode....................Select this mode to increase the lamp life.
NOTE: If you have selected the Eco mode, the lamp lights in Normal mode for 3
minutes after the projector is turned on. After 3 minutes the lamp will change to
Eco mode.
Lamp Mode
Noise Reduction
You can select three levels of video noise reduction.
NOTE: The lower the Noise Reduction level, the better the image quality by way
of higher video bandwidth.
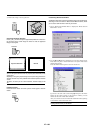
This allows you to manually adjust the image horizontally and verti-
cally, and adjust Clock and Phase.
Horizontal/Vertical Position
.................... Adjusts the image location horizontally and vertically using
the
ᮤ
and
ᮣ
buttons.
This adjustment is made automatically when the Auto Adjust
is turned on.
Clock............ Use this item to fine tune the computer image or to remove
any vertical banding that might appear. This function adjusts
the clock frequencies that eliminate the horizontal banding in
the image.
Press the
ᮤ
and
ᮣ
buttons until the banding disappears.
This adjustment may be necessary when you connect your
computer for the first time. This adjustment is made auto-
matically when the Auto Adjust is turned on.
Phase........... Use this item to adjust the clock phase or to reduce video
noise, dot interference or cross talk. (This is evident when
part of your image appears to be shimmering.) Use the
ᮤ
and
ᮣ
buttons to adjust the image.
See “Auto Adjust (RGB Only) on page E-37 for turning on or off the
Auto Adjust feature.
Use “Phase” only after the “Clock” is complete.
This adjustment is made automatically when the Auto Adjust is turned
on.
Position/ Clock (when Auto Adjust is off)
Aspect Ratio