Settings
25
VQT3V64
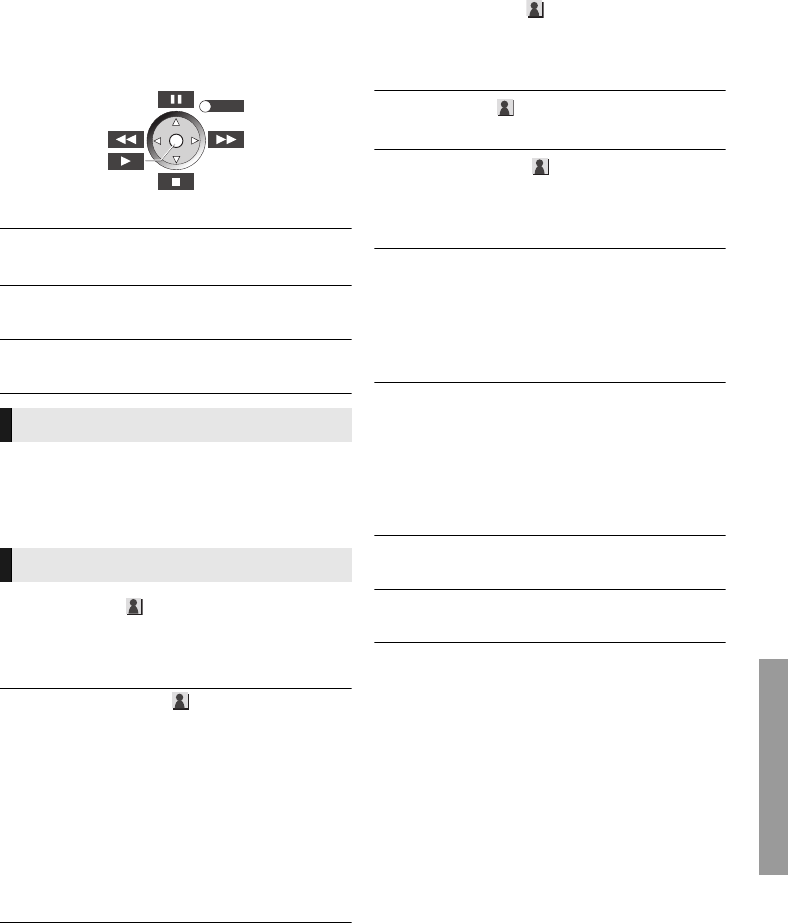
∫ Control Panel
Display the Control Panel.
Playing back while using VIERA Link, etc.
e.g.,
Press [RETURN] to hide the Control Panel.
∫ Top Menu
Display Top Menu.
∫ Pop-up Menu
Display Pop-up Menu.
∫ Menu
Display Menu.
You can access settings to enjoy special features
of this unit from this category.
Refer to “Picture Settings” and “Sound Settings”
(> 26) for more details on each setting item.
∫ Picture Mode
Select the picture quality mode during play.
≥ If you select “User”, you can change settings in
“Picture Adjustment”.
∫ Picture Adjustment
Specific picture quality settings can be performed.
≥ 3D NR:
Reduces the rough noise in the background to
give a greater feeling of depth.
When “24p Output” is set to “On”, this function
may not operate. (> 27)
≥ Integrated NR:
Smoothes block noise and reduces the
smudging that appears around contrasting
sections of the picture.
∫ Chroma Process
The high-resolution processing of HDMI chroma
signals produces a high-resolution picture with
rich picture quality.
∫ Detail Clarity
The picture is sharp and detailed.
∫ Super Resolution
Pictures of normal image quality are corrected to
sharp and detailed images when output as 1080i/
1080p from HDMI AV OUT.
∫ Progressive
Select the method of conversion for progressive
output to suit the type of material being played.
∫ 24p
Movies and other material recorded on
DVD-Video at 24p are output at 24p.
∫ Screen Aspect
Switch the screen mode.
∫ Reset to Default Picture Settings
Return picture settings to the factory preset.
Personal Taste
Picture Settings
EXIT
≥ If the video is disrupted when “Auto” is
selected, select either “Video” or “Film”
depending on the material to be played back.
≥ Only when you have selected “On” in “24p
Output” (> 27) and play discs recorded at a
rate of 60 fields per second.
≥ This may not work with the PAL contents.
DMP-BDT220GNGCGAGW-VQT3V64.book 25 ページ 2012年2月6日 月曜日 午前9時52分


