


DISC OPERATIONS
ENGLISH ENGLISH
24
RQT8043
RQTX0066
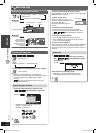
QUICK SETUP enables successive settings of the items in the shaded area.
Changing the player settings (continued)
Player settings (continued)
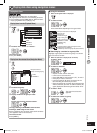
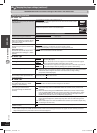
7 “Video” tab
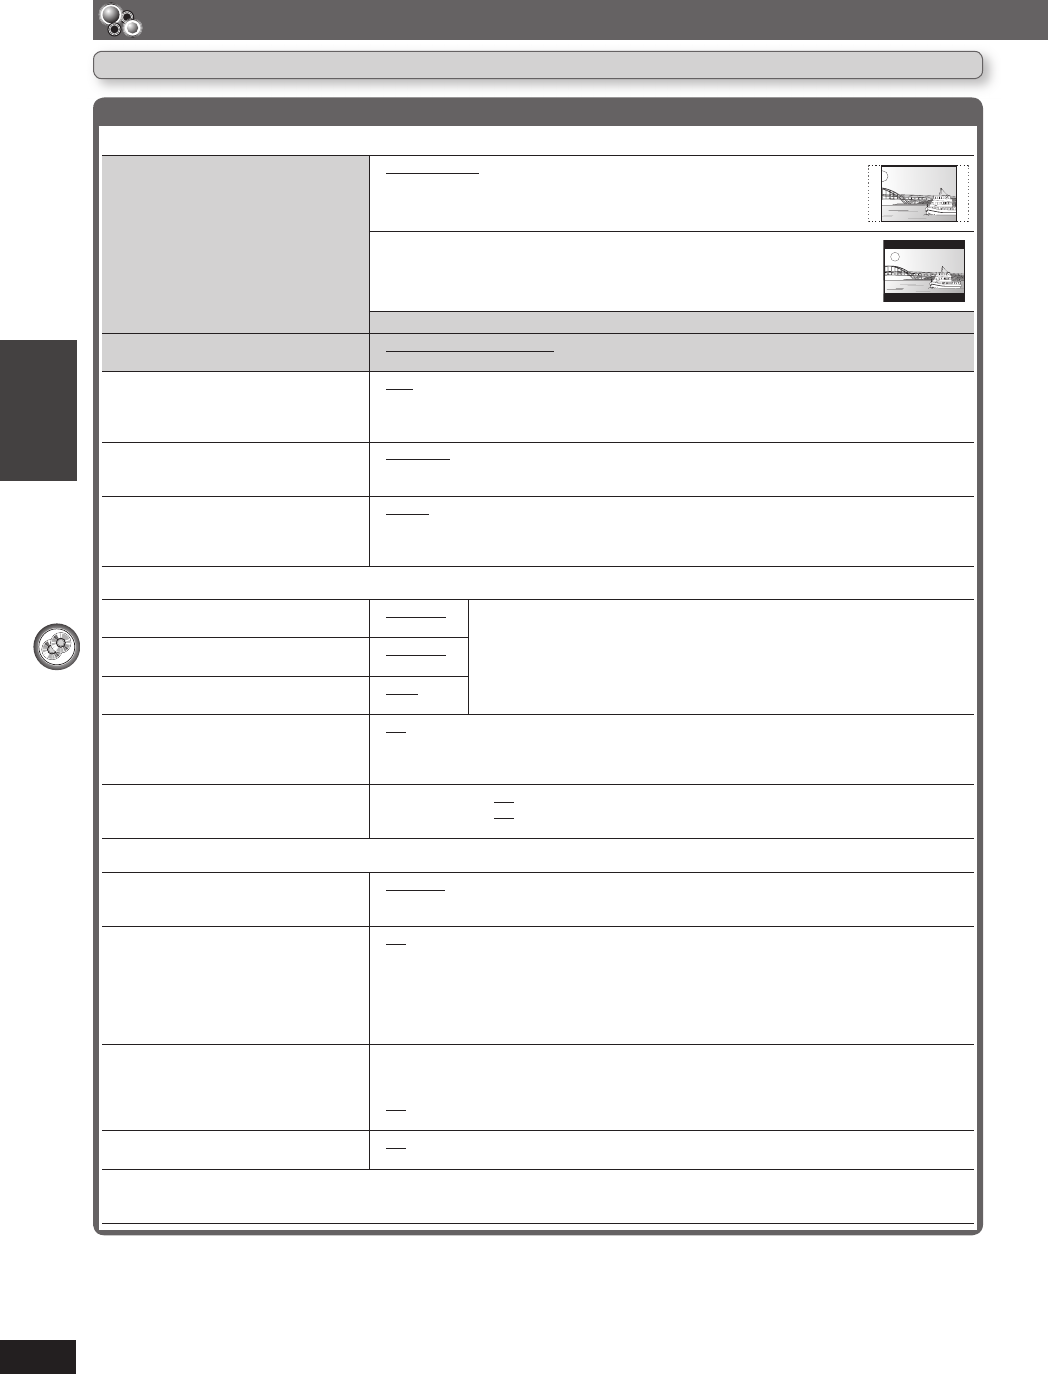
TV Aspect
Choose the setting to suit your television
and preference.
• 4:3 Pan&Scan: Regular aspect television (4:3)
The sides of the widescreen picture are cut off so it fi lls the screen (unless
prohibited by the disc).
• 4:3 Letterbox: Regular aspect television (4:3)
Widescreen picture is shown in the letterbox style.
• 16:9: Widescreen television (16:9)
TV Type
Select to suit the type of television.
• Standard (Direct View TV) • CRT Projector • LCD TV/Projector
• Projection TV • Plasma TV
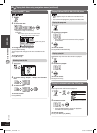
Time Delay
When connected with a Plasma display,
adjust if you notice the audio is out of
sync with the video.
• 0ms • 20ms • 40ms • 60ms • 80ms • 100ms
Still Mode
Specify the type of picture shown when
paused.
• Automatic
*
5
• Field: The picture is not blurred, but picture quality is lower.
*
5
• Frame: Overall quality is high, but the picture may appear blurred.
NTSC Disc Output
Choose PAL 60 or NTSC output when
playing NTSC discs (\ page 11, Video
systems).
• PAL60: When connected to a PAL television.
• NTSC: When connected to an NTSC television.
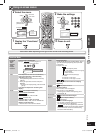
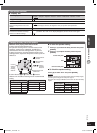
7 “Audio” tab
Dolby Digital
*
6
• Bitstream
• PCM
Select to suit the type of equipment you connected to the HDMI AV OUT
terminal (\ page 9).
Select “Bitstream” when the equipment can decode the bitstream (digital
form of multi-channel data). Otherwise, select “PCM”.
(If the bitstream is output to the equipment without a decoder, high levels of
noise can be output and may damage your speakers and hearing.)
DTS Digital Surround
*
6
• Bitstream
• PCM
MPEG
*
6
• PCM
• Bitstream
Dynamic Range Compression
• Off
• On: Adjust for clarity even when the volume is low by compressing the range of the lowest
sound level and the highest sound level. Convenient for late night viewing.
(Only works with Dolby Digital)
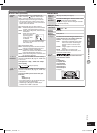
Speaker Settings (\ page 25)
Set the delay time for your center and
surround speakers
• Center: 0.0/1.0/2.0/3.0/4.0/5.0 ms
• Surround (L/R): 0.0/5.0/10.0/15.0 ms
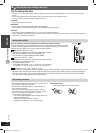
7 “HDMI” tab
RGB Range
Set “HDMI Colour Space” to “RGB”
(\ page 21, Picture Menu).
• Standard
• Enhanced: When the black and white images are not distinct.
Video Mode
(This setting is irrelevant when
connected through the VIDEO OUT
terminal).
• On:
When connected through the HDMI AV OUT terminal. Video is output from the HDMI terminal.
Video is also output from the COMPONENT VIDEO OUT terminal, but only in 480i or 576i
(interlace).
• Off: When connected through the COMPONENT VIDEO OUT terminal. Video is output
from the COMPONENT VIDEO OUT terminal according to the setting of the “Video
Output Mode” (\ page 20, Picture Menu) terminal. Video is also output from the
HDMI AV OUT terminal, but only in 480p/576p (progressive).
Audio Output
• On: When audio output is from the HDMI AV OUT terminal. (Depending on the capabilities
of the connected equipment, audio output may differ from the audio settings of the
main unit.)
• Off: When audio output is not from the HDMI AV OUT terminal. (The audio is output using
the settings of the main unit.)
VIERA Link
(“HDAVI Control”)
• On: The VIERA Link “HDAVI Control” function is available (\ page 32).
• Off
*
5
Refer to “Frame still and fi eld still” (\ page 37, Glossary).
*
6
When audio is output from HDMI AV OUT terminal, and the connected equipment does not support the item selected, the actual
output will depend on the performance of this connected equipment.
RQTX0066-L_new12.indd 24RQTX0066-L_new12.indd 24 3/21/07 9:58:43 AM3/21/07 9:58:43 AM