28 C2673M-E (6/11)
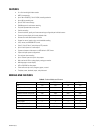
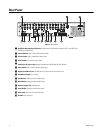
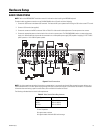
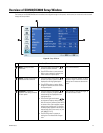
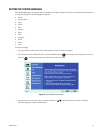
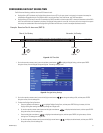
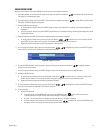
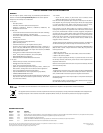
Figure 17. Display Page Options
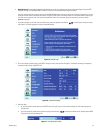
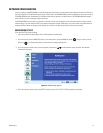
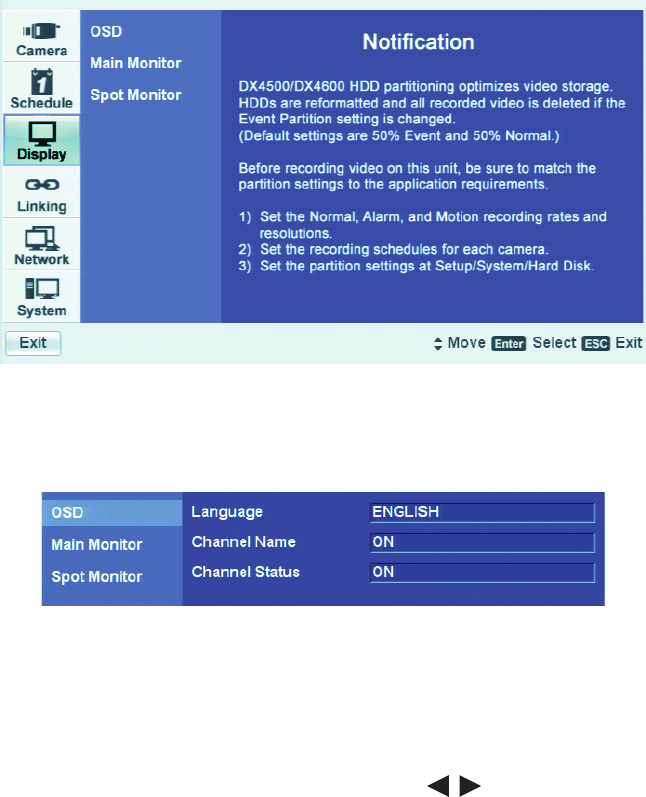
4. On the front panel or remote control, press ENTER. Using the mouse, click Display. OSD is highlighted and the property settings are
displayed. ENGLISH is the default language.
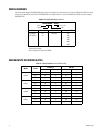
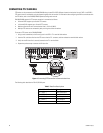
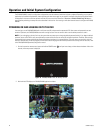
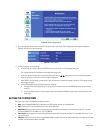
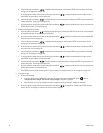
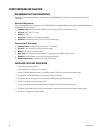
Figure 18. OSD Settings
5. To select a language, do the following:
a. On the front panel or remote control, press ENTER twice. Using the mouse, click the language settings box.
The Language settings box is selected and the background changes color.
b. On the front panel or remote control, press the left/right arrow buttons in the entry box to scroll through the languages.
Using the mouse, left- or right-click to scroll through the languages.
c. Press ENTER on the front panel or remote control. Using the mouse, click the desired language from the list. The language settings
box changes color again.
d. Exit the OSD properties pane by performing one of the following:
• To select another Display page setting, on the front panel or remote control press the MENU/ESC button. Using the mouse,
click OSD.
• To go to the Setup window, on the front panel or remote control press the MENU/ESC button twice. Using the mouse, click a
Setup option.
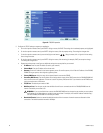
SETTING THE SYSTEM TIME
The System menu contains the Date/Time configuration option.
• Date: Sets the DX4500/DX4600 date and establishes the DVR’s internal calendar for all recorded video.
• Time: Sets the system time and establishes the time for all recorded video.
• Date Format: Selects the date format for the displayed date and establishes the format that is saved with the video as it is recorded.
Choices are MM/DD/YYYY, DD/MM/YYYY, and YYYY/MM/DD.
• Time Format: Sets the display time format and establishes the format that is saved with the video as it is recorded. Choices are 12- and
24-hour time format.
• Time Zone: Selects the time zone in which the DX4500/DX4600 is located. Time zones are determined based on the number of hours they
are offset from the Greenwich Mean Time (GMT).