45
SETUPS
EN
After you enter all correctly, press [YELLOW] to go to
the proxy port setting screen.
4-b) Proxy port setting screen will appear. Enter proxy
port number with number buttons.
4-c) After you enter all correctly, Press [YELLOW].
• Confirmation message will appear. Select “Yes”
to complete the settings.
5) Press [BACK U] to go back to the previous screen,
or press [HOME ] to go back to the home menu.
• Connection Speed
You can set connection speed as your preference. (The
default setting is “Auto”.)
1) Follow steps 1) to 4) in “Connection Test” on page
43.
2) Use [K / L] to highlight “Enable(Custom)”, then
press [OK].
3) Use [K / L] to highlight “Connection Speed”, then
press [OK].
4) Use [K / L] to highlight the desired setting, then
press [OK].
“Auto”:
Set the appropriate connection speed automatically, in
accordance with your network environment.
“10BASE Half”:
Set the connection speed to “10BASE Half”.
“10BASE Full”:
Set the connection speed to “10BASE Full”.
“100BASE Half”:
Set the connection speed to “100BASE Half”.
“100BASE Full”:
Set the connection speed to “100BASE Full”.
5) Press [BACK U] to go back to the previous screen,
or press [HOME ] to go back to the home menu.
• BD-Live Setting
You can limit the Internet access from the BD-Live
functions. (The default setting is “Allow”.)
1) Follow steps 1) to 4) in “Connection Test” on page
43.
2) Use [K / L] to highlight “Enable(Custom)”, then
press [OK].
3) Use [K / L] to highlight “BD-Live Setting”, then
press [OK].
4) Use [K / L] to highlight the desired setting, then
press [OK].
“Allow”:
Internet access is permitted from all BD-Live contents.
“Limited Allow”:
Internet access is permitted only for BD-Live contents
which have content owner certificates. Internet access
without the certificates are prohibited.
“Prohibit”:
Internet access is prohibited from all BD-Live contents.
5) Press [BACK U] to go back to the previous screen,
or press [HOME ] to go back to the home menu.
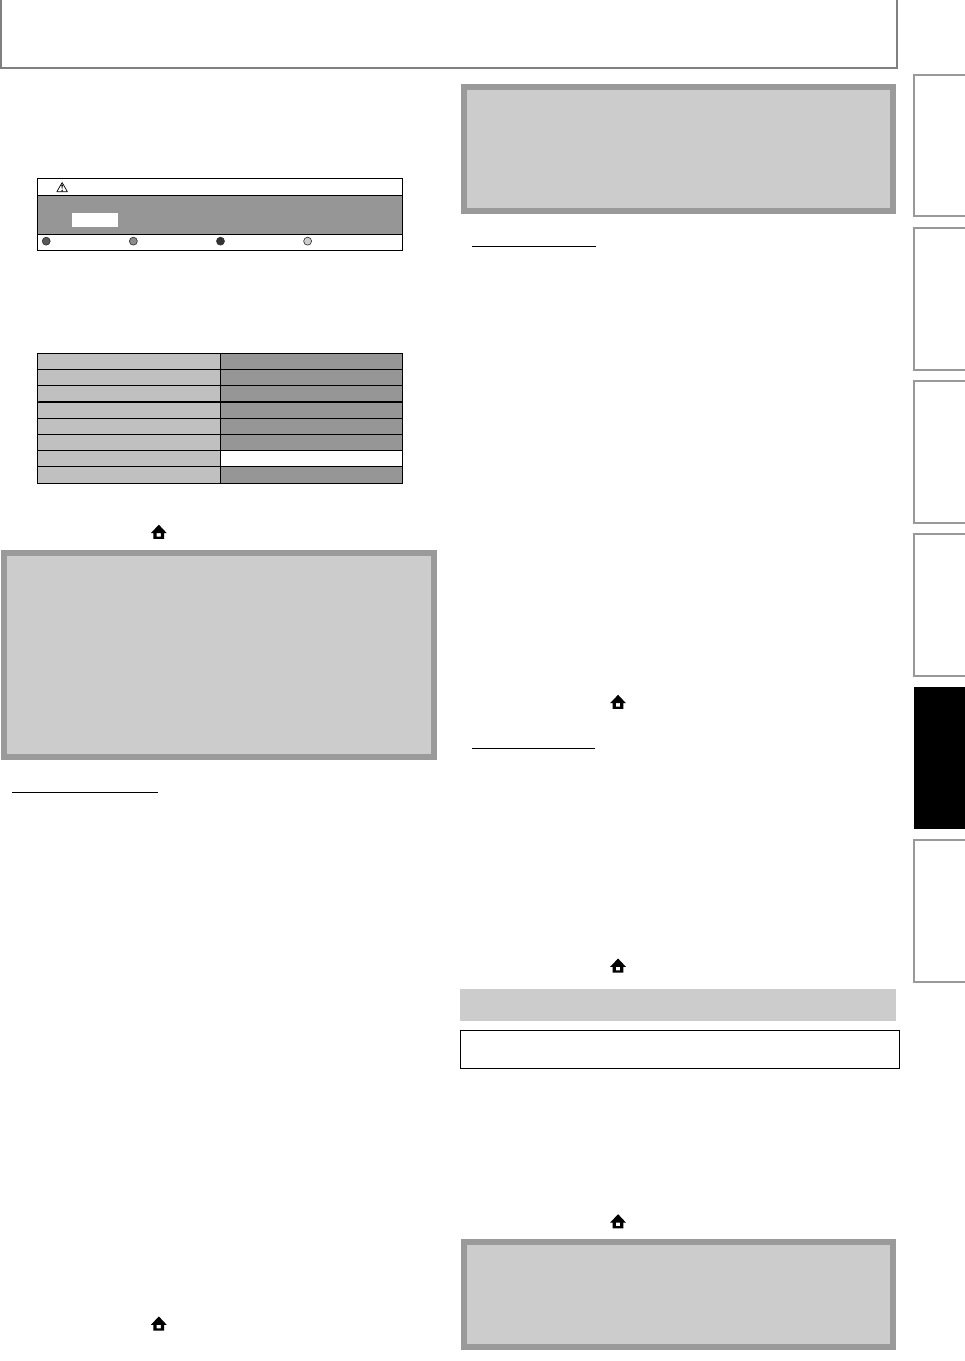
• Network Status
You can check the status of network settings.
1) Follow steps 1) to 4) in “Connection Test” on page
43.
2) Use [K / L] to highlight “Enable(Custom)”, then
press [OK].
3) Use [K / L] to highlight “Network Status”, then
press [OK].
• Network setting list will be displayed.
4) Press [BACK U] to go back to the previous screen,
or press [HOME ] to go back to the home menu.
Deactivate all the network connection and settings.
1) Follow steps 1) to 4) in “Connection Test” on page
43.
2) Use [K / L] to highlight “Disable”, then press [OK].
3) Use [K / L] to highlight “Yes”, then press [OK].
4) Press [BACK U] to go back to the previous screen,
or press [HOME ] to go back to the home menu.
Note
• The range of input number for the port number is
between 0 and 65535. (If you enter a number larger
than 65535, it will be regarded as 65535.)
• For proxy port, the selected ports may be blocked
and not be able to use depending on your network
environment.
• If the proxy address is entered with blank only, proxy
server setting will be set to “Do Not Use”.
0
Proxy Setting
Proxy Port
Clear OK
***************
*****
Proxy Address
Proxy Port
Is Setting OK?
Ye s
No
Note
• Choose a connection speed in accordance with your
network environment.
• The network connection may be disabled depending
on the device, when the settings are changed.
Disable
HOME A“Settings” A
“Advanced
Setup”
A
“Others”
A
“Network
Connection”
A“Disable”
Note
• The network connection can be reactivated by
setting the network connection to “Enable(Easy)” or
“Enable(Custom)”.
Introduction Connections Basic Setup Playback OthersFunction Setup


