


7
EN
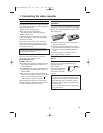
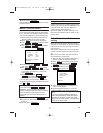
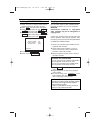
Navigation in the screen menu
You can check/change many functions and set-
tings of your video recorder via the on-screen
menu. The individual functions are selected, via
the remote control as follows:
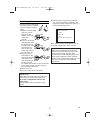
Call up the menu: with .
To select: with or .
To enter or change your selection: with the
number buttons or with or
.
To save or confirm: with .
To cancel: with .
To end: with .
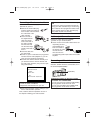
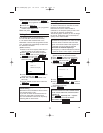
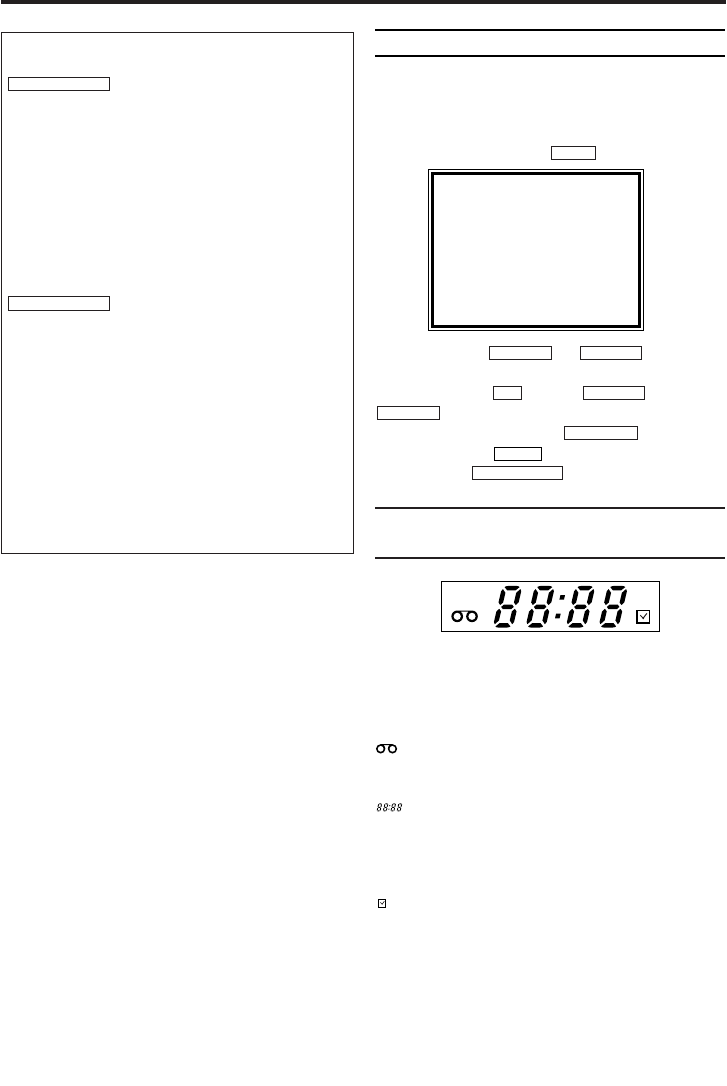
The symbols on your video recorder
display
These symbols can light up on your video
recorder display:
When you keep your video recorder on.
When you have put a cassette in the video
recorder.
Display of programme number of the TV
channel / time / RF channel.
When you record.
When you have programmed a recording.
STATUS/EXIT
CLEAR
FWD 1- B
STOP C-L
PLAY B-K
0..9
STOP C-LPLAY B-K
MENU
PWR. REC
2. Important notes for operation
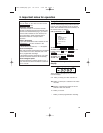
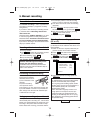
Switching on
You can switch on the video recorder with the
button.
Automatic switch-off
If the video recorder is not used for several
minutes, it switches itself off automatically. This
function can be deactivated (e.g. if you want to
use the video recorder as a TV receiver). For
more information, please read the section
'Automatic switch-off' in chapter 'Other
functions'.
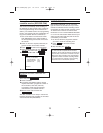
Time in the display
If you have switched the video recorder off with
, the time will show in the
display, e.g. '18:00'.
If the clock has not been set, '--:--' will appear.
Power consumption
The video recorder should always be connected
to the mains so as not to affect the use of the
TV or programmed recordings.
If the display has been switched off, your video
recorder consumes less than 3W in stand-by.
Power outage/no power
Channel information remains saved for up to 1
year, the time and timer information is saved for
up to 1 minute.
STANDBY/ON
yy
STANDBY/ON
yy
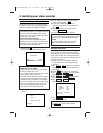
SELECT KL CHOOSE B
→TIMER
RECORD SET UP
VCR SET UP
TUNER SET UP
INITIAL SET UP
END=EXIT
PWR.
REC
HG491/495BD(EN).qx3 03.12.19 9:54 PM Page 7