28
Setting the angle icon display
The angle icon can be set so it appears on scenes where the
angle can be switched.
p
This setting is available when the selected source is “Disc”,
“CD”, “Video CD” or “DVD”.
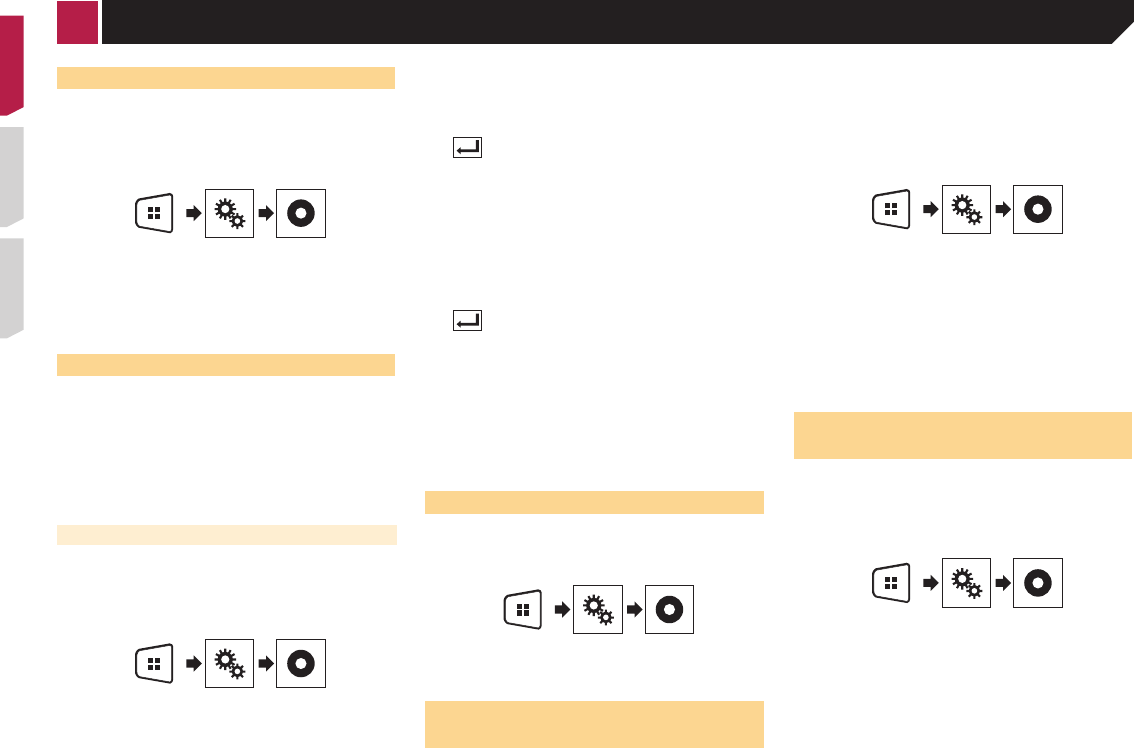
1 Display the “Video Setup” screen.
2 Touch [DVD/DivX Setup].
3 Touch [Multi Angle] repeatedly until the
desired setting appears.
● On (default): Turns the multi-angle setting on.
●
Off: Turns the multi-angle setting off.
Setting parental lock
Some DVD-Video discs let you use parental lock to set restric-
tions so that children cannot watch violent or adult-oriented
scenes. You can set the parental lock level in steps as desired.
p
When you set a parental lock level and then play a disc fea-
turing parental lock, code number input indications may be
displayed. In this case, playback will begin when the correct
code number is input.
p
This setting is available when the selected source is “Disc”,
“CD”, “Video CD” or “DVD”.
Setting the code number and level
When you first use this function, register your code number.
If you do not register a code number, the parental lock will not
operate.
1 Display the “Video Setup” screen.
2 Touch [DVD/DivX Setup].
3 Touch [Parental].
The “Parental” screen appears.
4 Touch [0] to [9] to input a four-digit code
number.
5 Touch the following key.
Registers the code number, and you can now
set the level.
6 Touch any number between [1] to [8] to select
the desired level.
● [8]: Enables playback of the entire disc (initial setting).
●
[7] to [2]: Enables playback of discs for children and non-
adult oriented discs.
●
[1]: Enables only playback of discs for children.
7 Touch the following key.
Sets the parental lock level.
p
We recommend to keep a record of your code number in
case you forget it.
p
The parental lock level is recorded on the disc. You can con-
firm it by looking at the disc package, the included literature
or the disc itself. You cannot use parental lock with discs that
do not feature a recorded parental lock level.
p
With some discs, parental lock operates to skip certain
scenes only, after which normal playback resumes. For
details, refer to the disc’s instructions.
Setting the DivX Subtitle
p This setting is available when the selected source is “Disc” or
“USB”.
1 Display the “Video Setup” screen.
2 Touch [DivX Subtitle] to switch “Original”
(default) or “Custom”.
Displaying your DivX VOD reg-
istration code
If you want to play DivX
®
VOD (video on demand) content on this
product, you must first register this product with your DivX VOD
content provider. You do this by generating a DivX VOD registra-
tion code, which you submit to your provider.
p
Keep a record of the code as you will need it when you
register this product to the DivX VOD provider.
p
This setting is available when the selected source is “Disc”,
“CD”, “Video CD” or “DVD”.
1 Display the “Video Setup” screen.
2 Touch [DVD/DivX Setup].
3 Touch [DivX® VOD].
The “DivX® VOD” screen appears.
p
If a registration code has already been activated, it cannot be
displayed.
4 Touch [Registration Code].
Your 10-digit registration code is displayed.
p
Make a note of the code as you will need it when you deregis-
ter from a DivX VOD provider.
Displaying your DivX VOD
deregistration code
A registration code registered with a deregistration code can
be deleted.
p
This setting is available when the selected source is “Disc”,
“CD”, “Video CD” or “DVD”.
1 Display the “Video Setup” screen.
2 Touch [DVD/DivX Setup].
3 Touch [DivX® VOD].
The “DivX® VOD” screen appears.
4 Touch [Deregistration Code].
Your 8-digit deregistration code is displayed.
p
Make a note of the code as you will need it when you deregis-
ter from a DivX VOD provider.
Automatic playback of DVDs
When a DVD disc with a DVD menu is inserted, this product will
cancel the menu automatically and start playback from the first
chapter of the first title.
p
Some DVDs may not operate properly. If this function is not
fully operable, turn this function off and start playback.
p
This setting is available when the selected source is “Disc”,
“CD”, “Video CD” or “DVD”.
1 Display the “Video Setup” screen.
2 Touch [DVD/DivX Setup].
3 Touch [DVD Auto Play] repeatedly until the
desired setting appears.
● Off (default): Turns the DVD Auto Play setting off
●
On: Turns the DVD Auto Play setting on
Setting the video signal for the
rear view camera
When you connect a rear view camera to this product, select the
suitable video signal setting.
p
You can operate this function only for the video signal input
into the AV input.
1 Display the “Video Setup” screen.
2 Touch [Video Signal Setting].
3 Touch [Camera].
The pop-up menu appears.
4 Touch the item you want to set.
● Auto (default): Adjusts the video signal setting
automatically.
●
PAL: Sets the video signal to PAL.
●
NTSC: Sets the video signal to NTSC.
●
PAL-M: Sets the video signal to PAL-M.
●
PAL-N: Sets the video signal to PAL-N.
●
SECAM: Sets the video signal to SECAM.
< CRD4837-B >
Setting up the video player
< CRD4837-B >
< CRD4837-B > 28


