Getting started
04
26
En
Setting the clock
The clock is set to the correct time automatically, but it
can also be set manually. The clock can be set for
daylight saving time and time zone.
Preparation:
• Turn ON the TV and set it to the video input mode.
• Select “CLOCK” from “SYSTEM SETUP”. For the
procedure, see steps 1 to 3 in “Using the SETUP
MENU” on page 23.
TIMER REC SET
SYSTEM SETUP
AV SETUP
REC SETUP
CH SETUP
OTHER
CLOCK
CLOCK (MM/DD/YY)
AUTO CLOCK
STANDARD TIME
DAYLIGHT SAVING TIME
ON
AUTOMATIC
AUTOMATIC
01/01/05 12:00AM
SETUP MENU
ENTER
RETURN SETUPENTER BACK END
SELECT
SELECT
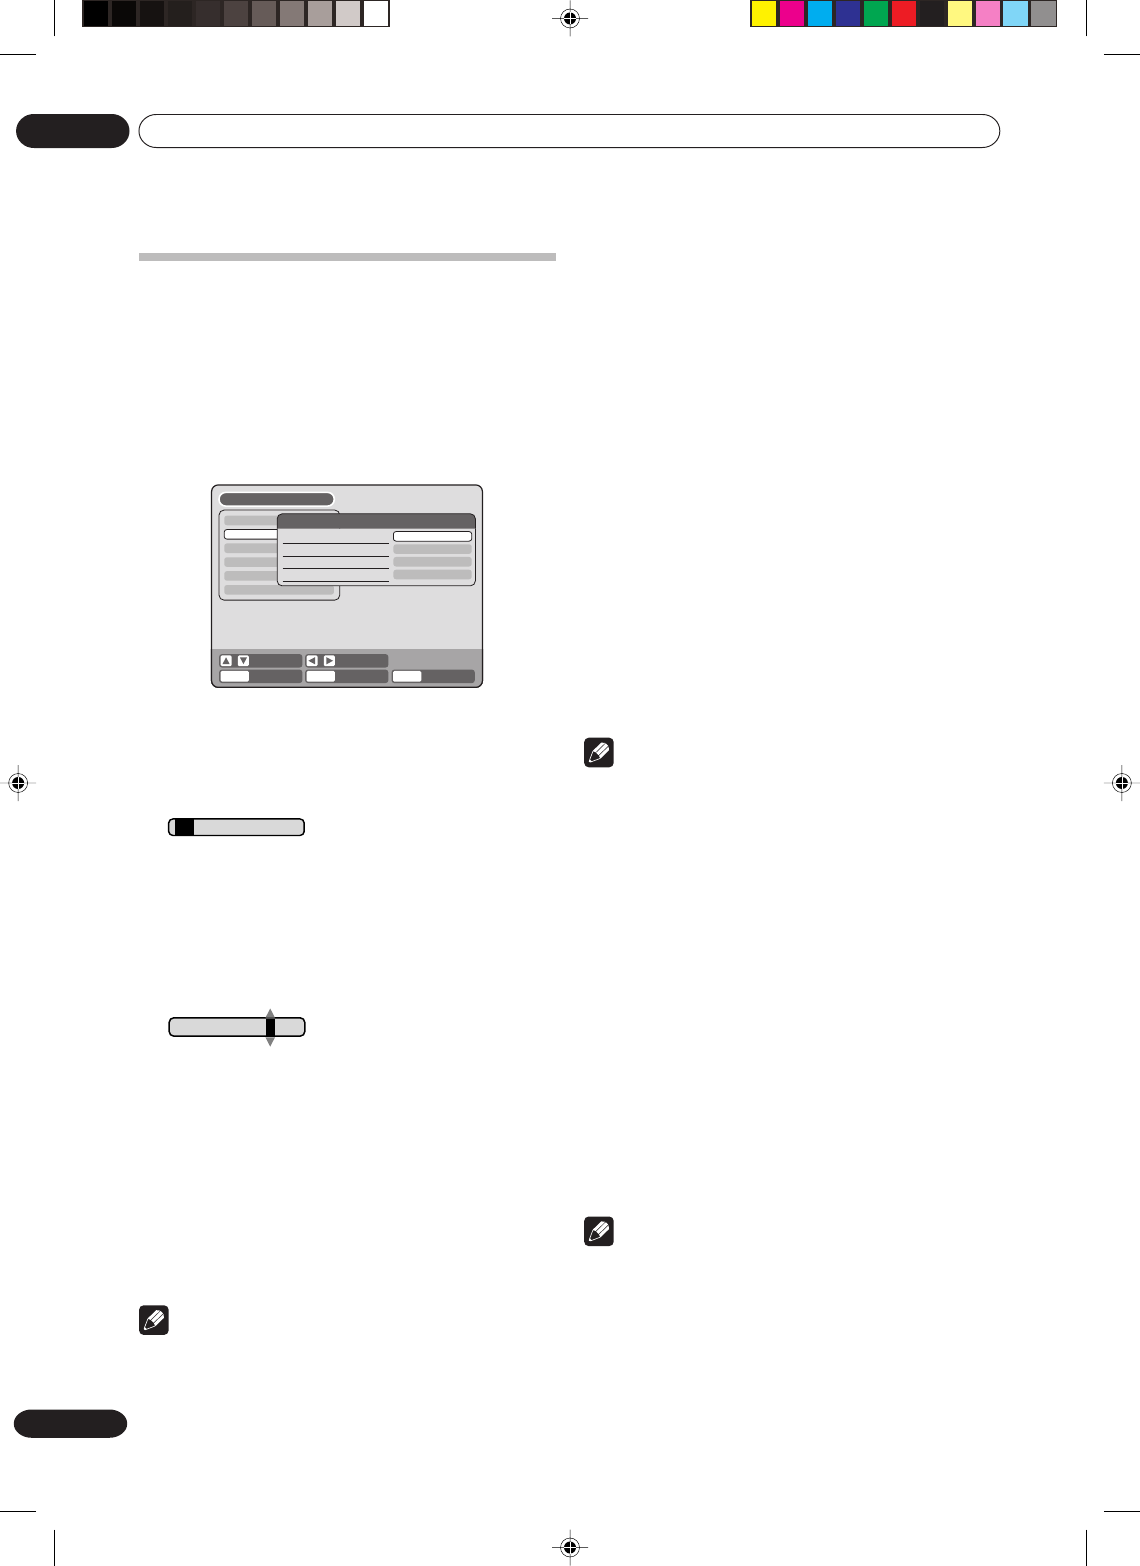
CLOCK (manually)
You can manually set the date, year and present time
with the remote control.
Ex.: Setting the clock to “10:20AM” October, 30th, 2005.
1 Select “CLOCK” and press ENTER.
/01/05 12:00AM 01
2
Select the desired items using or (month,
date, year, hour, minute and AM/PM) then press ENTER.
3Press or to set the value of the selected
item.
•
For the minutes, press or once to set the time
minute by minute, or hold down either of buttons for
several seconds to set the time in 10-minute intervals.
10/30/05 10:20AM
0
4
Repeat steps 2 and 3 to set the date, year and present
time, and press ENTER. The SETUP MENU will close.
This completes clock time setting.
AUTO CLOCK
You can automatically set the clock by turning “ON” the
AUTO CLOCK function.
When you want to set the auto clock function to “OFF”,
select “AUTO CLOCK”, press ENTER and select “OFF”
from the list.
For more information see page 22.
Note
•
In case of a power failure, the clock will continue to
operate for another 30 minutes with quartzcontrolled
precision. To indicate that the power failure has lasted
for an excessive period of time “0:00” will appear on
the display. In this case readjust time and date.
STANDARD TIME (Time zone)
In the rare event that you live within the broadcast range
of two stations in two different time zones, the DVD/VCR
may recognize the wrong station for the auto clock set.
To correct the situation:
Select “STANDARD TIME” and select the time zone from
the list below.
Selectable time zones and correction times
ATLANTIC: GMT – 4 hours
(GMT: Greenwich Mean Time)
EASTERN: GMT – 5 hours
CENTRAL: GMT – 6 hours
MOUNTAIN: GMT – 7 hours
PACIFIC: GMT – 8 hours
ALASKA: GMT – 9 hours
HAWAII: GMT – 10 hours
AUTOMATIC: AUTO SET
Note
• When shipped from the factory, the “TIME ZONE” is
set to “AUTOMATIC”.
•After making the auto clock setting, in some cases
the clock may display another time zone. You can
correct the clock by selecting your time zone
setting above.
• When the clock is not set or you set the clock
manually, the time zone setting is not available.
DAYLIGHT SAVING TIME
You can set the clock to daylight saving time automati-
cally or manually.
To select daylight saving time, select “DAYLIGHT
SAVING TIME” and select “ON”, while to cancel the
daylight saving time, select “OFF”.
ON: For manual setting (forward 1 hour)
OFF: For manual setting (back 1 hour)
AUTOMATIC: For automatic setting (read XDS
in the signal)
Note
• When you want to set daylight saving time, on the
first Sunday in April you set it to “ON”, and on the
last Sunday in October you set it to “OFF”.
• When shipped from the factory, the “DAYLIGHT
SAVING TIME” option is set to “AUTOMATIC”.
• When the clock is not set, the daylight saving time
setting is not available.
• When there is no daylight saving time in your area,
always select “OFF”.
2G00201B_En_22_32 8/4/05, 10:5426


