Editing
07
77
En
Erasing a character
You can erase the input character.
Erasing method 1
1Press , , or to select “Back”.
2Press ENTER.
The last input character will be erased.
3To erase the characters continuously, press
ENTER.
The input characters will be erased from the last to the
top one by one.
Erasing method 2
1Press CANCEL.
The last input character is erased.
2To erase the characters continuously, press
CANCEL.
The input characters will be erased from the last to the
top one by one.
Erasing method 3
Use the cursor to select the character and erase it.
1Press SKIP – or SKIP + to move the cursor after
the character you want to erase.
2Press CANCEL.
Erase the character before the cursor position.
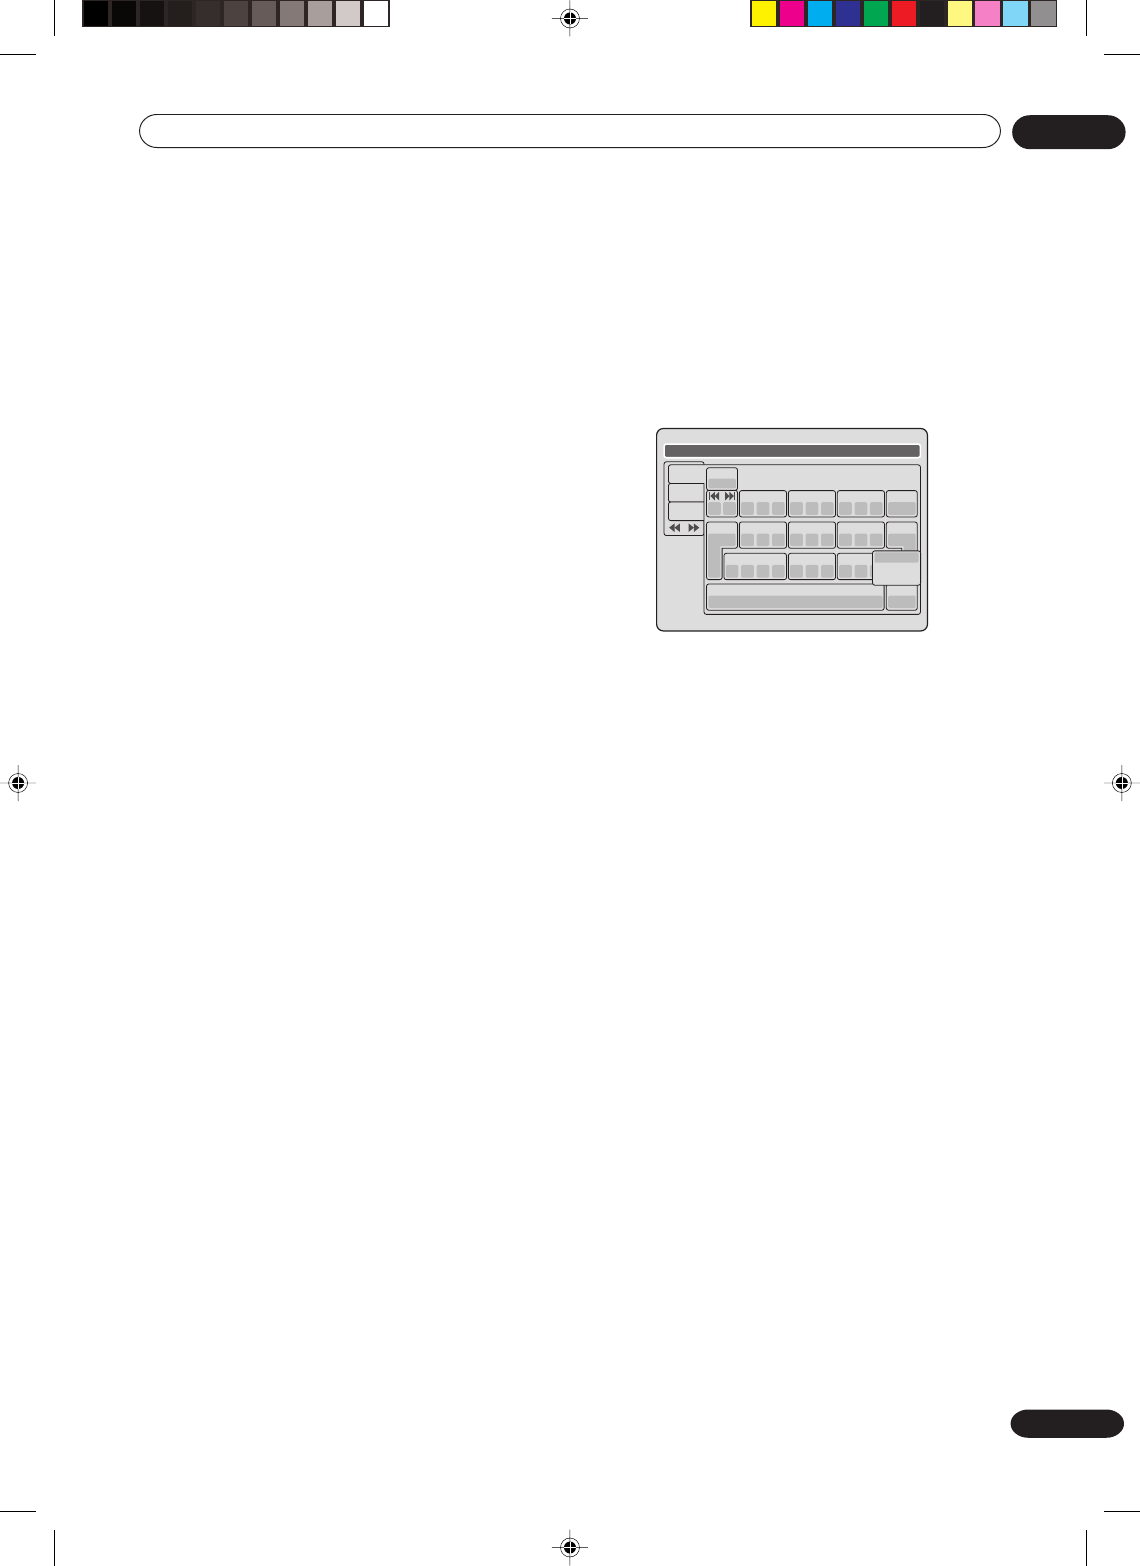
Selecting between uppercase and lowercase letters
You can select either uppercase or lowercase letters
when modifying your titles, using the keyboard screen
with the “Letters” tab.
1Press STOP.
(Or, press , , or to select “Caps”, then press
ENTER.)
Live Show
1
( -< > #
2
a b c
3
d e f
CANCEL
Back
RETURN
Exit
STOP
Caps
0
Space bar
4
g h i
5
j k l
6
m n o
7
qp r s
8
t u v
9
w x y z
DISPLAY
OK
DISPLAY
OK
Numbers
Signs
Letters
Upper
Lower
Auto caps
2Press or to select the type of letters in the
list below and press ENTER.
Auto caps:
Determines uppercase and lowercase automatically.
Upper:
Inputs all with uppercase letters.
Lower:
Inputs all with lowercase letters.
Determining a name
To determine the entered disc name and title name,
press DISPLAY. Or, press , , or to select “OK”,
then press ENTER.
The keyboard screen disappears and the display will
return to the title menu.
The entered disc name and title name are displayed in
the title menu.
Cancelling character input
When you want to cancel the input and changed
characters, press RETURN. Or, press , , or to
select “Exit”, then press ENTER.
The input and changed characters are cancelled and
the title menu will appear.
2G00201B_En_72_80 8/4/05, 10:5977
