


English
OSD (On Screen Display) Controls
18
En
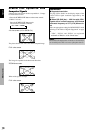
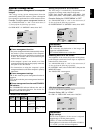
Setting high definition images to the suitable
screen size
Use this procedure to set whether the number of vertical
lines of the input high definition image is 1035 or 1080.
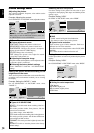
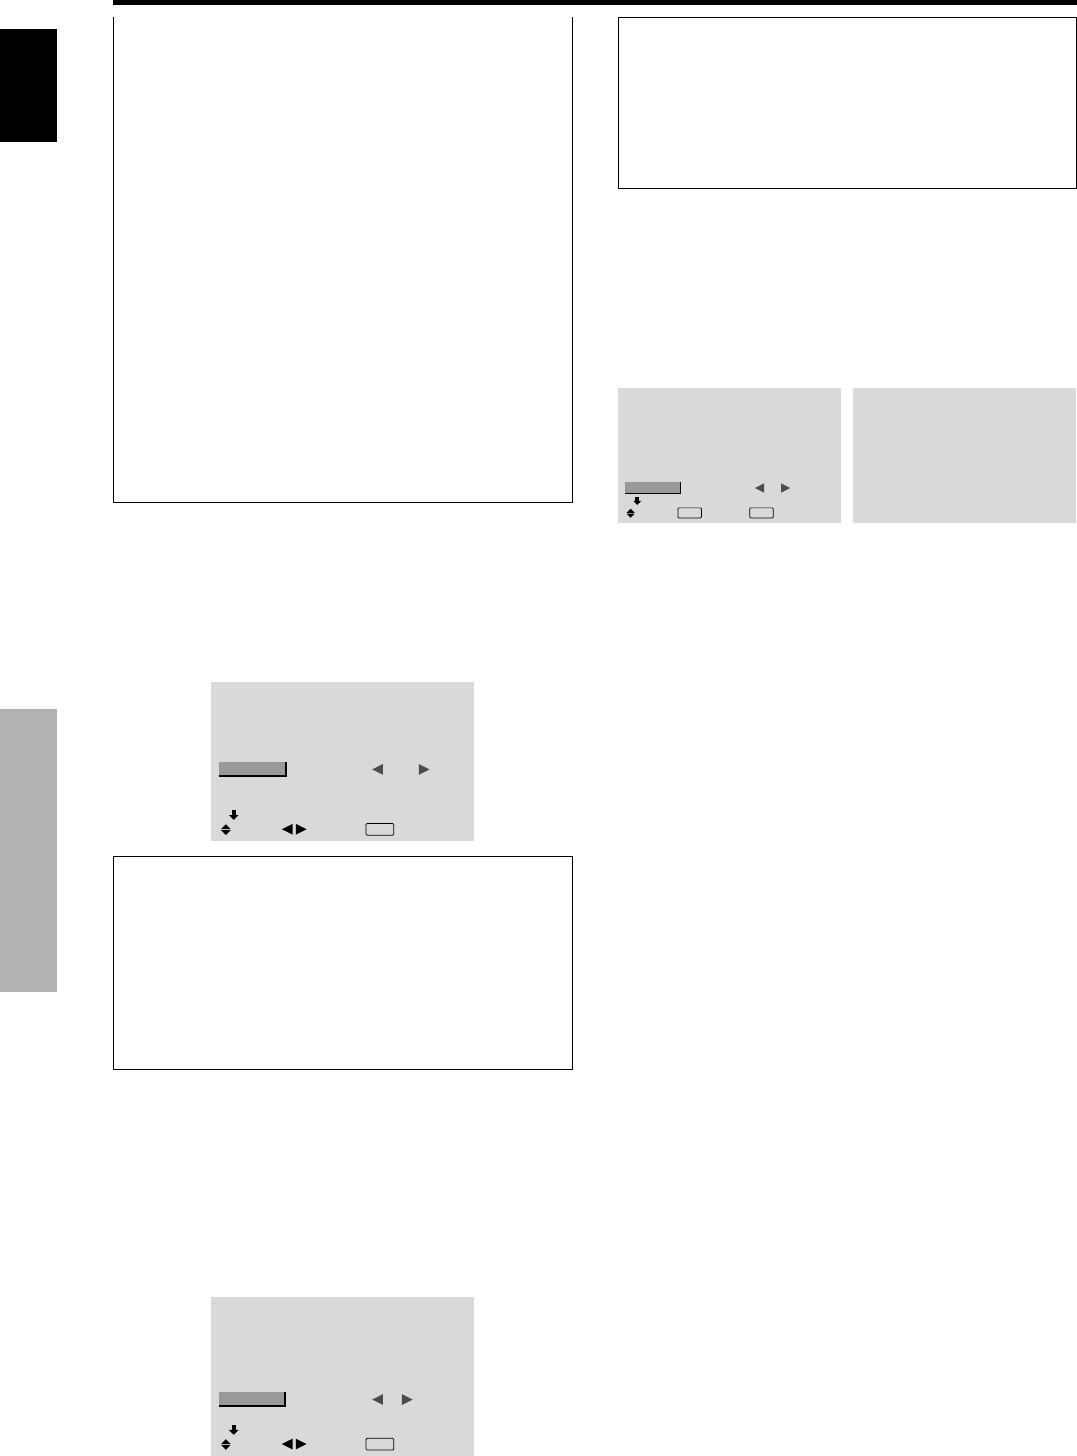
Example: Setting the “HD SELECT” mode to “1035I”
On “HD SELECT” of “OPTION1” menu, select “1035I”.
OPTION1
1 / 3
OSD
BNC INPUT
D-SUB INPUT
RGB SELECT
HD SELECT
INPUT SKIP
ALL RESET
NEXT PAGE
: RGB
: RGB
: AUTO
: 1035
I
: OFF
: OFF
SEL.
ADJ.
EXIT RETURN
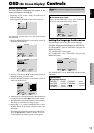
Information
Ⅵ HD SELECT modes
These 3 modes are not displayed in correct image
automatically.
1080B: Standard digital broadcasts
1035I: Japanese “High Vision” signal format
1080A: Special Digital broadcasts (for example :
DTC100)
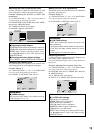
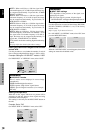
Setting the Input Skip
When this is ON, signals which are not present will be
skipped over and only pictures whose signals are being
transmitted will be displayed.
This setting is valid only for the INPUT/EXIT button on
the unit.
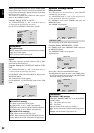
Example: Set to “ON”
On “INPUT SKIP” of “OPTION1” menu, select “ON”.
OPTION1
1 / 3
OSD
BNC INPUT
D-SUB INPUT
RGB SELECT
HD SELECT
INPUT SKIP
ALL RESET
NEXT PAGE
: RGB
: RGB
: AUTO
: 1080B
: ON
: OFF
SEL.
ADJ.
EXIT RETURN
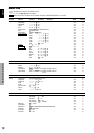
WIDE1: When an 852 dotן 480 line signal with a
horizontal frequency of 31.7kHz is input, the image may
be compressed horizontally. To prevent this, set RGB
SELECT to WIDE1.
WIDE2: When an 848 dotן 480 line signal with a
horizontal frequency of 31.0 kHz is input, the image
may be compressed horizontally. To prevent this, set
RGB SELECT to WIDE2.
WIDE3: When an 1920 dotן 1200 line signal with a
horizontal frequency of 74.0 kHz is input, the image
may be compressed horizontally. To prevent this, set
RGB SELECT to WIDE3.
WIDE4: When an 1280 dotן 768 line signal with a
horizontal frequency of 59.8 kHz or an 1680 dotן 1050
line signal with a horizontal frequency of 60 kHz is
input, the image may be compressed horizontally. To
prevent this, set RGB SELECT to WIDE4.
DTV: Set this mode when watching digital broadcasting
(480P).
See page 29 for the details of the above settings.
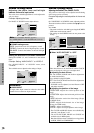
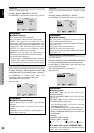
Resetting to the default values
Use these operations to restore all the settings (PICTURE,
SOUND, SCREEN, OPTION1~3, etc) to the factory
default values.
Refer to page 12 for items to be reset.
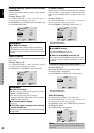
On “ALL RESET” of “OPTION1” menu, select “ON”, then
press the MENU/SET button.
OPTION1
1 / 3
OSD
BNC INPUT
D-SUB INPUT
RGB SELECT
HD SELECT
INPUT SKIP
ALL RESET
NEXT PAGE
: RGB
: RGB
: AUTO
: 1080B
: OFF
:
ON
SEL.
EXIT RETURN
OK
MENU
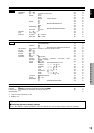
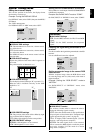
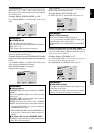
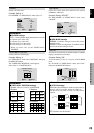
ALL RESET
SETTING NOW
When the “SETTING NOW” screen disappears, then all the
settings are restored to the default values.
Information
Ⅵ INPUT SKIP settings
OFF: Regardless of the presence of the signal, scan
and display all signals.
ON: If no input signal is present, skip that signal.
* “SETTING NOW” will appear during the input search.