English
OSD (On Screen Display) Controls
25
En
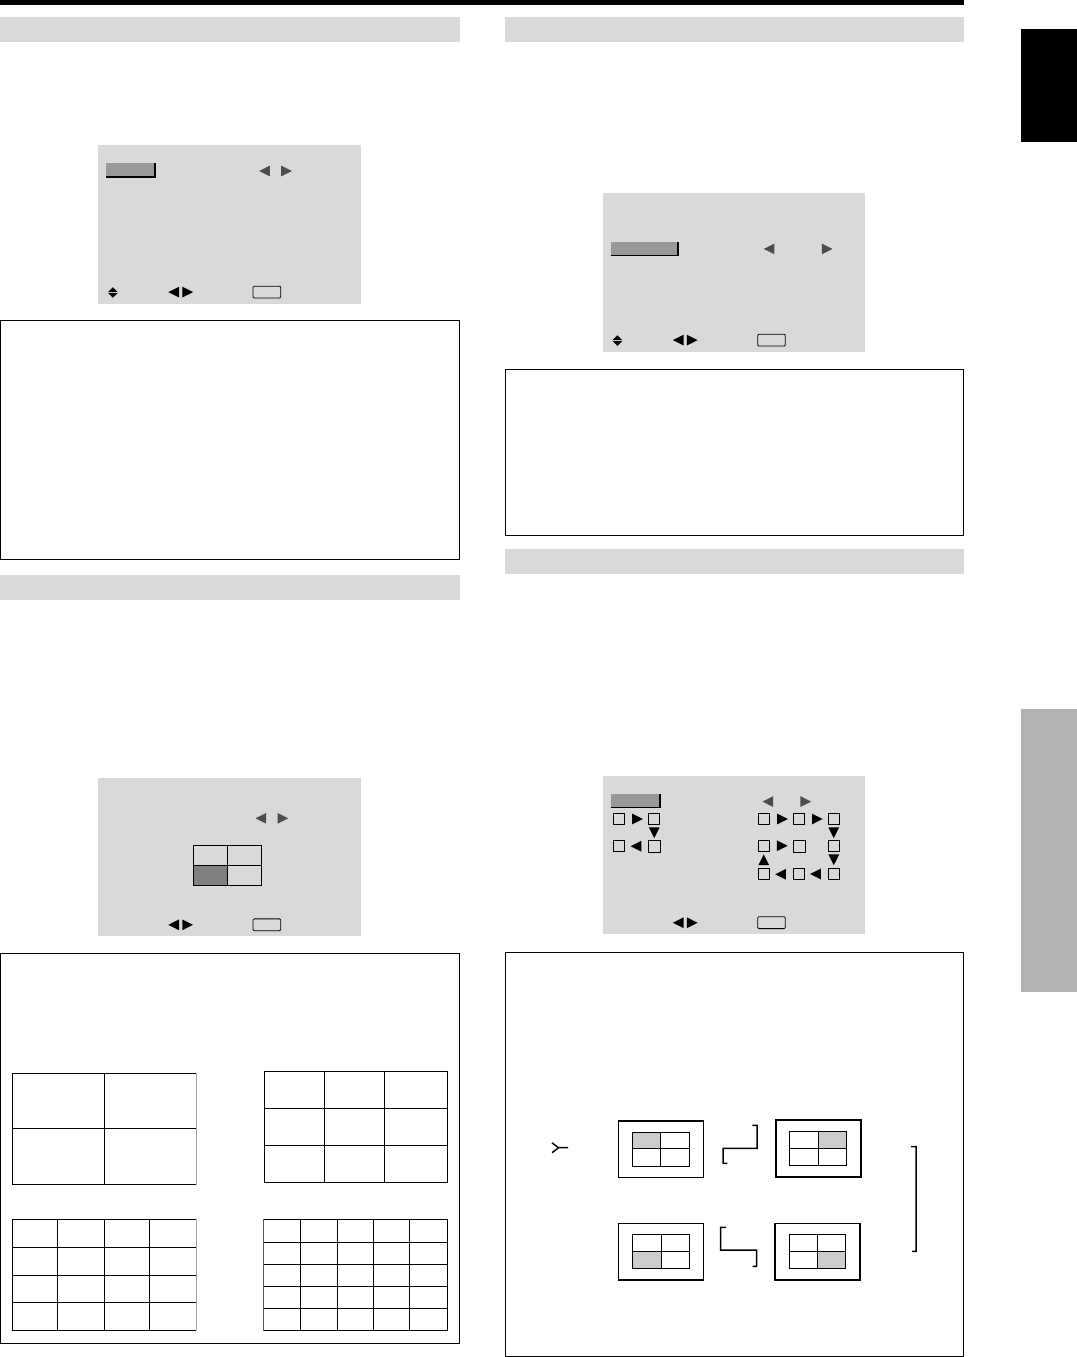
VIDEO WALL POSITION
Set the position of each display.
Example: Setting “4”
On “VIDEO WALL” menu, select “POSITION”, then press
the MENU/SET button.
The “VIDEO WALL POSITION” screen appears.
Select “NO. 4” of “POSITION NO.”.
VIDEO WALL POSITION
POSITION NO. 4
ADJ.
EXIT
RETURN
Information
Ⅵ VIDEO WALL POSITION settings
1 Screen: There is no need to set POSITION.
4 Screens 9 Screens
16 Screens 25 Screens
NO. 1
NO. 2
NO. 4
NO. 3
NO. 7
NO. 8
NO. 9
NO. 10
NO. 11
NO. 12
NO. 13
NO. 14
NO. 15
NO. 16 NO. 17 NO. 18 NO. 19
NO. 20 NO. 21 NO. 22 NO. 23
NO. 24 NO. 25 NO. 26 NO. 27
NO. 28 NO. 29 NO. 30 NO. 31
NO. 32 NO. 33 NO. 34 NO. 35 NO. 36
NO. 37 NO. 38 NO. 39 NO. 40 NO. 41
NO. 42 NO. 43 NO. 44 NO. 45 NO.46
NO. 47 NO. 48 NO. 49 NO. 50 NO. 51
NO. 52 NO. 53 NO. 54 NO. 55 NO. 56
DIVIDER
Set the 4-25 video wall.
Example: Setting “4”
On “DIVIDER” of “VIDEO WALL” menu, select “4”.
VIDEO WALL
DIVIDER
POSITION
DISP. MODE
AUTO ID
SCREEN
P. ON DELAY
ABL LINK
REPEAT TIMER
: 4
: NORMAL
: OFF
: OFF
: OFF
: OFF
SEL.
ADJ.
EXIT RETURN
Information
Ⅵ DIVIDER settings
OFF, 1: 1 Screen (Matrix display function does not work)
4: 4 Screens (2×2 video wall)
9: 9 Screens (3×3 video wall)
16: 16 Screens (4×4 video wall)
25: 25 Screens (5×5 video wall)
* When you select 4-25, set the VIDEO WALL
POSITION.
AUTO ID
This feature automatically sets the ID numbers of multiple
displays connected to each other.
Example: Setting “ON”
Set the ID number for the No. 1 display on ID NUMBER
menu.
On “AUTO ID” of “VIDEO WALL” menu, select “ON”,
then press the MENU/SET button.
AUTO ID
: ON
1
2
4
3
1
2
8
9
3
4
6
5
7
WIRED CABLE
CONNECTION TURN
ADJ.
EXIT
RETURN
AUTO ID
Information
Ⅵ AUTO ID settings
ON: Enables Auto ID function. In the case shown below,
display 1 will be set as ID 1, display 2 as ID2, etc.
This can be set only when a 2×2 or 3×3 video wall is
selected.
REMOTE
IN
REMOTE
IN
REMOTE
OUT
REMOTE
OUT
REMOTE
IN
REMOTE
OUT
REMOTE
OUT
REMOTE
IN
No.1
No.2
No.3No.4
No.1
No.2
No.3No.4
No.1
No.2
No.3No.4
No.1
No.2
No.3No.4
Display 1
Display 2
Display 4
Display 3
OFF: Disables Auto ID function.
DISP. MODE
Select the screen mode from between two options
(NORMAL, ADJUST).
Example: Setting “ADJUST”
On “DISP. MODE” of “VIDEO WALL” menu, select
“ADJUST”.
VIDEO WALL
DIVIDER
POSITION
DISP. MODE
AUTO ID
SCREEN
P. ON DELAY
ABL LINK
REPEAT TIMER
: 1
: ADJUST
: OFF
: OFF
: OFF
: OFF
SEL.
ADJ.
EXIT
RETURN
Information
Ⅵ DISP. MODE settings
NORMAL: Combines enlarged screens and creates
multiple screens.
ADJUST: Corrects misalignment of combined screen
portions and creates multiple screens


