14
Chapter 1: Connections and Setup
3d. Confirming Your Settings
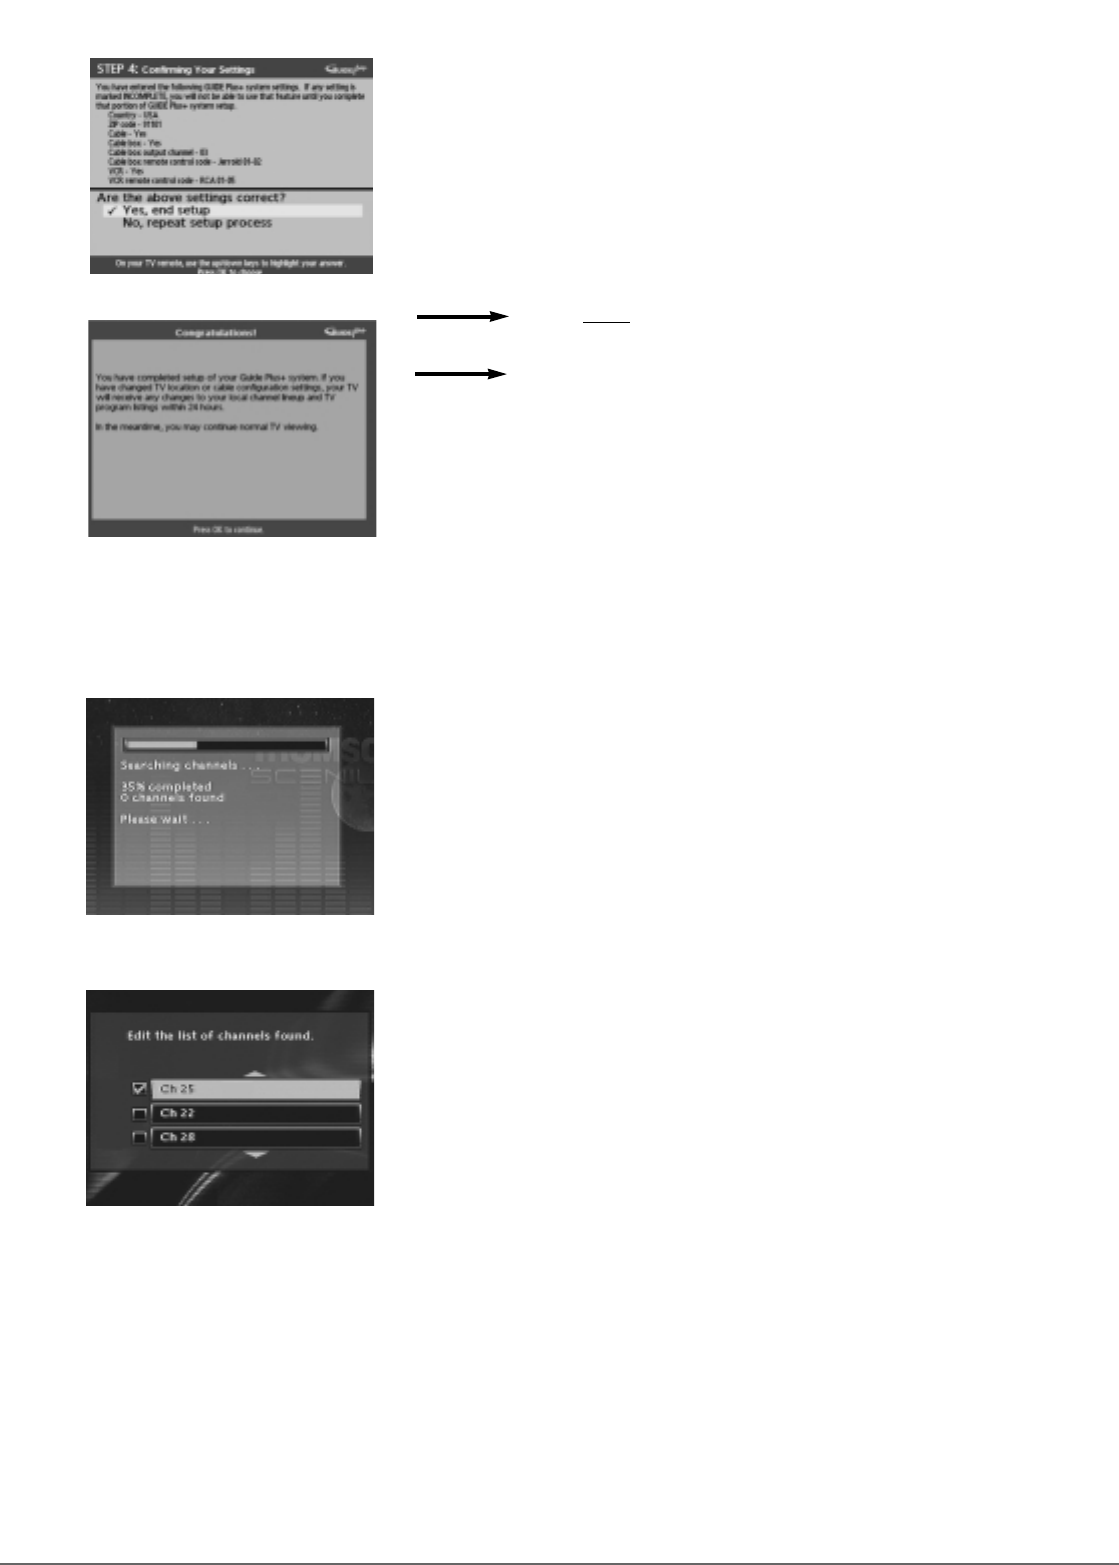
Once you’ve finished the GUIDE Plus+ Setup, a screen appears listing the pertinent
information you’ve given. Check to make sure all settings are complete and correct.
Note: If the cable box test failed, you should see INCOMPLETE next to the Cable
Box category.
If all of the settings are accurate, highlight Yes, end setup, and press OK.
If any settings are incomplete or incorrect, highlight No, repeat setup process, and
press OK. Follow the instructions on the screen to complete the setup.
If you didn’t connect a satellite receiver, go to step 5
If you connected a satellite receiver, go to step 4
4) Satellite Receiver
If you connected a satellite receiver to the Digital Media Recorder, the IR
Control cable must be connected to the back of your Digital Media Recorder (IR
SAT) and the other end of the cable must be placed in front of the remote
sensor on the satellite receiver in order for the Digital Media Recorder to control
the satellite receiver for Timer Recordings.
Follow the on-screen instructions to select your satellite receiver brand. If your
brand isn’t listed, highlight Not Listed.
After you complete the on-screen satellite receiver setup, the Digital Media
Recorder will perform a box test — follow the on-screen instructions.
5) Channel Search
The Digital Media Recorder automatically scans the signal coming through the
cable connected to the RF ANTENNA/CABLE INPUT or the INPUT jacks, and
prepares the channel list. The channel list determines what channels appear
when you press the channel up and down buttons.
A progress indicator appears on the TV screen. When the Channel Search
reaches 100%, press OK (the Channel List appears)
6) Channel List
From the Channel List, you can delete channels you rarely watch. You’ll still be
able to tune to the channels directly by using the number buttons on the remote
control, but the Digital Media Recorder won’t tune to a channel you delete when
you press the channel up and/or down buttons on the remote control.
Press the down arrow button to scroll through the channels. A checkmark in the
box next to the channel means it has been stored in the channel list. Follow the
on-screen instructions to delete a channel in the list, or add one that isn’t in the
list. You can also label channels by pressing the INFO button.
To skip editing the channel list, press the right arrow button.
7) Time and Date
You must set up the clock accurately in order for Timer Recordings to work.
Use the number buttons on the remote to enter Year, Date, and Time. To change
the AM/PM setting when you’re entering the Time, press the right arrow button.


