


25
English
NOTE: If you want to change the password
at step 8, do it before pressing ENTER.
To Change the Settings
You can change the parental lock settings at
any time.
1 Bring up the OTHERS menu.
2 Press / to move
to select PAREN-
TAL LOCK and press ENTER
34
. The pa-
rental lock on-screen display appears on the
TV screen.
3 While
is pointing to PASSWORD, press
the numeric buttons
4
to enter your cur-
rent 4- digit password then press ENTER
34
.
moves to COUNTRY CODE if you enter
the correct password. If you enter a wrong
password, “WRONG! RETRY...” appears on
the TV screen, and you cannot go to the next
step. If you forget your password, enter
“8888.” The current password is deleted and
you can set a new password.
4 To change the COUNTRY CODE or SET
LEVEL, press ENTER
34
to bring up the
associated pull-down menu when
is
pointing to the desired item.
5 Press / to select the desired option then
press ENTER
34
. If you change the coun-
try code, you must reselect the parental lock
level.
6 While
is pointing to PASSWORD, press
the numeric buttons to enter a 4-digit pass-
word. The password entered in this step be-
comes the new password. If you want to keep
the same password as before, enter the same
password.
7 Press ENTER
34
. moves to EXIT. Press-
ing ENTER again returns to the OTHERS
menu of the preference display.
NOTE: If you enter the wrong password
more than 3 times in step 3 above,
moves to EXIT automatically and
/
do
not work.
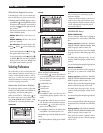
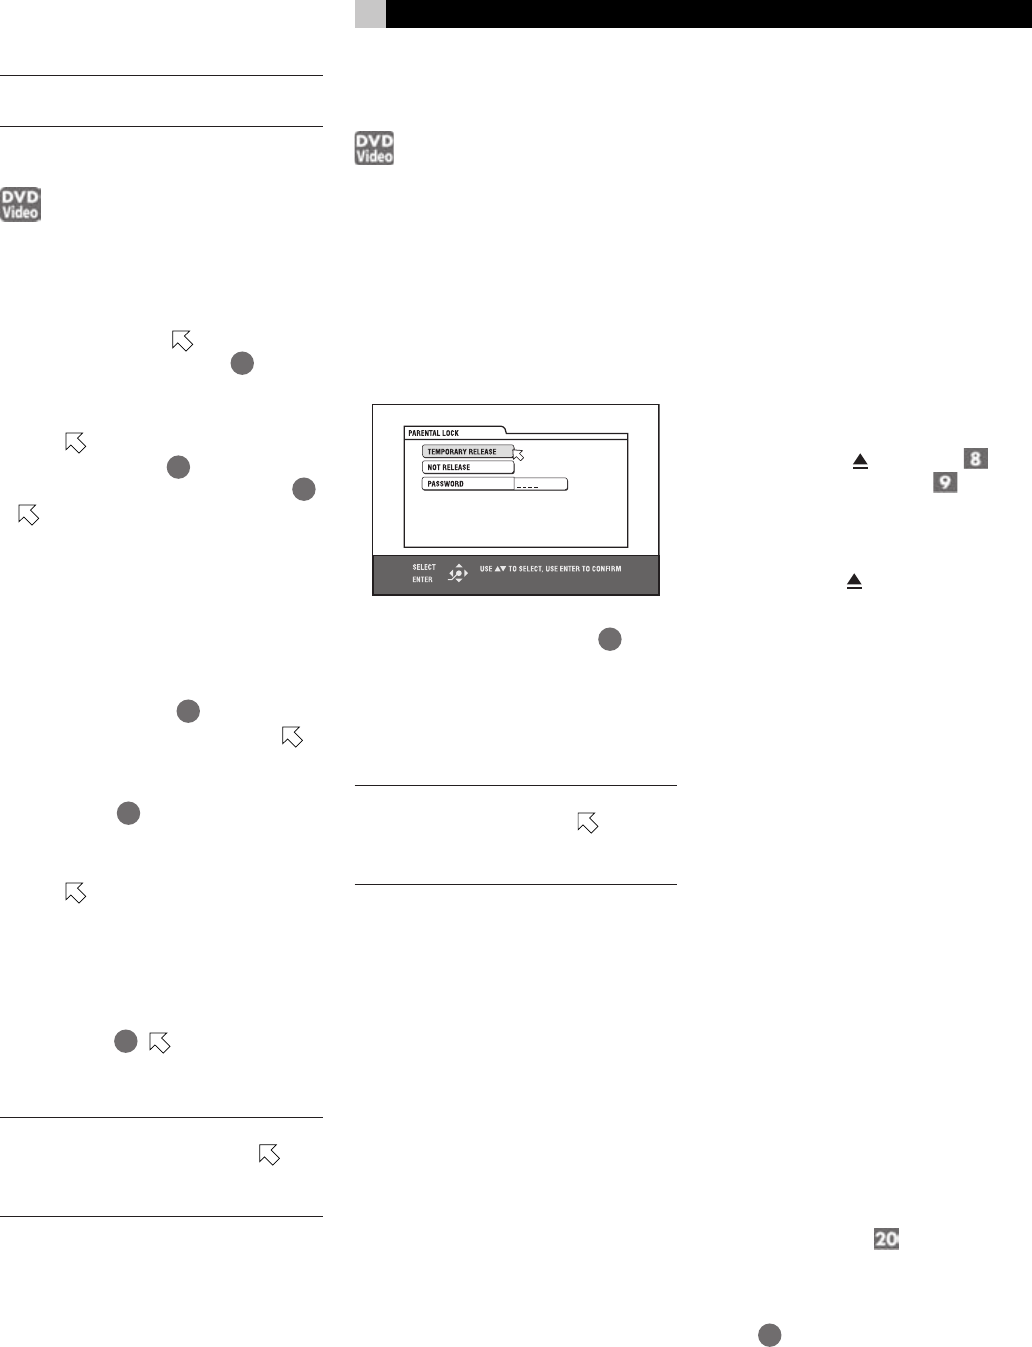
To Temporarily Release the
Parental Lock
If the parental level is set to a strict value, some
discs may not play at all. When you insert such
a disc and try to play it, the following paren-
tal lock on-screen display appears on the TV
screen, asking you whether you want the pa-
rental lock to be temporarily released or not.
1 Press / to move to TEMPORARY RE-
LEASE, then press ENTER.
2 Press the numeric buttons (0 to 9)
4
to enter
your 4-digit password. The parental lock is
released, and the RDV-1040 starts playback.
If you enter a wrong password, “WRONG!
RETRY...” appears on the TV screen. Enter
the correct password.
NOTE: When you enter the wrong pass-
word 3 times at step 2 above,
moves to
NOT RELEASE automatically and
/
do
not work.
Troubleshooting
Power
Power does not come on.
• Power plug is not inserted securely. Plug in
securely.
Operation
“REGION CODE ERROR!” is shown
on the TV screen.
• Region code of the inserted disc does not
match the RDV-1040. Check the region code
of the disc printed on the disc jacket.
The RDV-1040 does not work.
• Microcomputer malfunction due to lightning
or static electricity. Turn off the power and
unplug the power cord, then connect the
power cord again.
• Moisture condensation caused by a sudden
change of temperature or humidity. Turn off
the power, then turn it on a few hours later.
• The disc does not allow the operation, or
an unplayable disc is inserted. Check and
replace the disc. See the Playable Discs
section.
LOCK appears in the display window
and the disc tray does not open.
• When you press
(OPN/CLS) while
pressing down ■ (STOP)
when the
RDV-1040 in standby mode, the tray lock
function is activated. The disc tray cannot
be opened or closed in this state. To release
the LOCK, press
while pressing down ■
when the RDV-1040 is in standby mode.
Picture
Picture is noisy.
• The RDV-1040 is connected to a VCR di-
rectly and the copyguard function is acti-
vated. Connect the RDV-1040 directly to the
TV.
• With some discs, the picture may be blurred
when PICTURE SOURCE is set to FILM or
AUTO. Set PICTURE SOURCE to VIDEO
(NORMAL) or VIDEO (ACTIVE).
Picture is distorted when using
COMPONENT VIDEO OUT or S-
VIDEO output jack(s).
• There are connections to both the compo-
nent and S-video outputs. Disconnect the un-
used one.
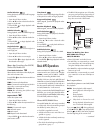
No picture is displayed on the TV
screen or the screen is blurred or
divided into two parts.
• The RDV-1040 is in the progressive scan-
ning mode but is connected to a TV via the
VIDEO or S-VIDEO jack. Set the VIDEO
SIGNAL SELECTOR
on the rear panel
to “480i,” or set it to “REMOTE” and make
the Progressive scanning mode inactive by
using the VFP - PROGRESSIVE SCAN but-
ton
25
.
— continued