


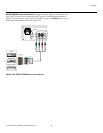
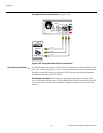
Installation
52 Q-1500d Series Installation/Operation Manual
PRE
L
IMINAR
Y
DHD
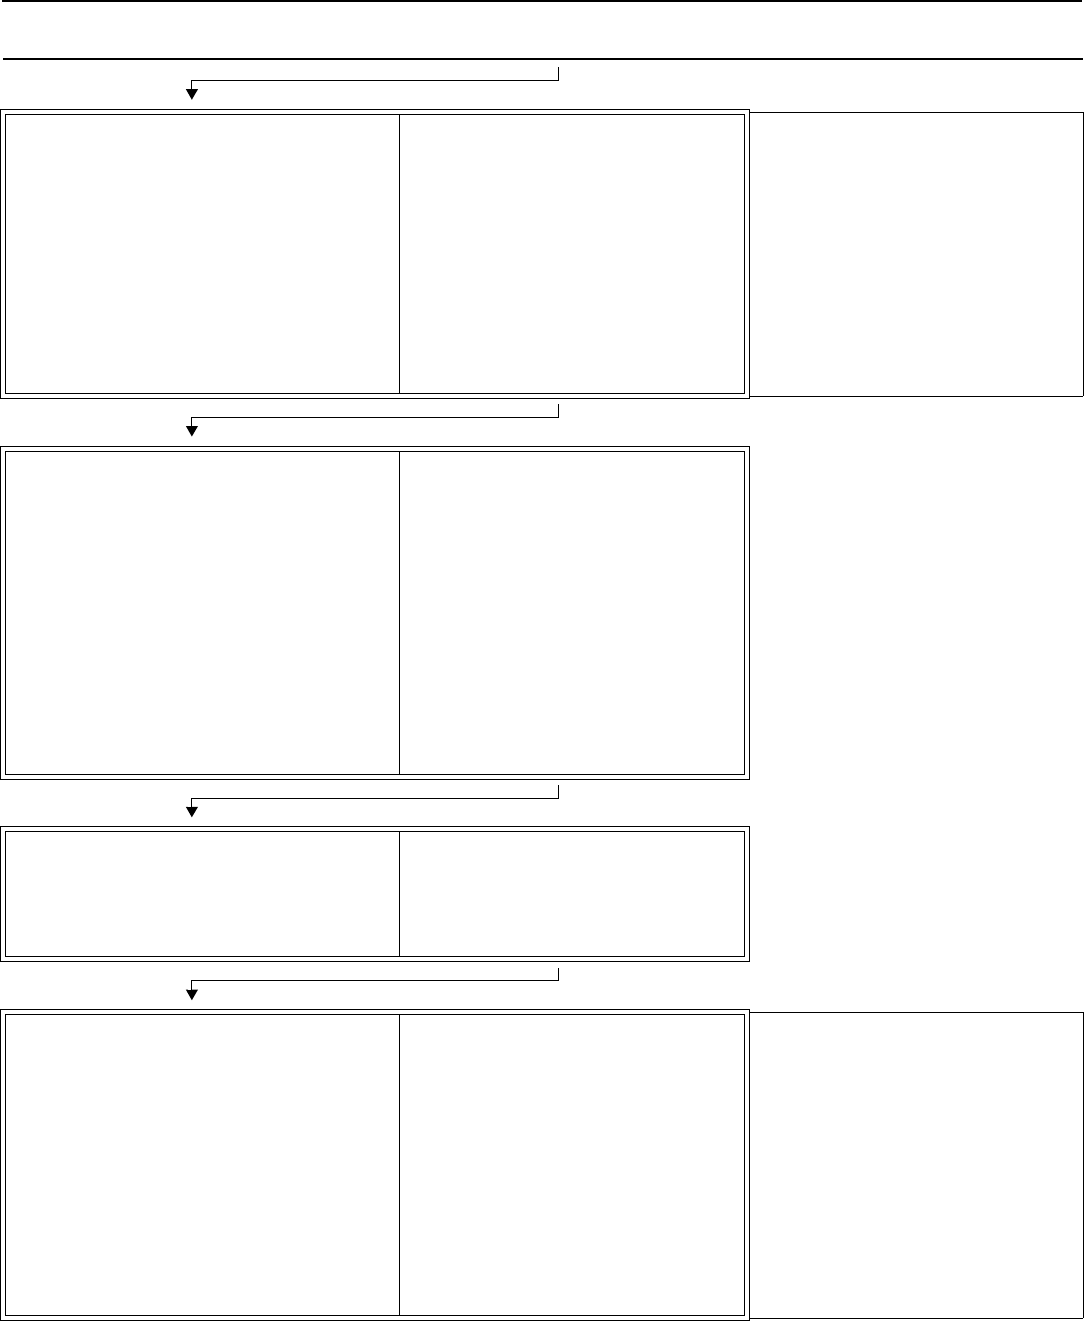
1. Select Calibration -> Adjustment Mode
and set it to Secondary.
2. Select Service -> TestVideo and choose
Secondary Alignment.
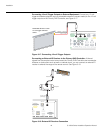
Projector (Align Secondary Image with
Screen)
1. Align the image to the screen by
adjusting the bottom primary lens
zoom, focus and H/V offset.
2. Tighten the bottom primary lens lock
screw.
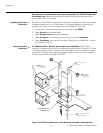
3. Q-1500d/CineWide with
AutoScope only: Remove
anamorphic lenses. Set the
AutoScope transport motor AC
switch to the “on” position.
Note: The default warp is 46 pixels on
the left and right sides (x) and 26 pixels at
the top and bottom (y). If more is
needed, use the “Image Alignment”
controls to increase it.
DHD
1. For a ceiling-mounted (inverted) and/or
rear-projection installation, select
Service -> Display Device ->
Configure -> Installation ->
Picture Orientation and set it as needed.
2. Select Aspect Ratio and set it to Cinema.
On a Q-1500d/CineWide with AutoScope,
this should position the anamorphic lens
transport in front of the primary lenses.
3. Select Calibration -> Adjustment Mode
and set it to Primary.
4. Select Service -> TestVideo and choose
Primary Alignment.
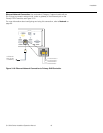
Projector
1. (Re-)install anamorphic lenses.
2. Align the primary image with the
screen by adjusting the top
anamorphic lens to produce the least
amount of distortion.
DHD
1. Select
Calibration -> Adjustment Mode
and set it to Secondary.
2. Select Service -> TestVideo and choose
Secondary Alignment.
Projector
1. Align the secondary image to the
screen by adjusting the bottom
anamorphic lens to produce the least
amount of distortion.
DHD (Align Secondary Image with Primary
Image)
1. Select Aspect Ratio and set it to 16:9.
2. Select Calibration -> Adjustment Mode
and set it to Secondary.
3. Select Calibration -> Image Alignment
-> Corner Alignment, check the Primary
Test Pattern and Secondary Test
Pattern boxes and adjust corners.
4. Select Calibration -> Image Alignment
-> Midpoint Alignment, check the
Primary Test Pattern and Secondary
Test Pattern boxes and adjust midpoints.
Projector
No adjustment needed.
Note: The Primary lens image is usually
left un-warped. This provides the best
image quality and will be un-scaled for
1080p sources. You can adjust the
Primary image if needed, however, by
setting the Adjustment Mode to
Primary, checking the Primary Test
Pattern and Secondary Test Pattern
boxes and adjusting the corners and/or
midpoints prior to this step.
Table 3-6. Q-1500d Optical Alignment Procedure (with Anamorphic Lenses) (continued)