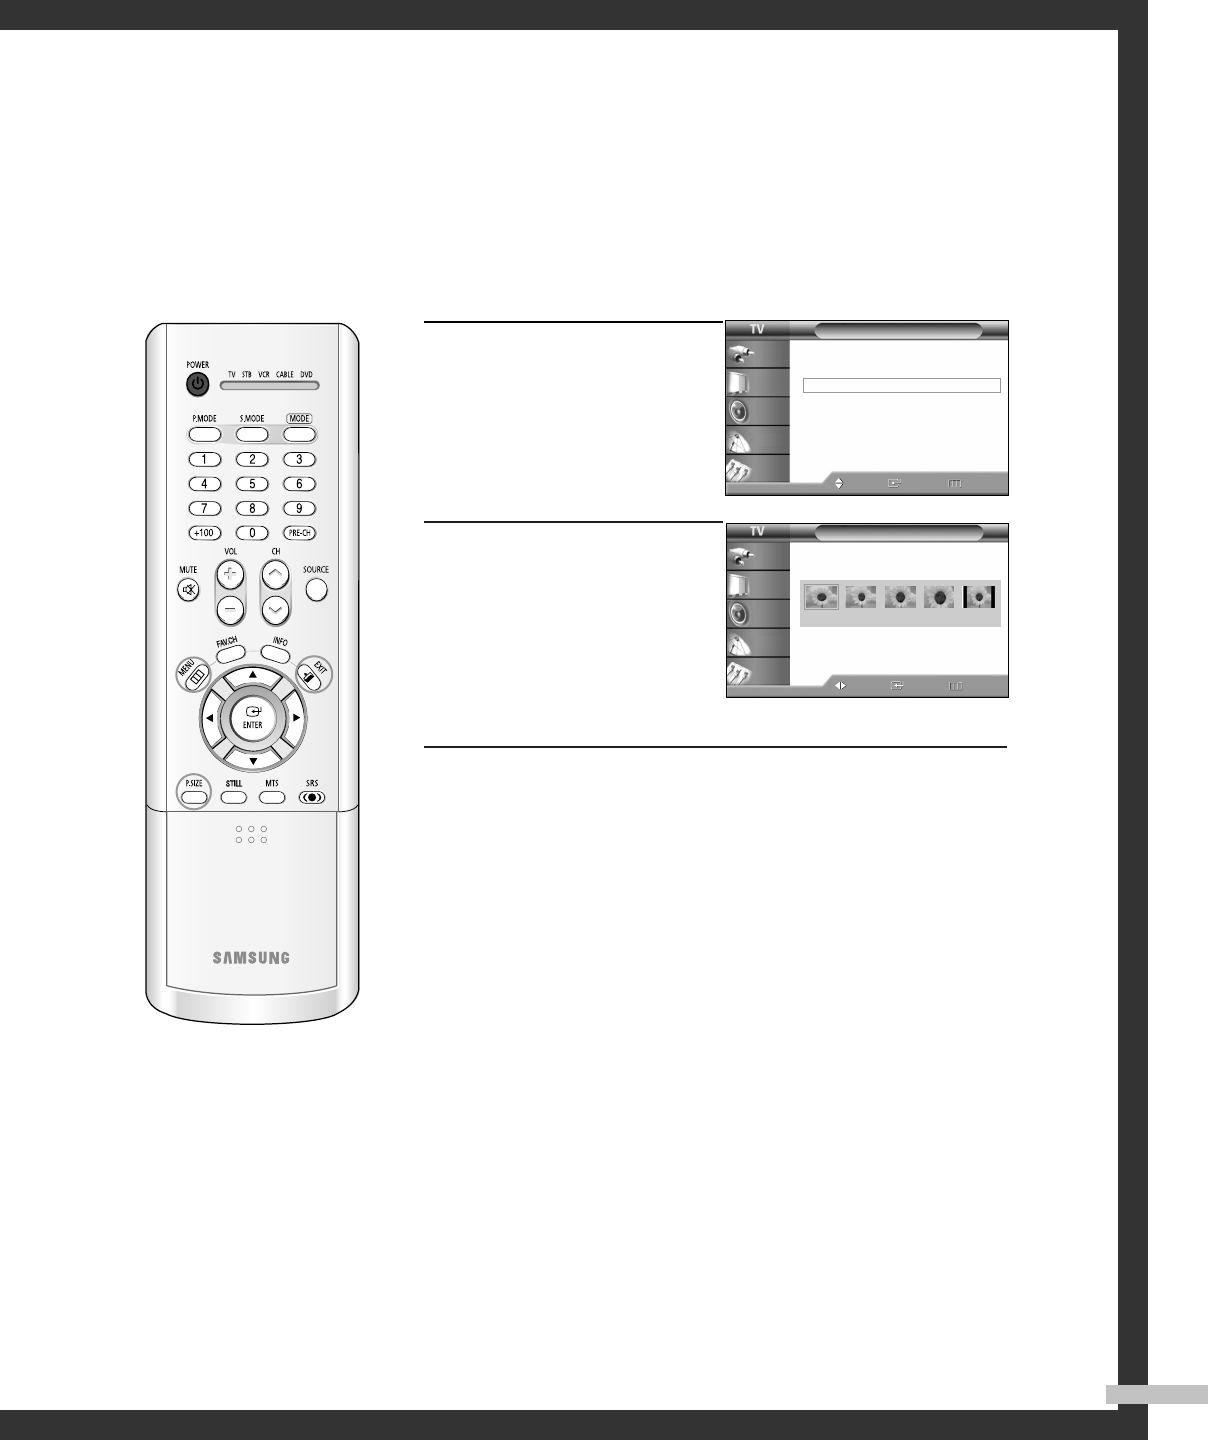
Changing the Picture Size
You can select the picture size which best corresponds to your viewing requirements.
English - 51
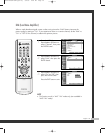
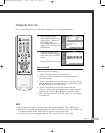
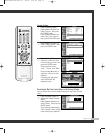
1
Press the MENU button.
Press the … or † button to
select “Picture”, then press
the ENTER button.
Press the … or † button to
select “Size”, then press the
ENTER button.
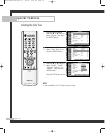
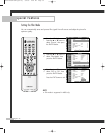
2
Press the œ or √ button to
select the screen format you
want, then press the ENTER
button.
Press the EXIT button to exit.
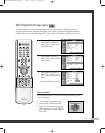
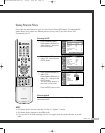
Alternate method
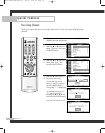
Press the P.SIZE button on the remote control repeatedly to select
one of the picture size settings.
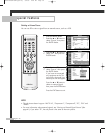
•“Wide”: Sets the picture to 16:9 wide mode.
• “Panorama”: Use this mode for the wide aspect ratio of a
panoramic picture.
• “Zoom1”: Magnifies the size of the picture on screen. You can
also move the picture on screen using the scroll function. Press
the
… or † button to scroll the picture.
• “Zoom2”: Magnifies the size of the picture more than
“Zoom1”. You can also move the picture on screen using the
scroll function. Press the … or † button to scroll the picture.
• “4:3”: Sets the picture to 4:3 normal mode. This is a standard
TV screen size.
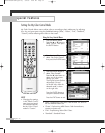
NOTES
•You can select only Wide, 4:3 screen size in the Component(480p, 720p, 1080i) Mode.
•With PIP On, the screen automatically becomes wide in the Antenna, AV (1~3), S-Video (1~3)
or Component (480i) mode. With PIP Off, it returns to original screen size.
• The picture size can’t be changed when the “PIP” is active in the TV or AV mode.
Size
Move Enter Return
Input
Picture
Sound
Channel
Setup
Picture
Mode : Standard
√
Color Tone : Warm1
√
Size : Wide
√
Digital NR : Off
√
DNIe : On
√
My Color Control
√
Film Mode : Off
√
PIP
√
Move Enter Return
Input
Picture
Sound
Channel
Setup
Wide Panorama Zoom1 Zoom2 4:3
BP68-00493D-00Eng(46~67) 9/9/05 8:58 AM Page 51


