— 15 —
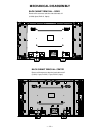
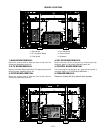
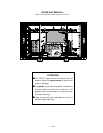
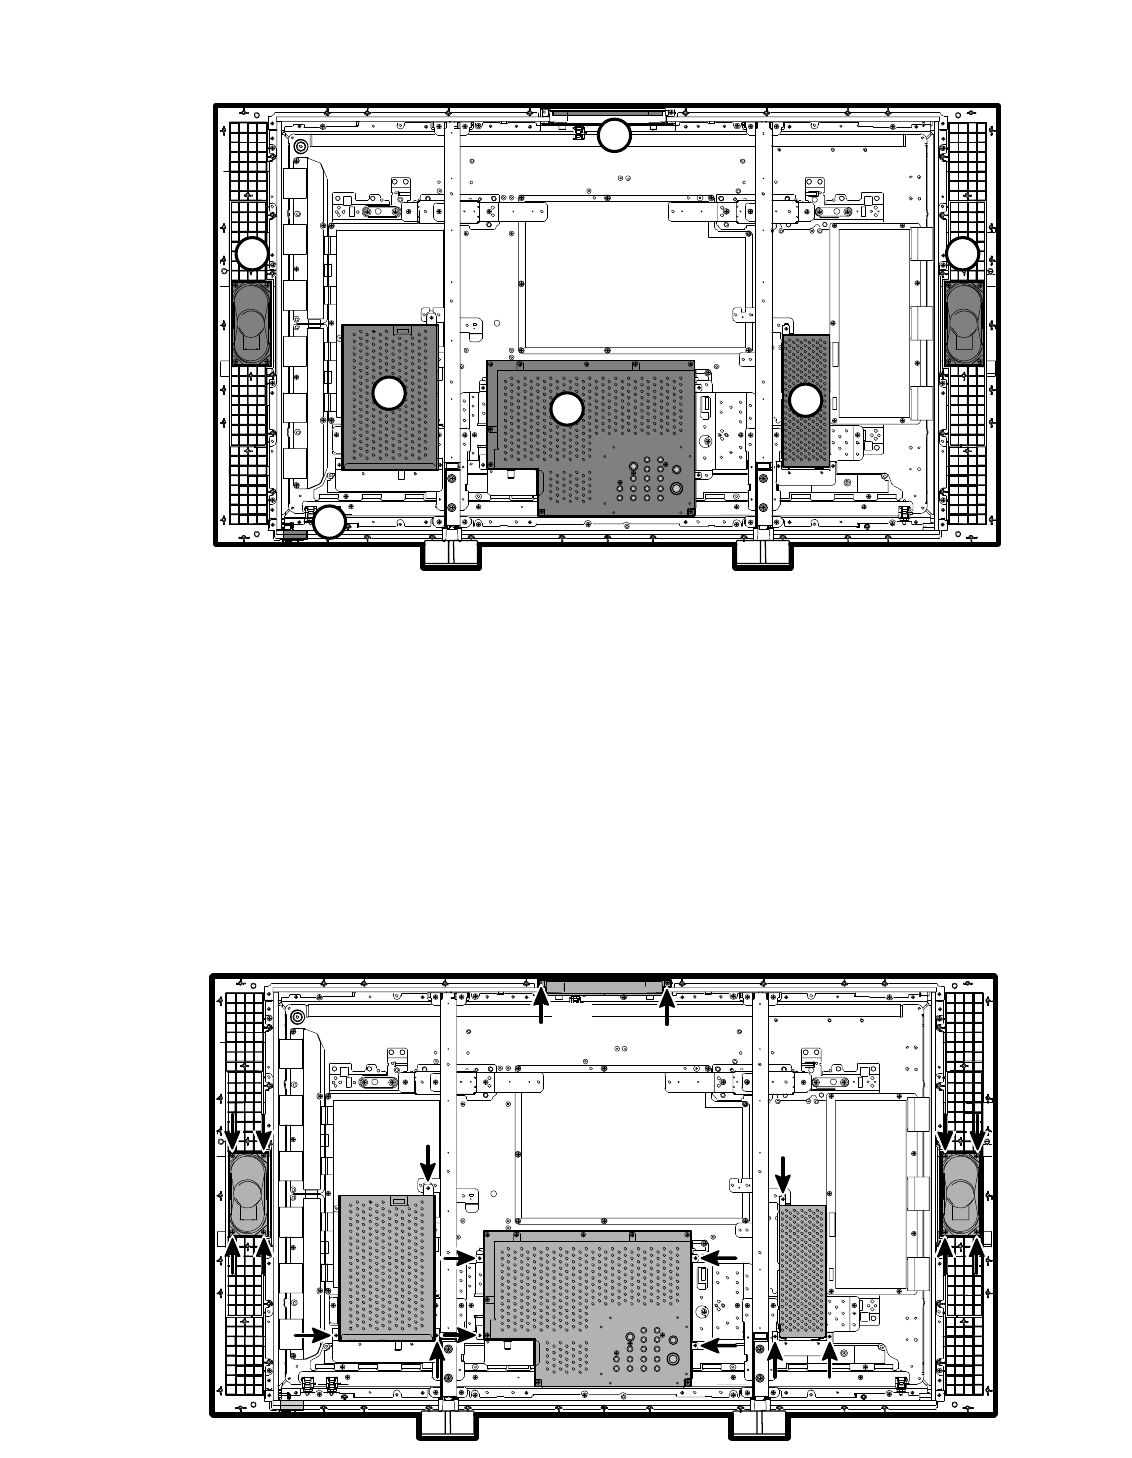
BOARD LOCATIONS
1
2
3
4
5
6 6
1: Main Board
2: D-TU (Digital) Board
3: Filter Board
4: Key SW Board
5: Control Board
6: Speakers
1: MAIN BOARD REMOVAL
Remove 4 screws (3X8) to take the main board with the
shield case (assembly parts) off.
2: D-TU BOARD REMOVAL
Remove 3 screws (3X8) to take the D-TU (digital) board with
the shield case (assembly parts) off.
3: FILTER BOARD REMOVAL
Remove 3 screws (3X8) to take the filter board with the
shield case (assembly parts) off.
4: KEY SW BOARD REMOVAL
Remove a screw (4X12) to take the key switch board with
the panel, button, and holder (assembly parts) off.
5: CONTROL BOARD REMOVAL
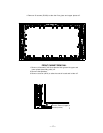
The control board can be taken off, after the filter glass is
removed. (Refer to ‘FILTER GLASS REMOVAL’.)
6: SPEAKER REMOVAL
Remove 4 screws (4X10) to take off each speaker.
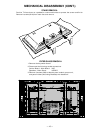
Hook


